Affordable Ceramics From Scratch
Did you know just about anyone can do pottery? I didn't until I tried, myself. Read how I made functional ceramics for free with this simple hack!

Living on a small island without much better to do has really had me turning towards my natural surroundings for inspiration, education, and entertainment. While my primary occupations are teaching and studying, I often find myself restless, in search of creative outlets. With all of the natural resources I have at hand, any number of possibilities arise. One such pastime is pottery.
Contents:
History
It so happens that Takarajima has a long history of local pottery. Famously, pots and ceramic shards dating all the way back to Japan's Jōmon Period (c. 14,000-300 BCE) have been unearthed, here.
Jōmon Era pottery and ceramic shards.
Having found some of these pottery shards on the seashore here, I asked some of the locals about them. I was intrigued by the fact that pottery had been made on Takarajima even in ancient times, though it shouldn't have been surprising. Upon learning that clay is nearly omnipresent on Earth and that basically anyone can do pottery with only a few resources, I knew I needed to try.
Processing Clay
The first step to doing ceramics is of course sourcing clay. As a rather involved "first step," the process can be further broken down. Documented here is the process I used for this project, though many other processes exist. The techniques here fall under the "wet processing" category of clay preparation.
Clay Tech Tree
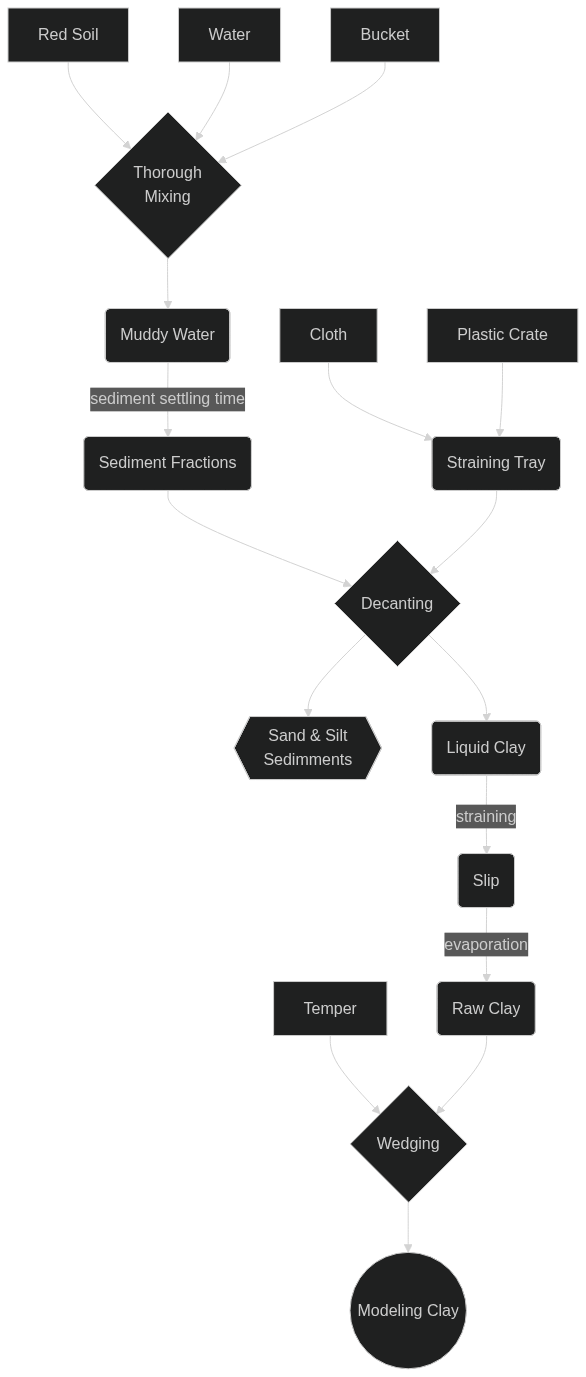
The tech tree shows inputs (resources consumed) as sharp boxes, intermediate materials as rounded boxes, major (laborious) processing actions as diamonds, waste products as hexagons, and the final product (modeling clay) as a circle at the bottom. Waste water is not diagramed, but is lost during decanting, straining, and evaporative steps. Non-laborious processes are labeled along arrows.
Gathering Materials
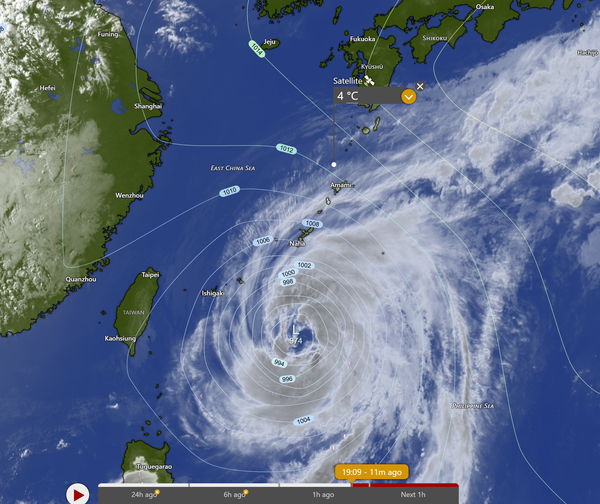
Since I am starting this project with no prior tools or experience, all I have are the internet for inspiration and the environment for materials. I have somewhat artificially limited myself to a budget of $0.00. Many seashores on Takarajima are rife with litter, unfortunately, though not from the islanders themselves; trash that washes up primarily consists of things that floated over from nearby China, Korea, and things discarded by fishing and shipping industries.
Fortunately for me, garbage did keep my project under-budget.
Seaside Salvage
There are many interesting items among the flotsam, and foraging often turns up something useful if one sets out with a goal in mind. As with the Room of Requirement, look long enough and you will find something. One man's trash is my treasure.
Salvaged tools from the seashore.
I was able to salvage a large bucket for soil collection and wet processing as well as several fishing crates for straining and drying the clay. I also found a kitchen strainer for separating organics from the liquid clay. By asking around, I was able to find someone with an extra curtain they were going to throw out eventually; a perfect liner material for the strainers. I was also able to borrow a trowel.
Clay-Rich Soil
Locating clay-rich soils on Takarajima is rather simple: look down. It is almost harder to find clay-poor soils, which is convenient for this project. I was able to collect some great red soil from a pile of rubble at a nearby construction site. Constructions sites are great for collecting soil since it is often turned-over (and thus loose), piled up for easy access and usually viewed as waste anyways. It is not often missed if taken, though you should always get permission, beforehand. By the time I finished my first pots, the construction workers had already completely cleared away the glorious mound, leaving me to find another source of clay for future batches.

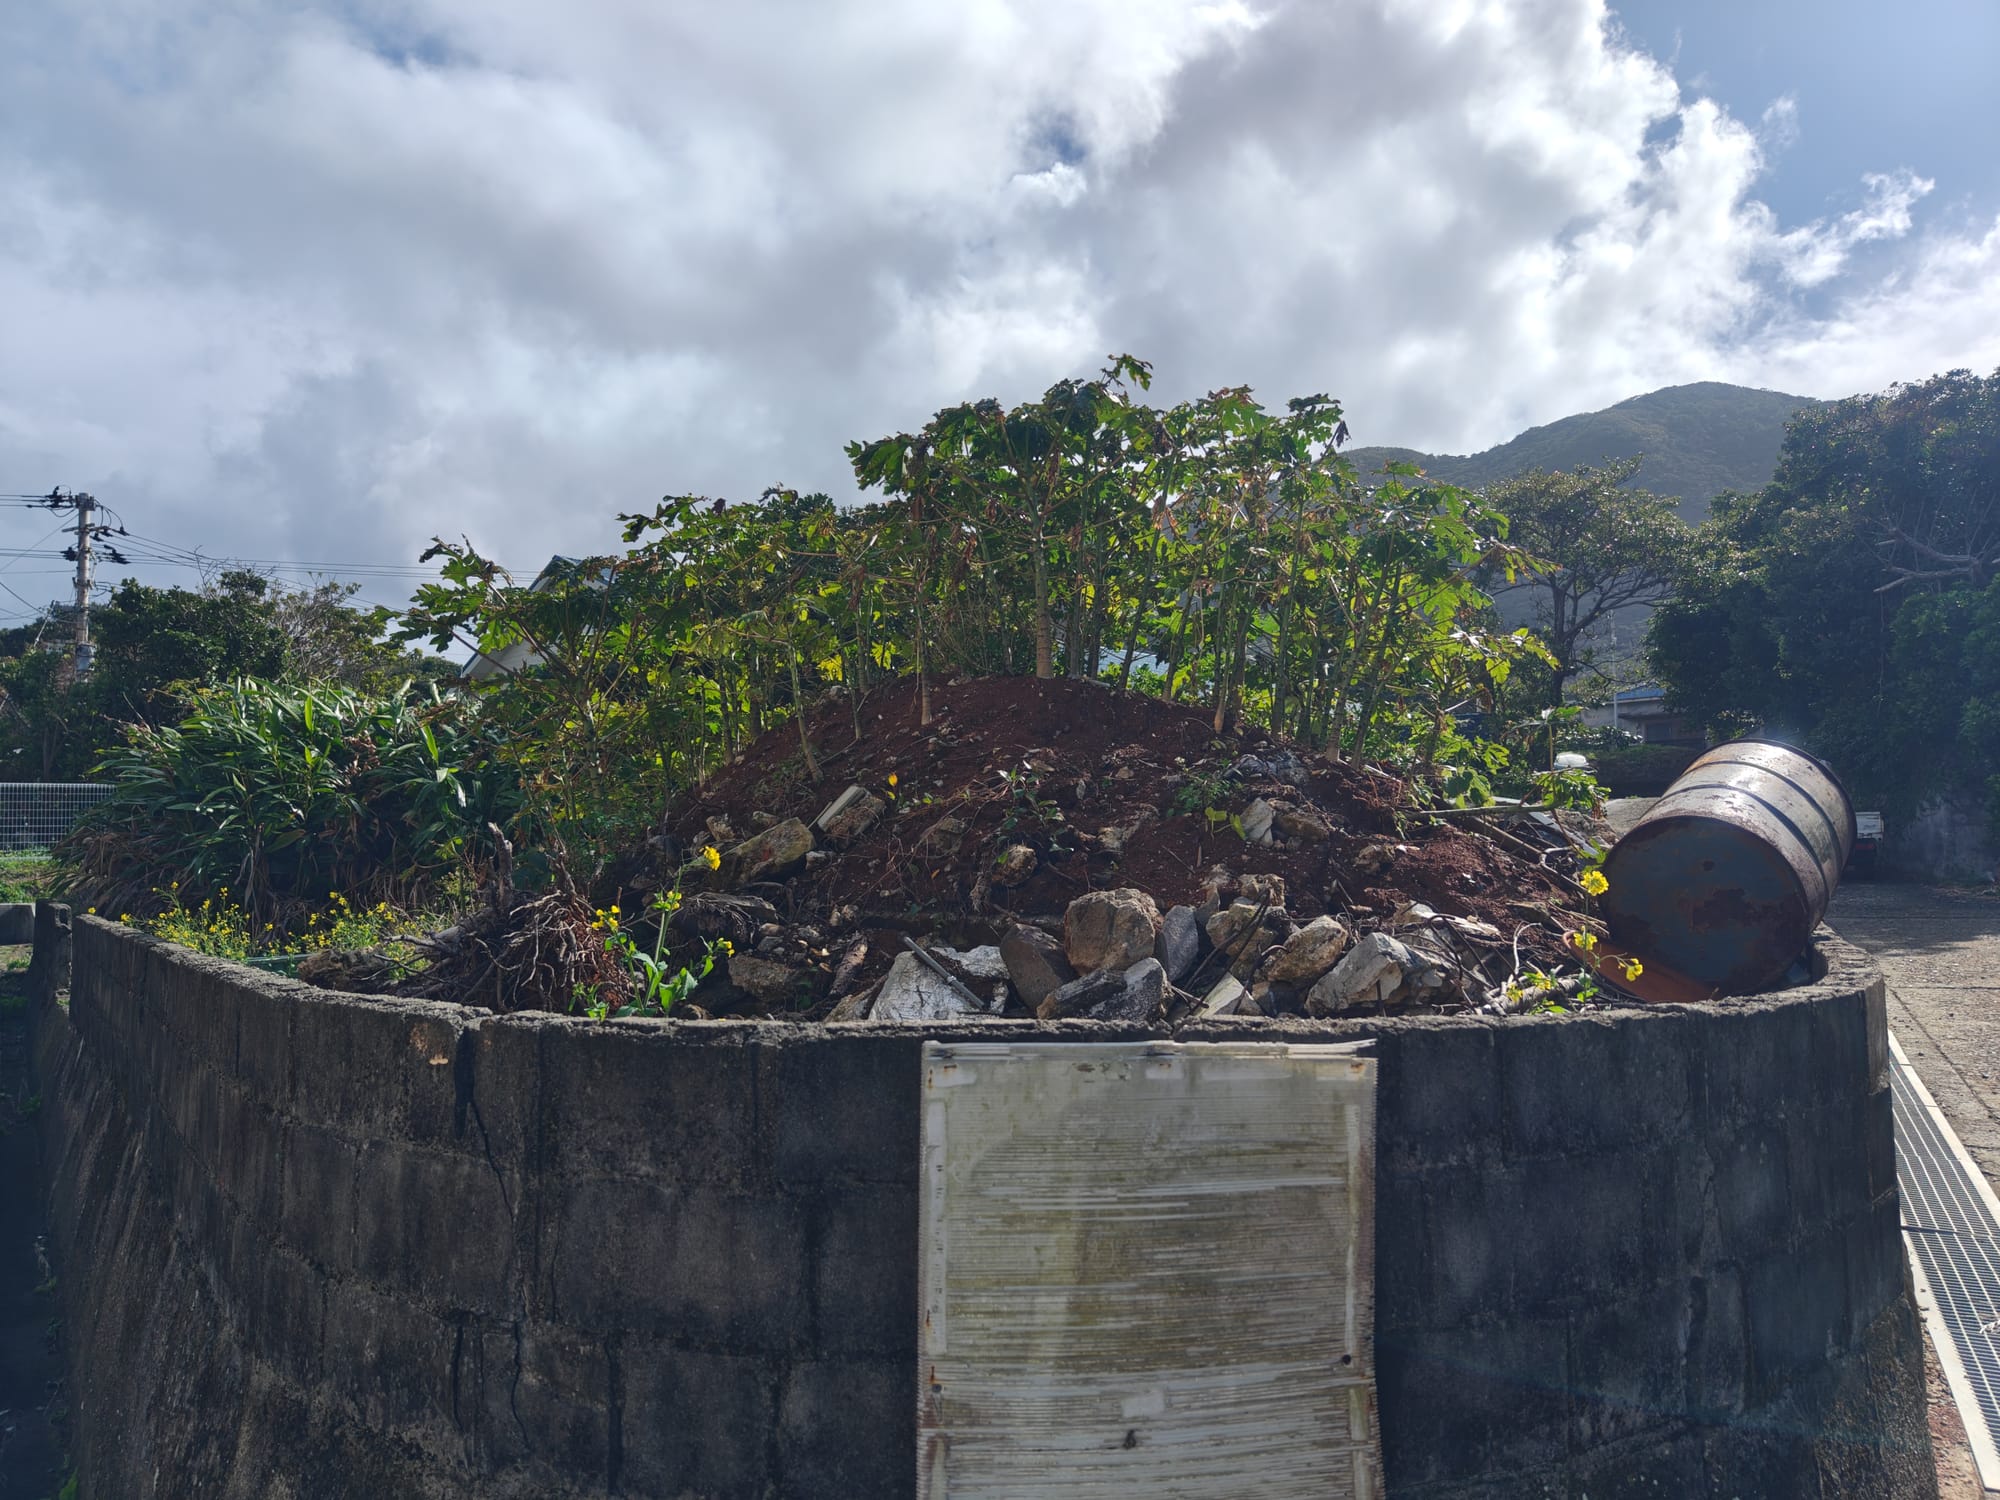
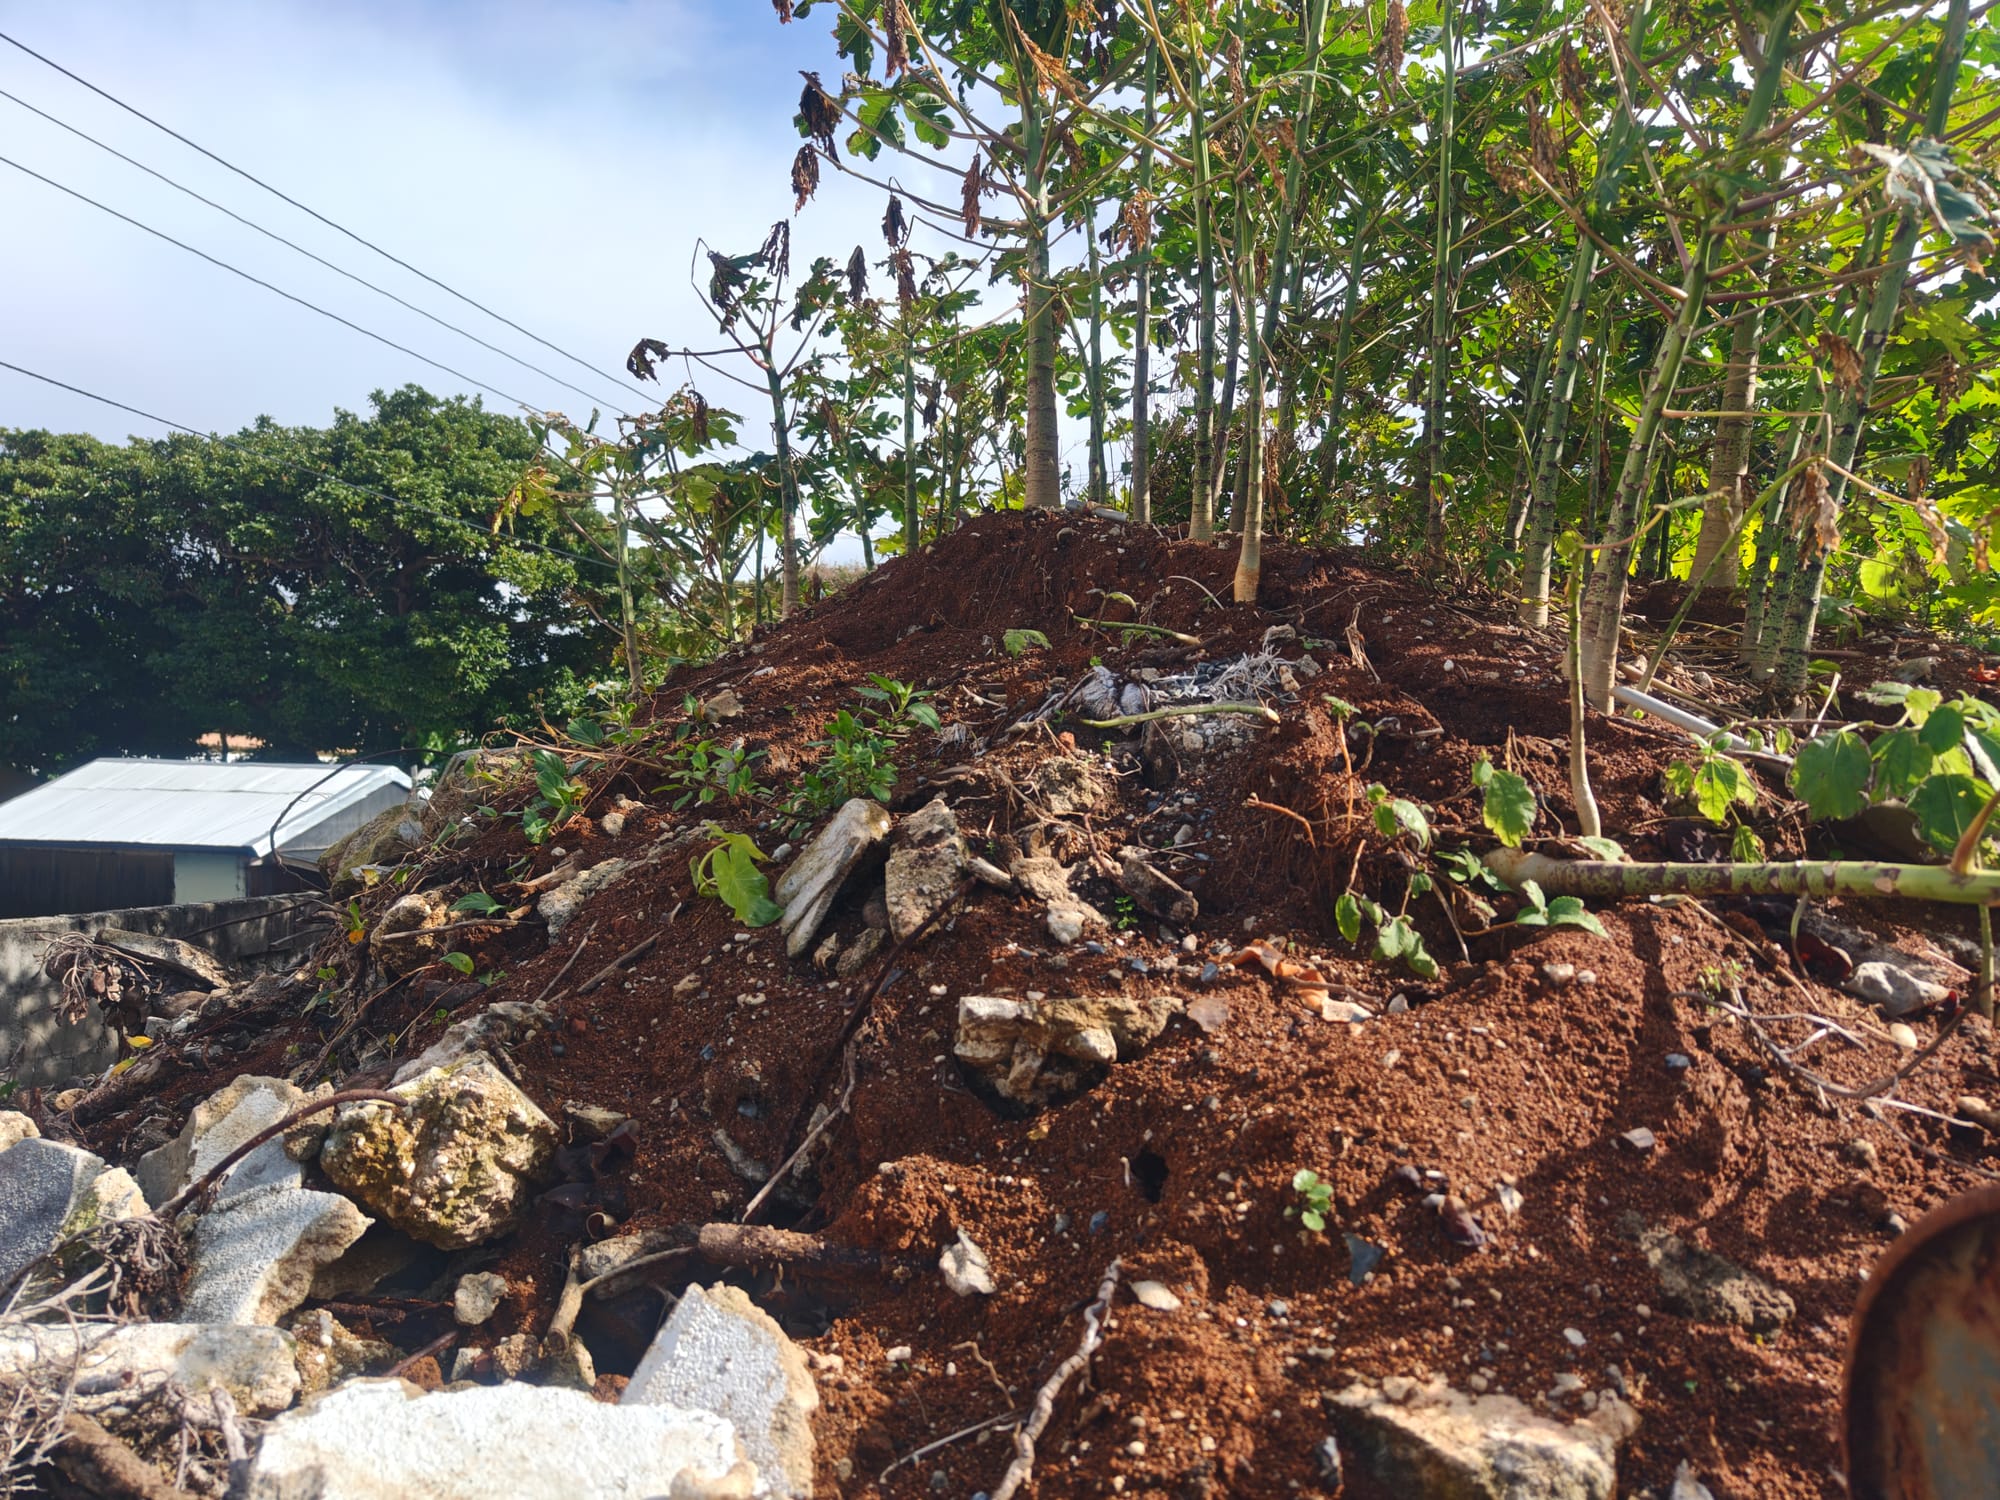
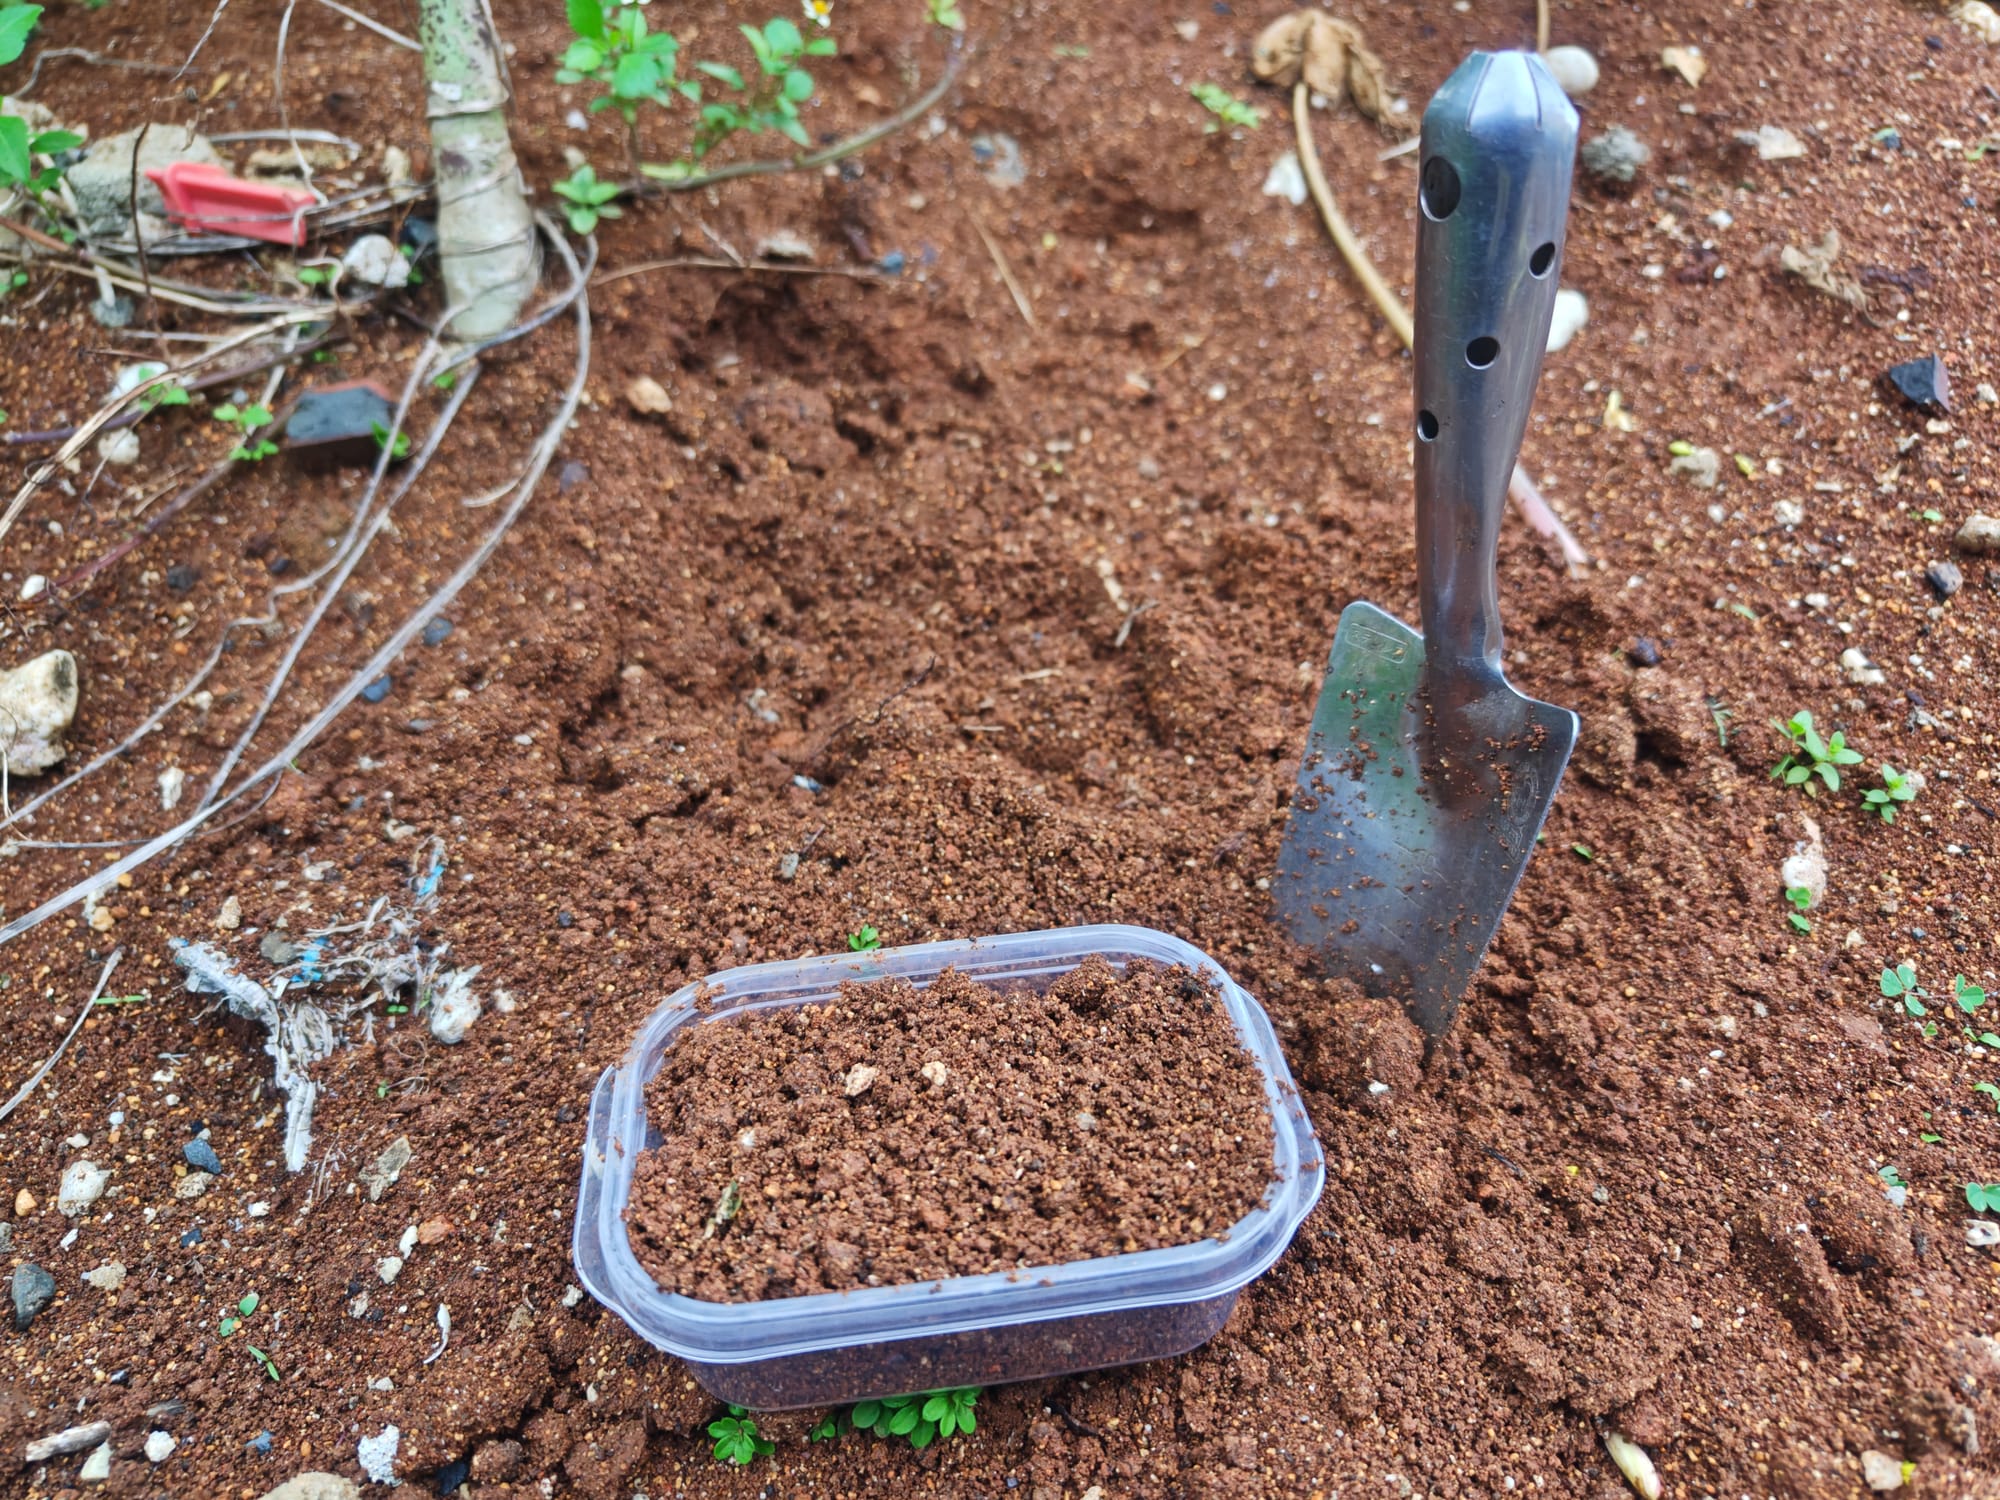
Collecting soil from the big red pile.
With the size of my bucket and the clay content of the soil, I only needed to fill the bucket about a third-full for extraction. I also tried soil from a nearby tended field, which was a slightly different color. The clay there, being a darker grey-brown as opposed to the red-brown of the construction site, had vastly different properties.
Temper
For temper material I tried sifting sand from several beaches, though I would later learn the hard way that Takarajima sand is not great for ceramics.
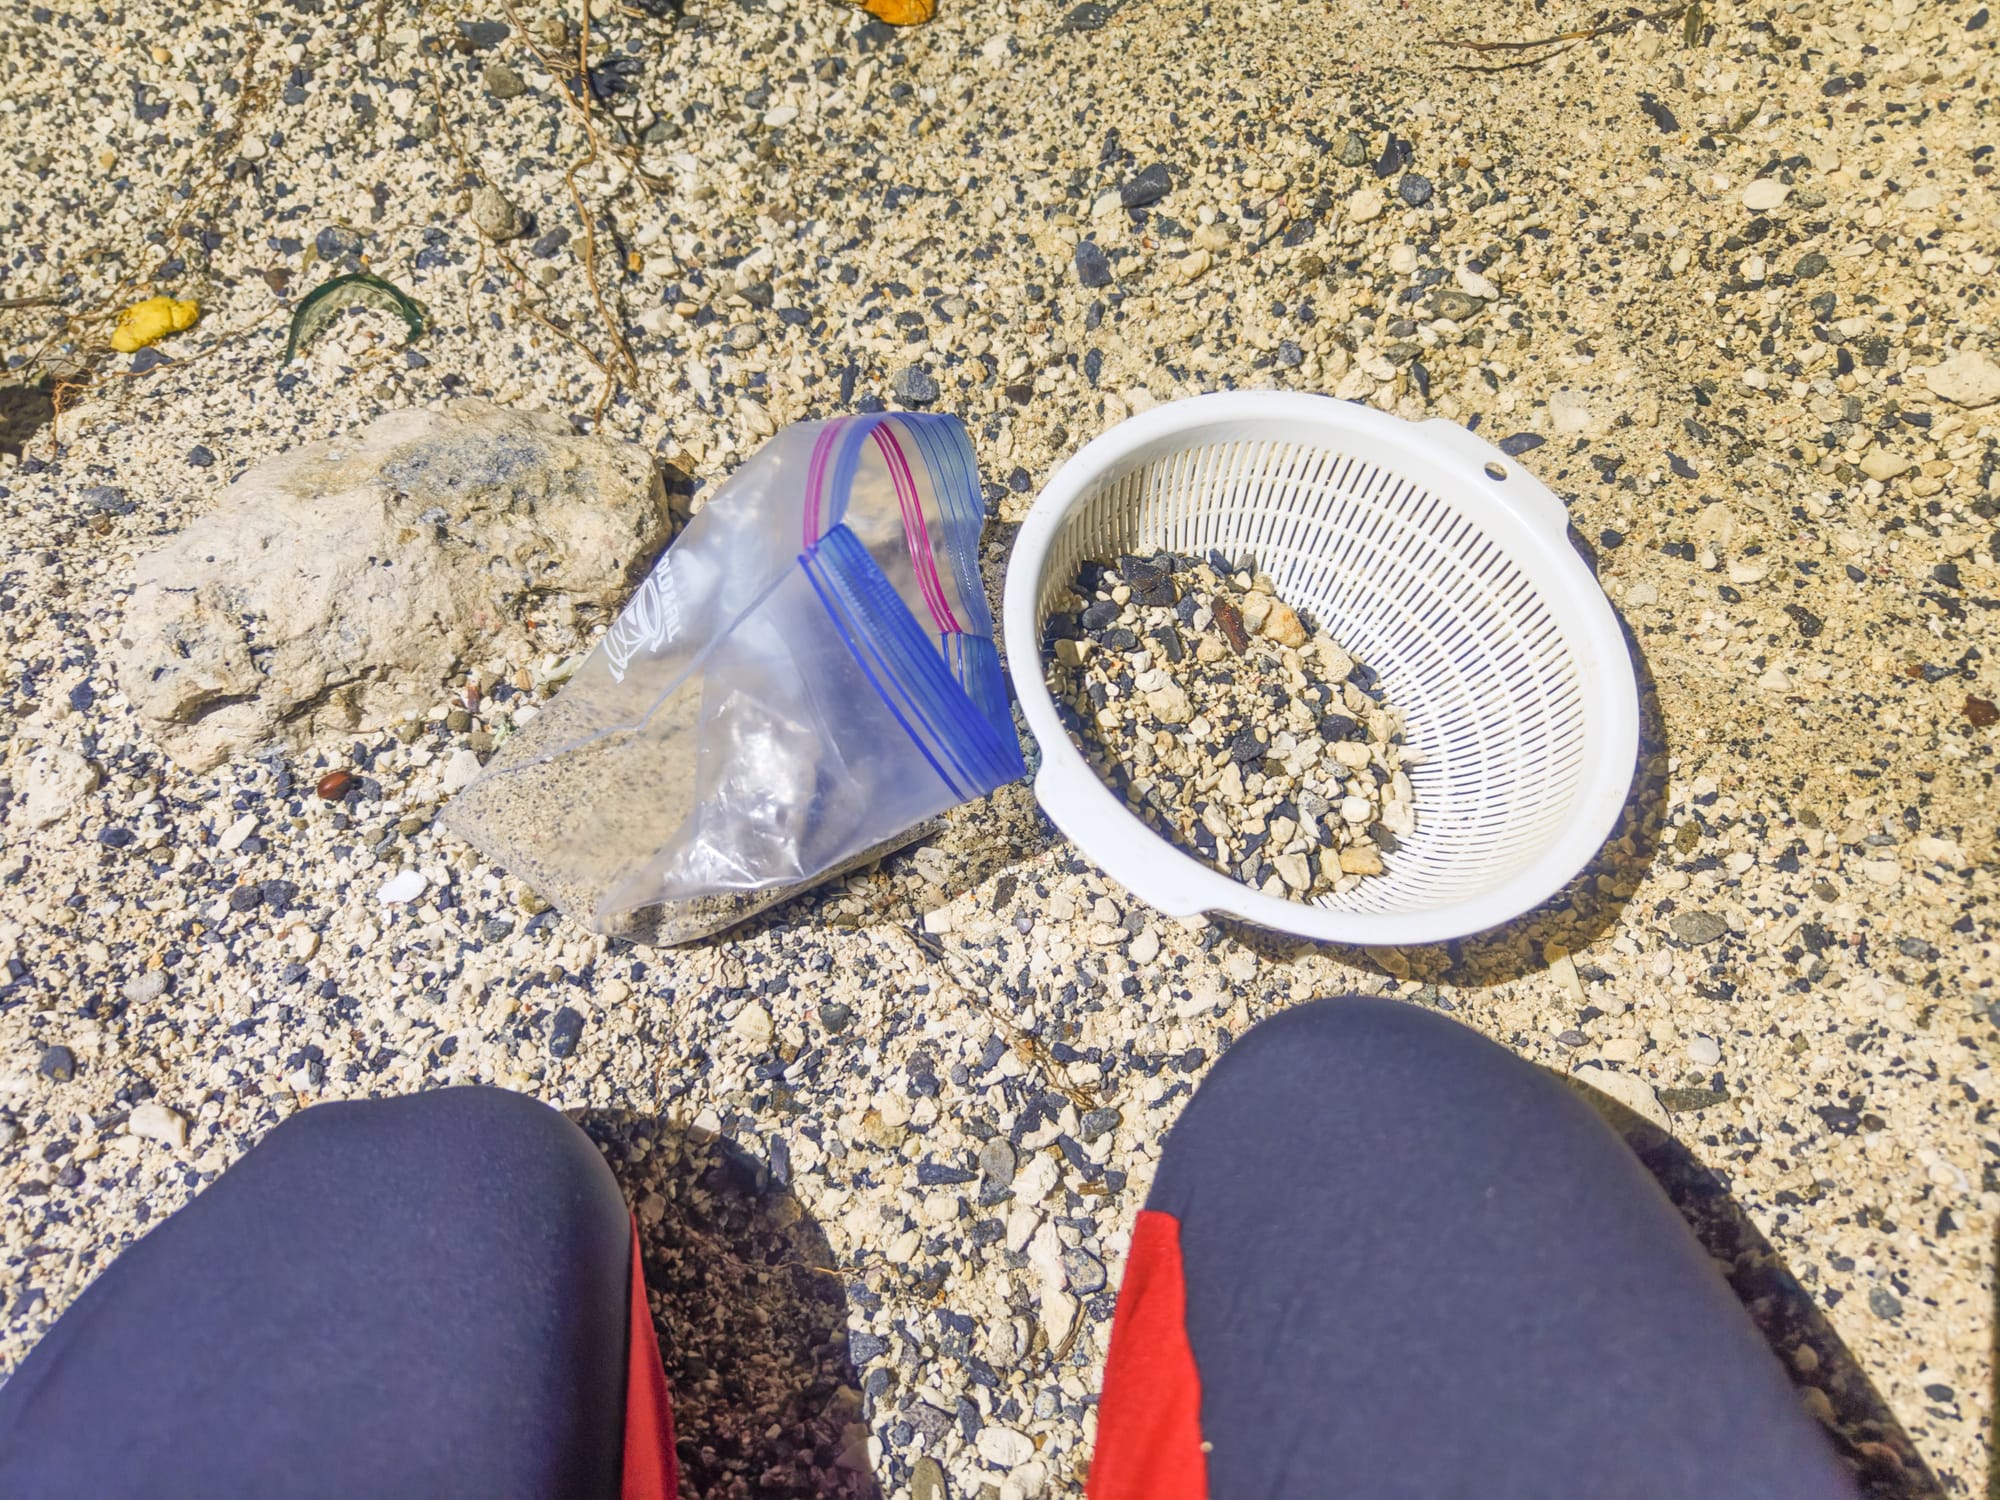
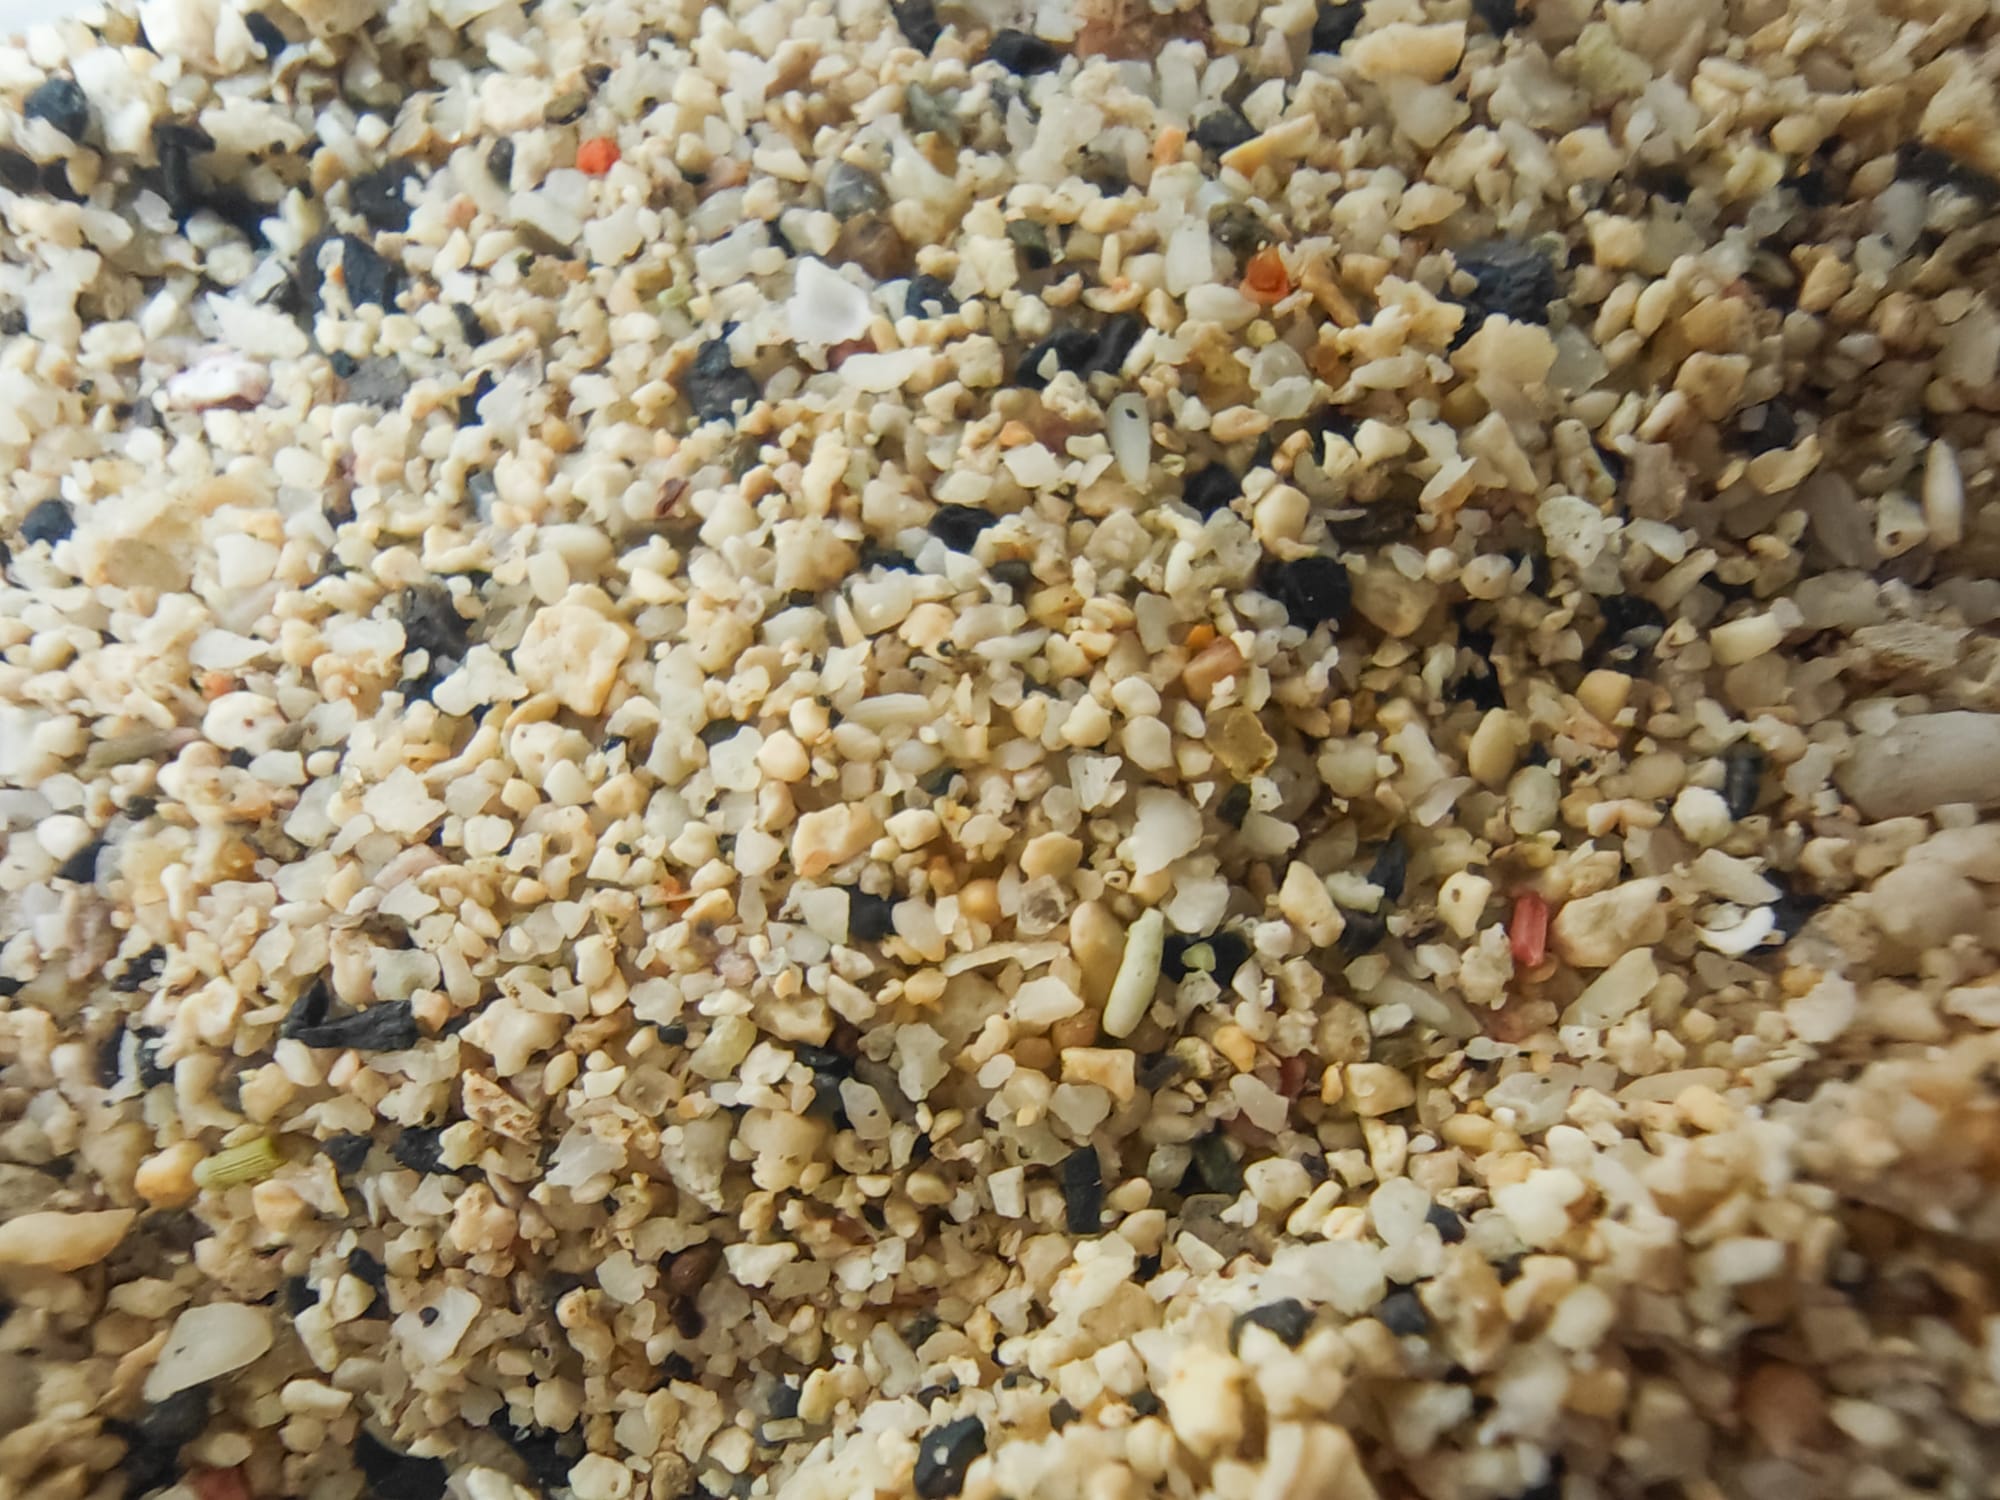
By running the sand through a strainer, I got relatively consistent grain size, however the constitution left something to be desired. As the local sand consists primarily of shell and coral fragments, it is rather coarse and granules are irregularly shaped. Furthermore, shells are mainly made of calcium carbonate.
A quick internet search reveals that calcium carbonate (CaCO₃) undergoes a thermal decomposition reaction at around 850°C by means of the following formula:
CaCO₃ ⟶ CaO + CO₂
While the temper helped to prevent cracking during drying, this reaction became very relevant, later, during the firing stage.
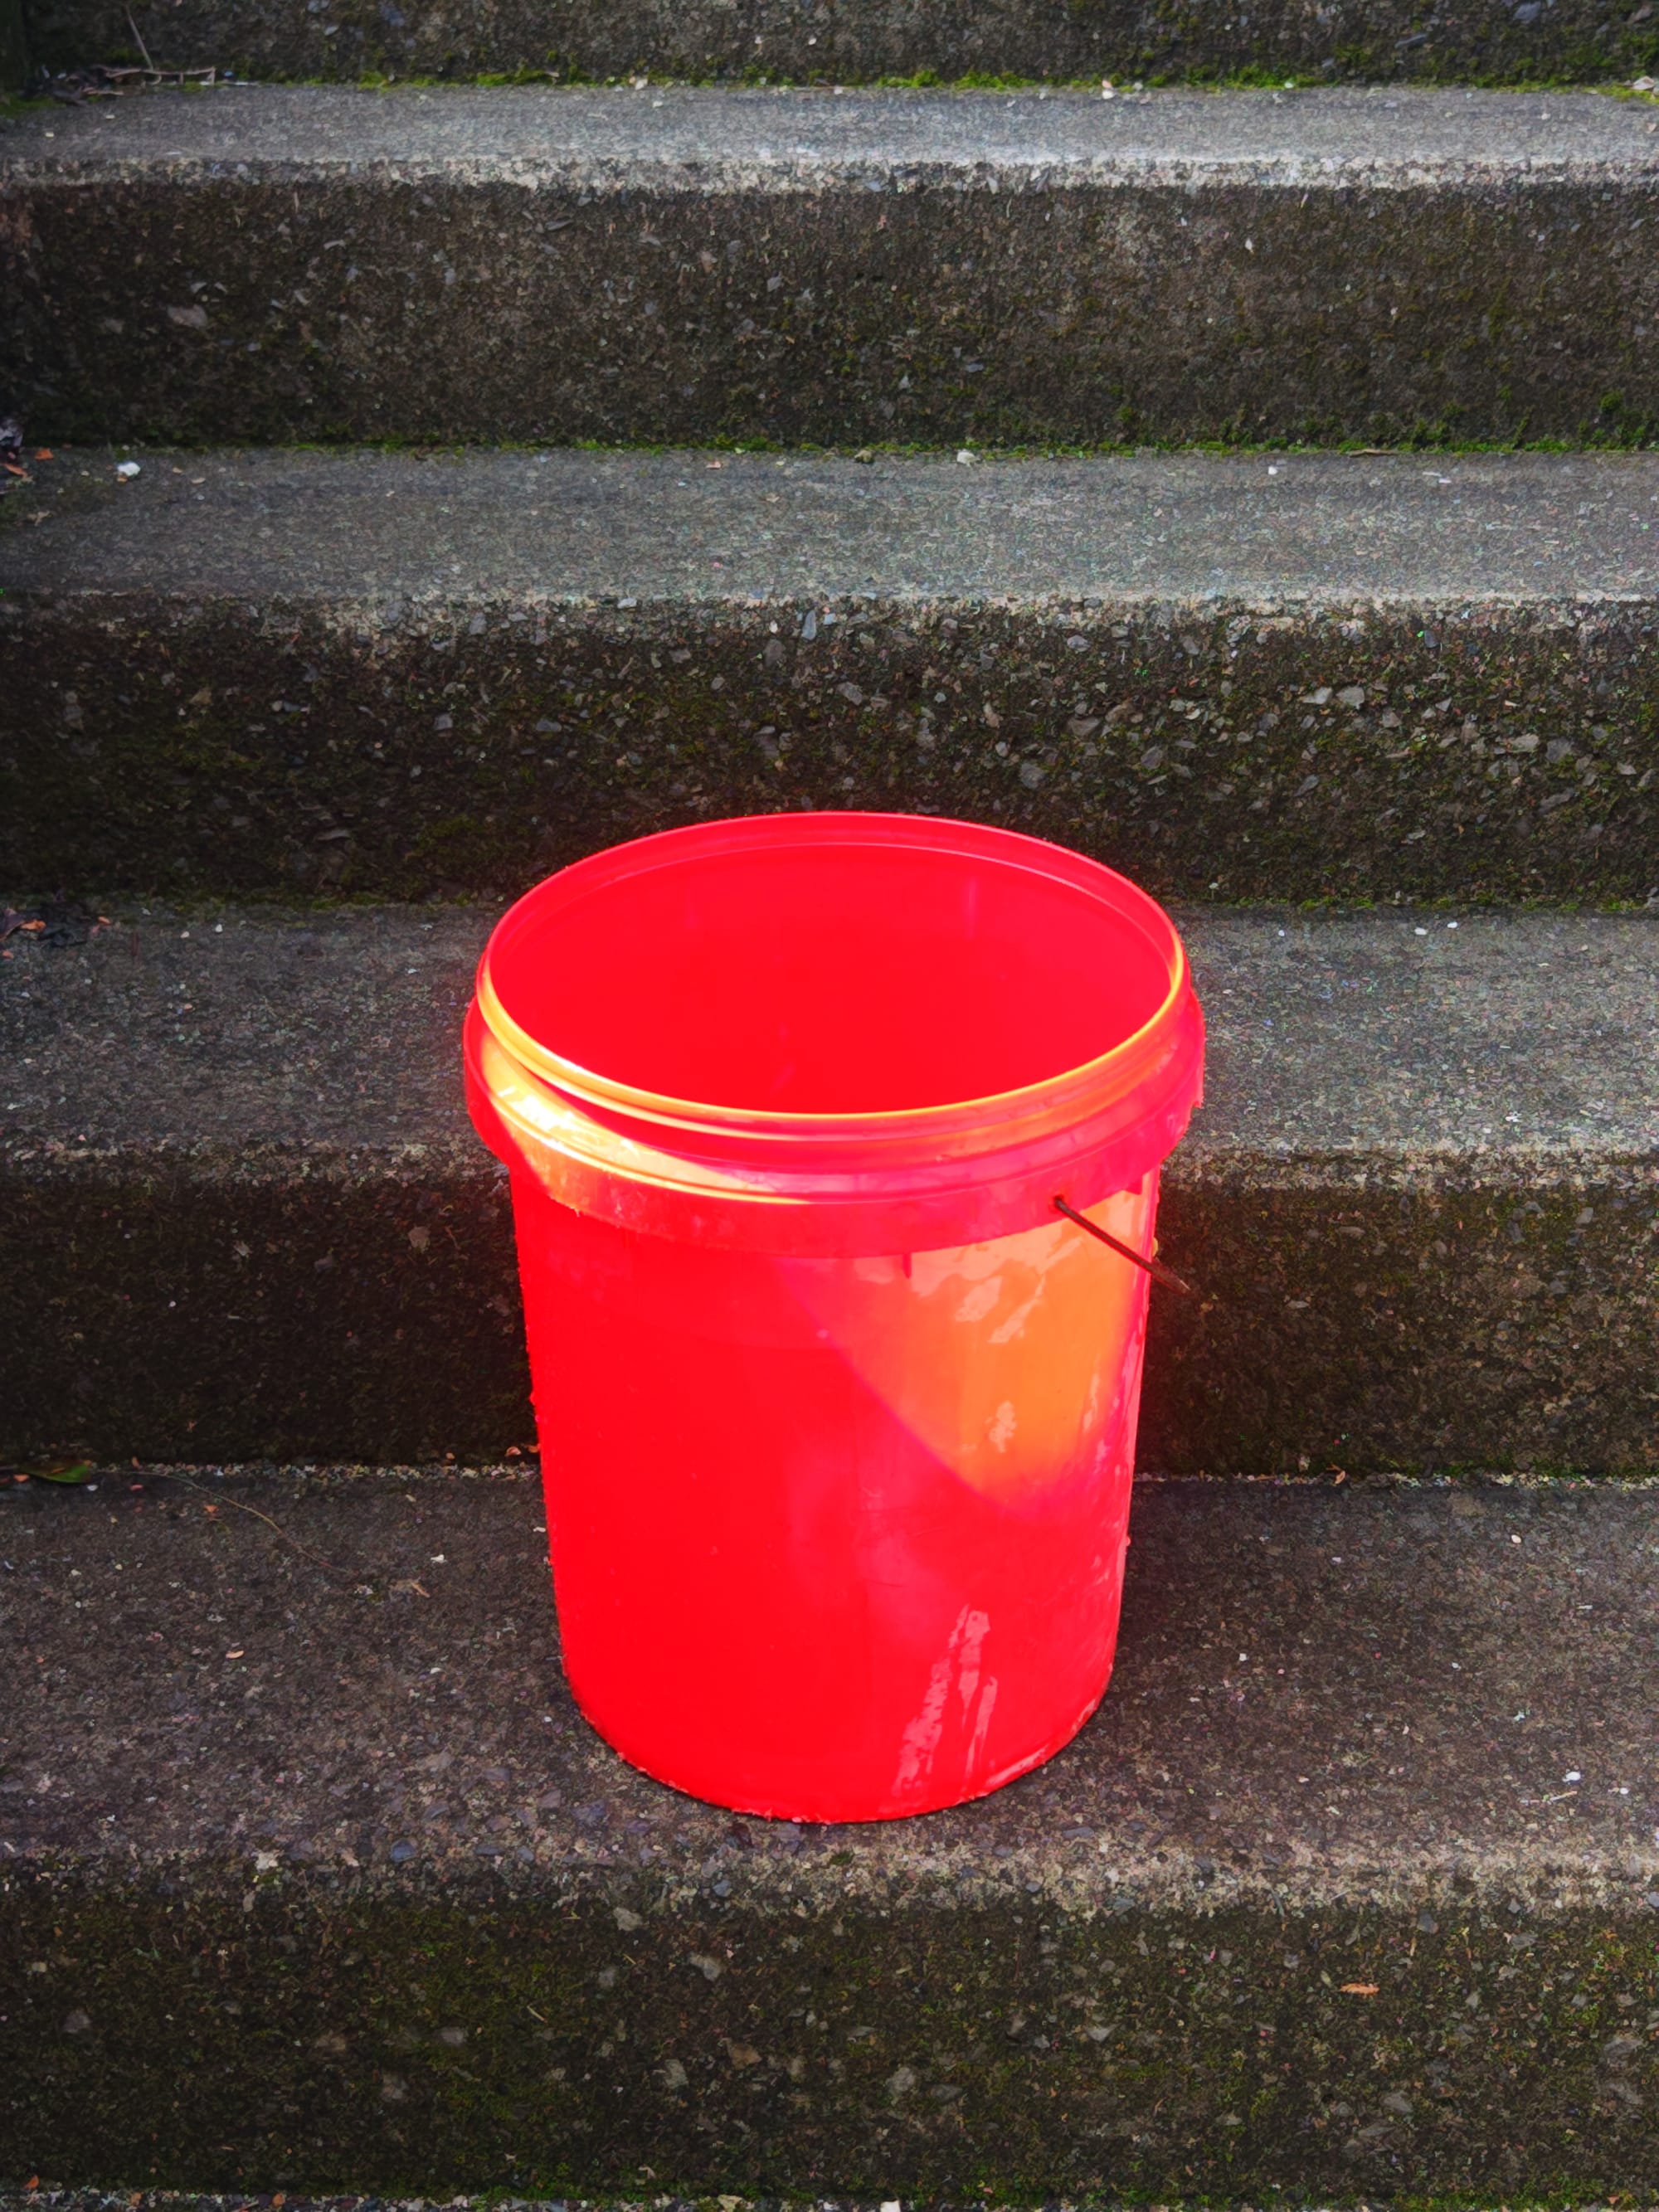
Making Mud
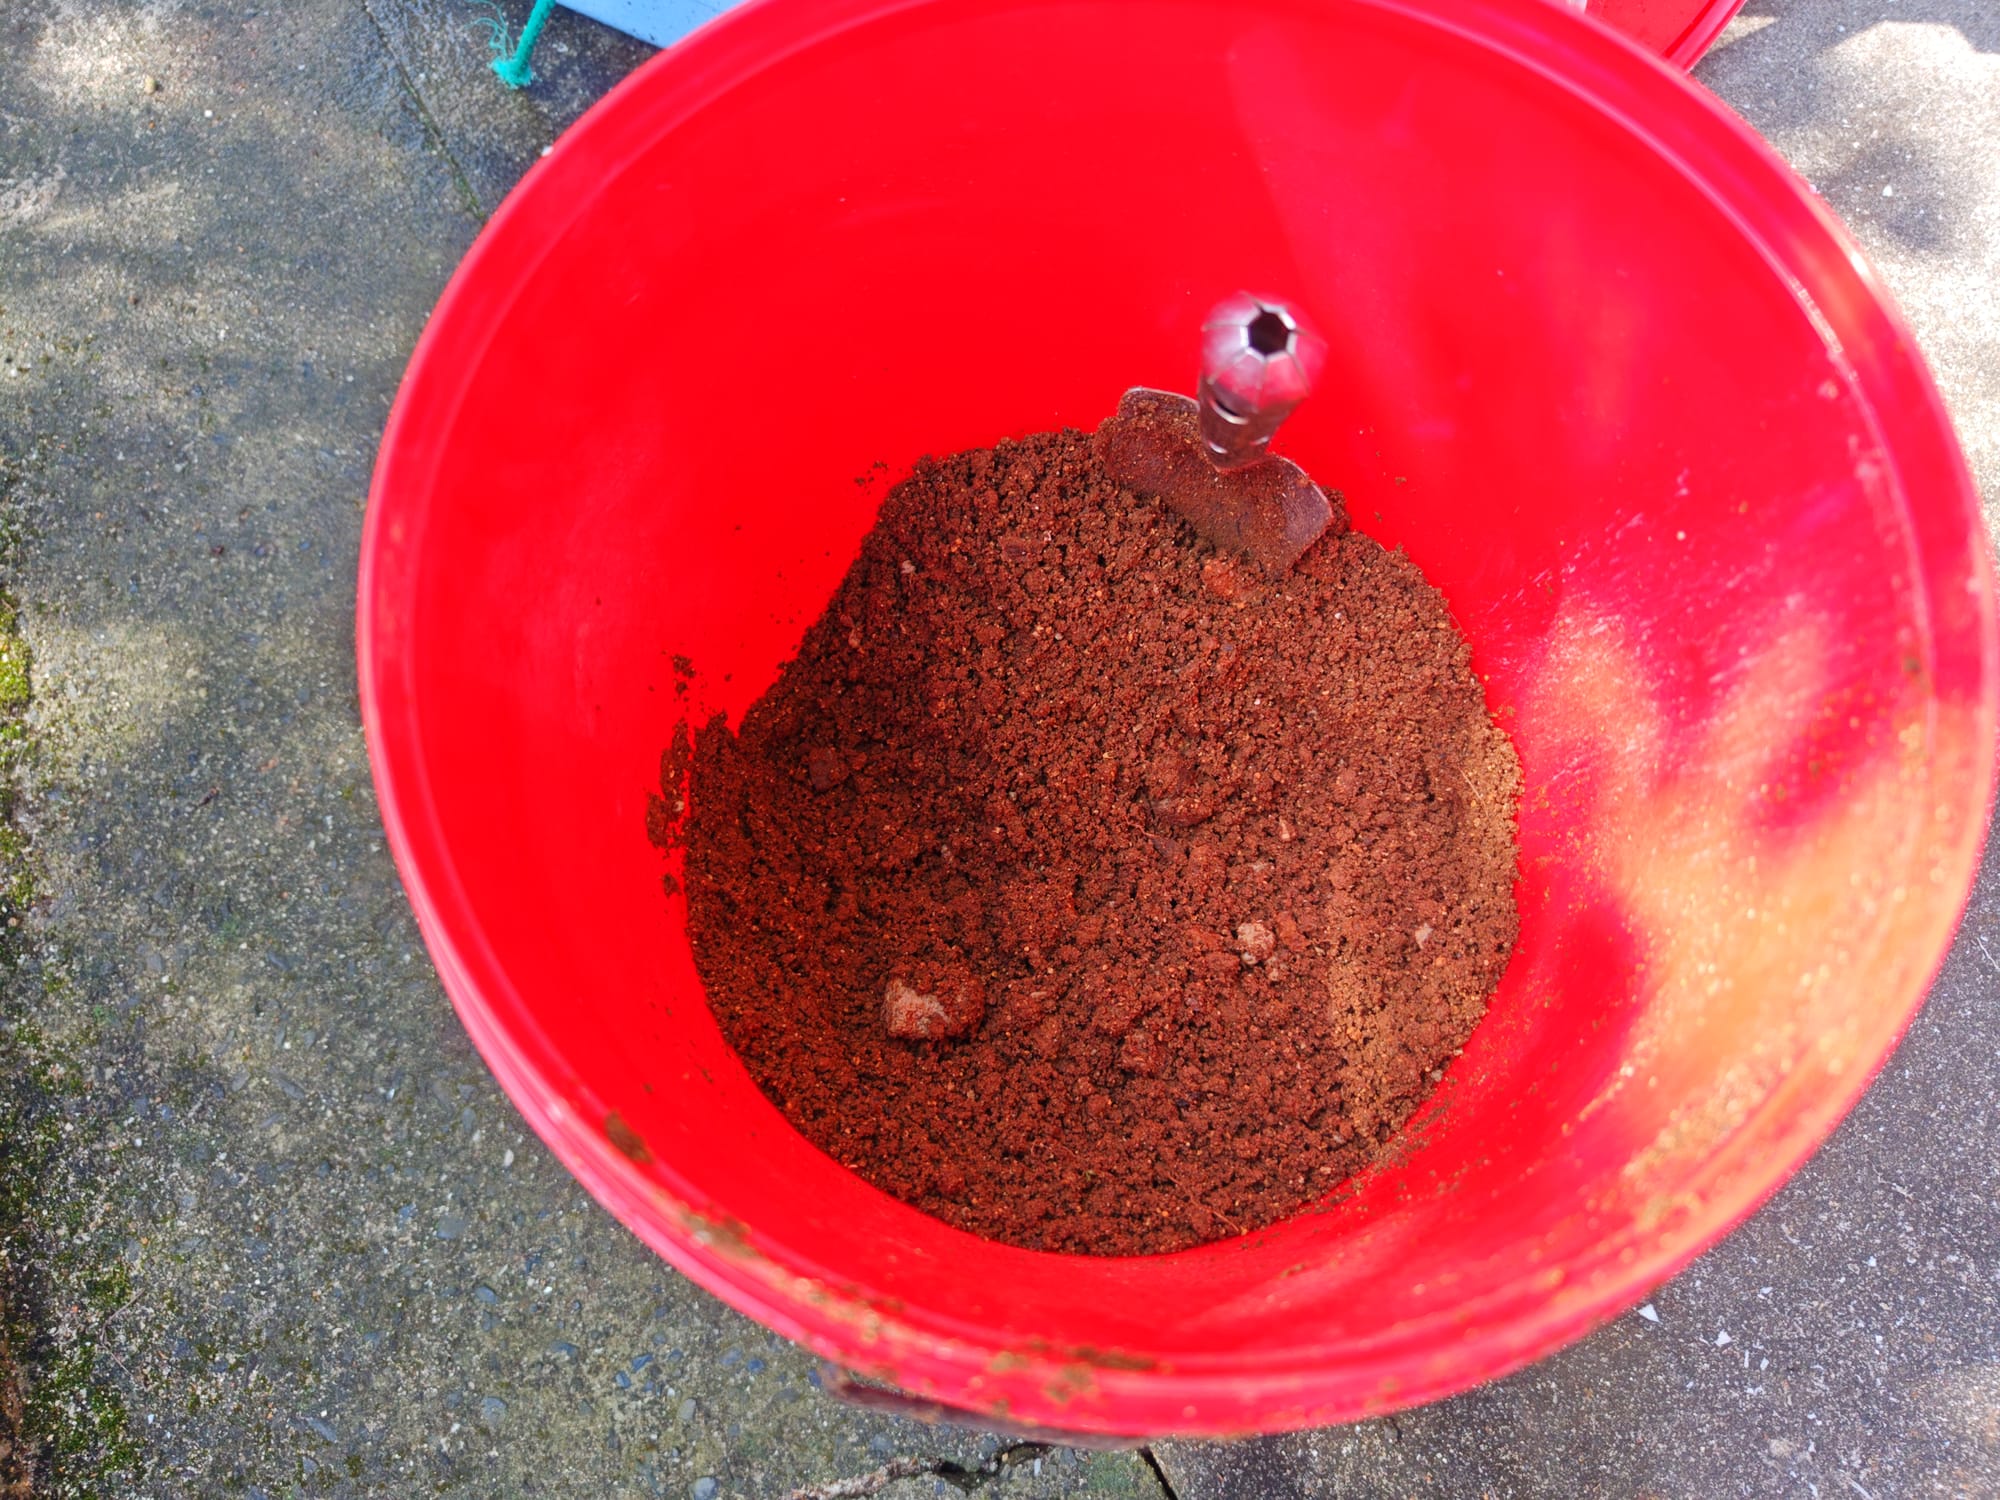
Breaking up the larger clumps of soil, I combined everything in the bucket with water for wet processing. It is necessary to very thoroughly mix the soil with the water, often mashing larger clumps to release the finest clay particles into suspension. This can be done any number of ways, but I did it with my bare hands (for free). The goal is to produce a liquid clay colloid where as much of the clay content of the soil is suspended in the water as possible. By waiting about a half hour after mixing, essentially all of the larger components of the soil - including gravel, sand, and silt - settle to the bottom of the bucket as a thick, consolidated layer of mud. Light organic matter floated to the top and could be skimmed off or filtered out with a simple kitchen strainer.
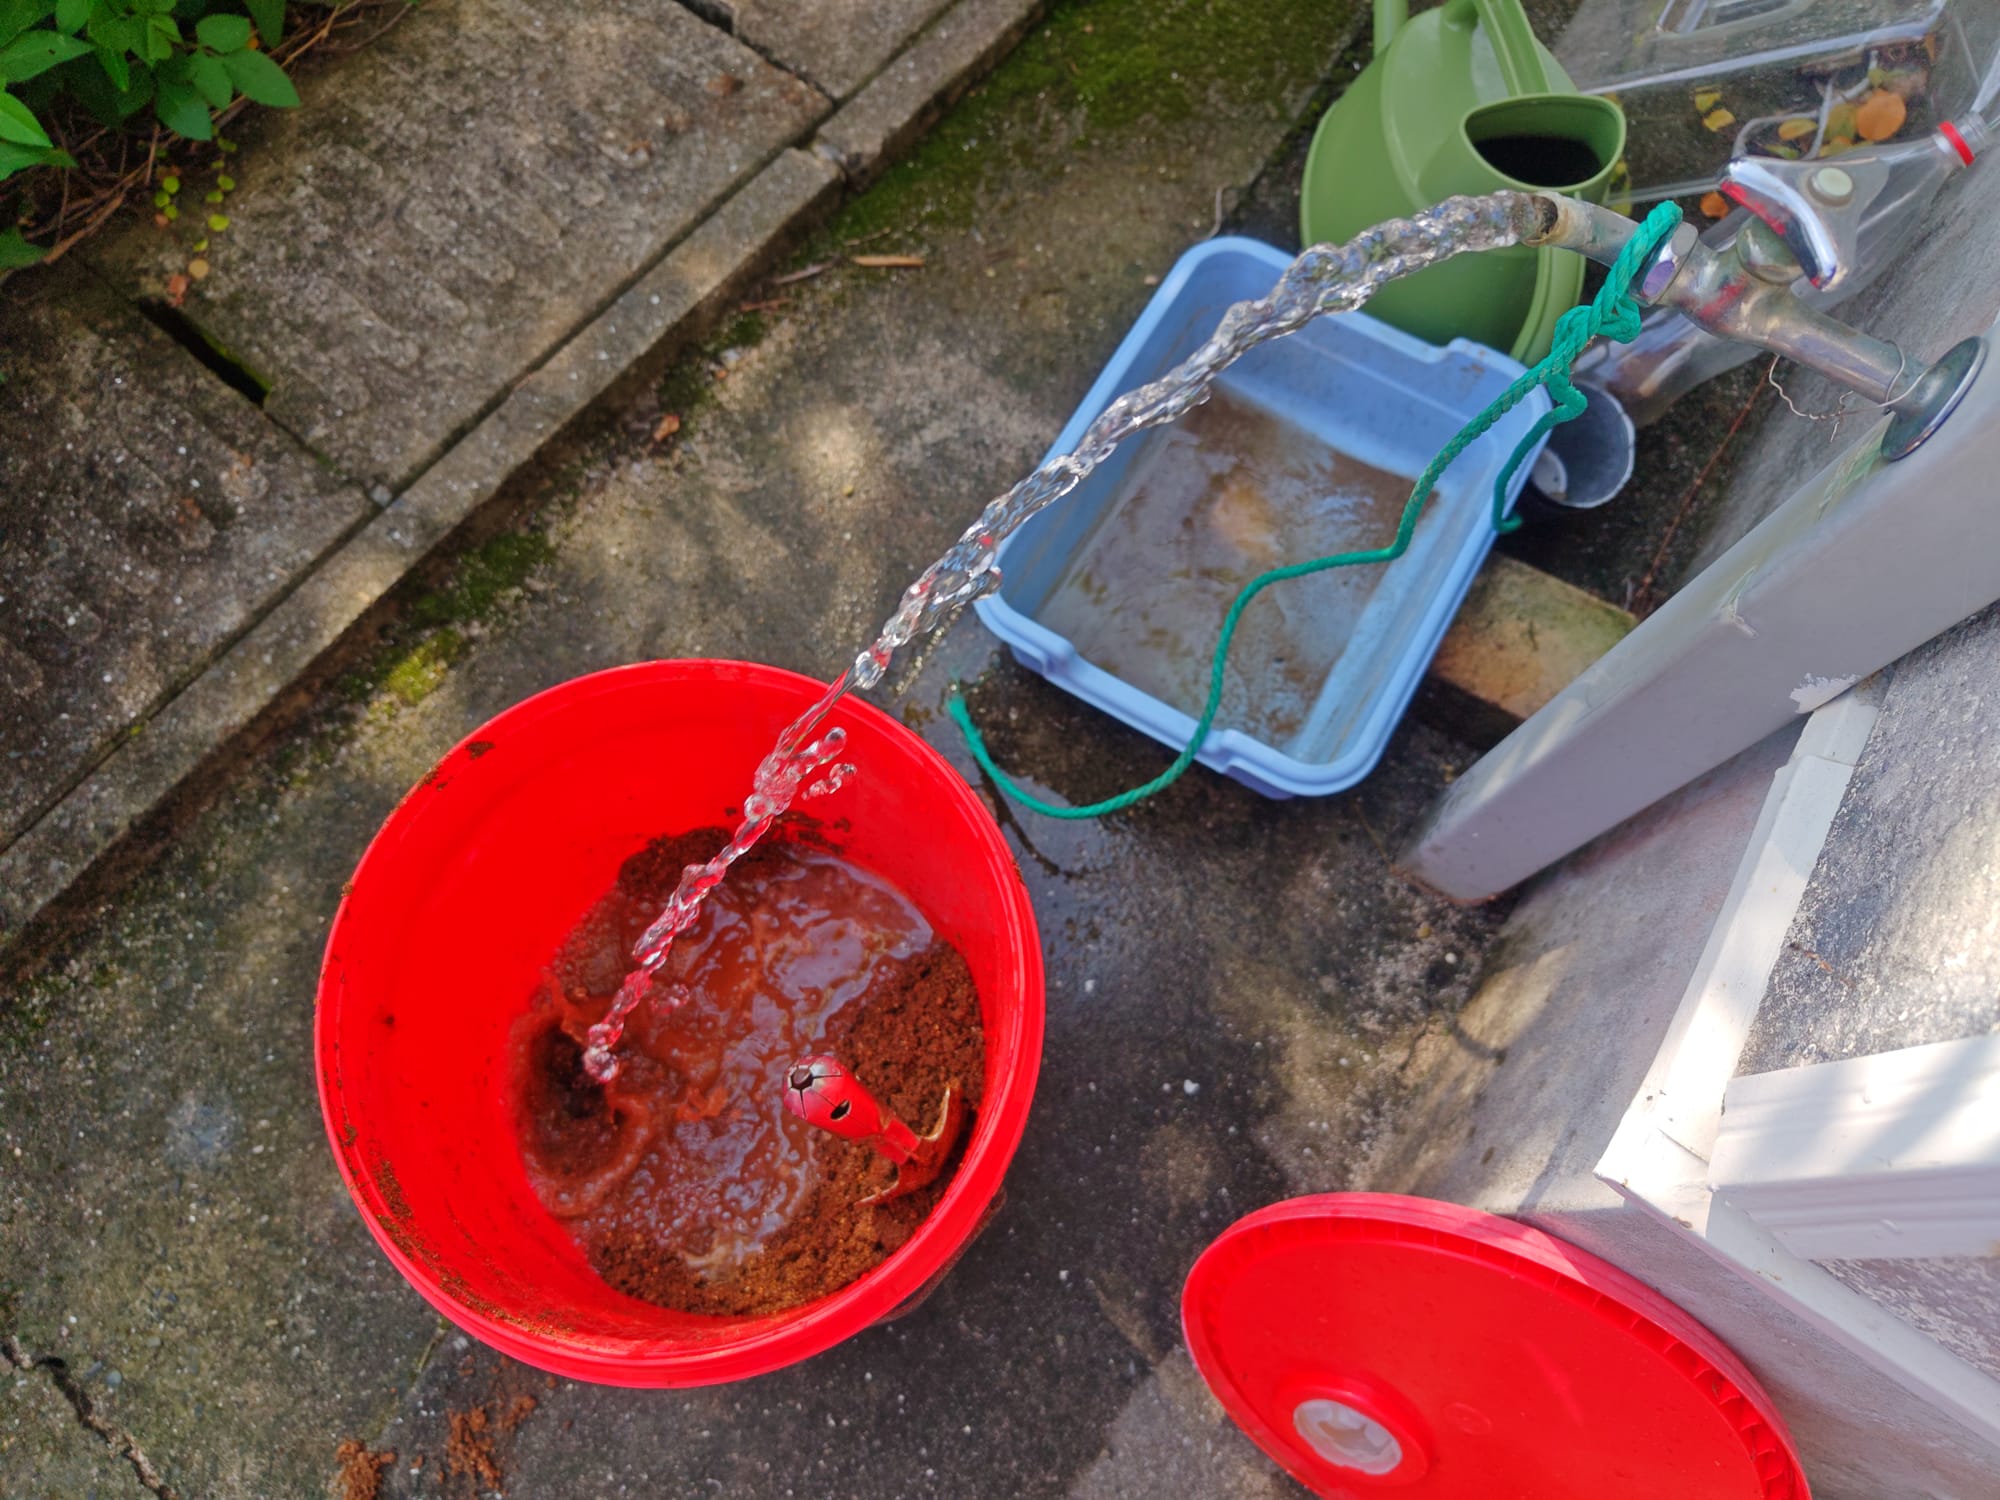
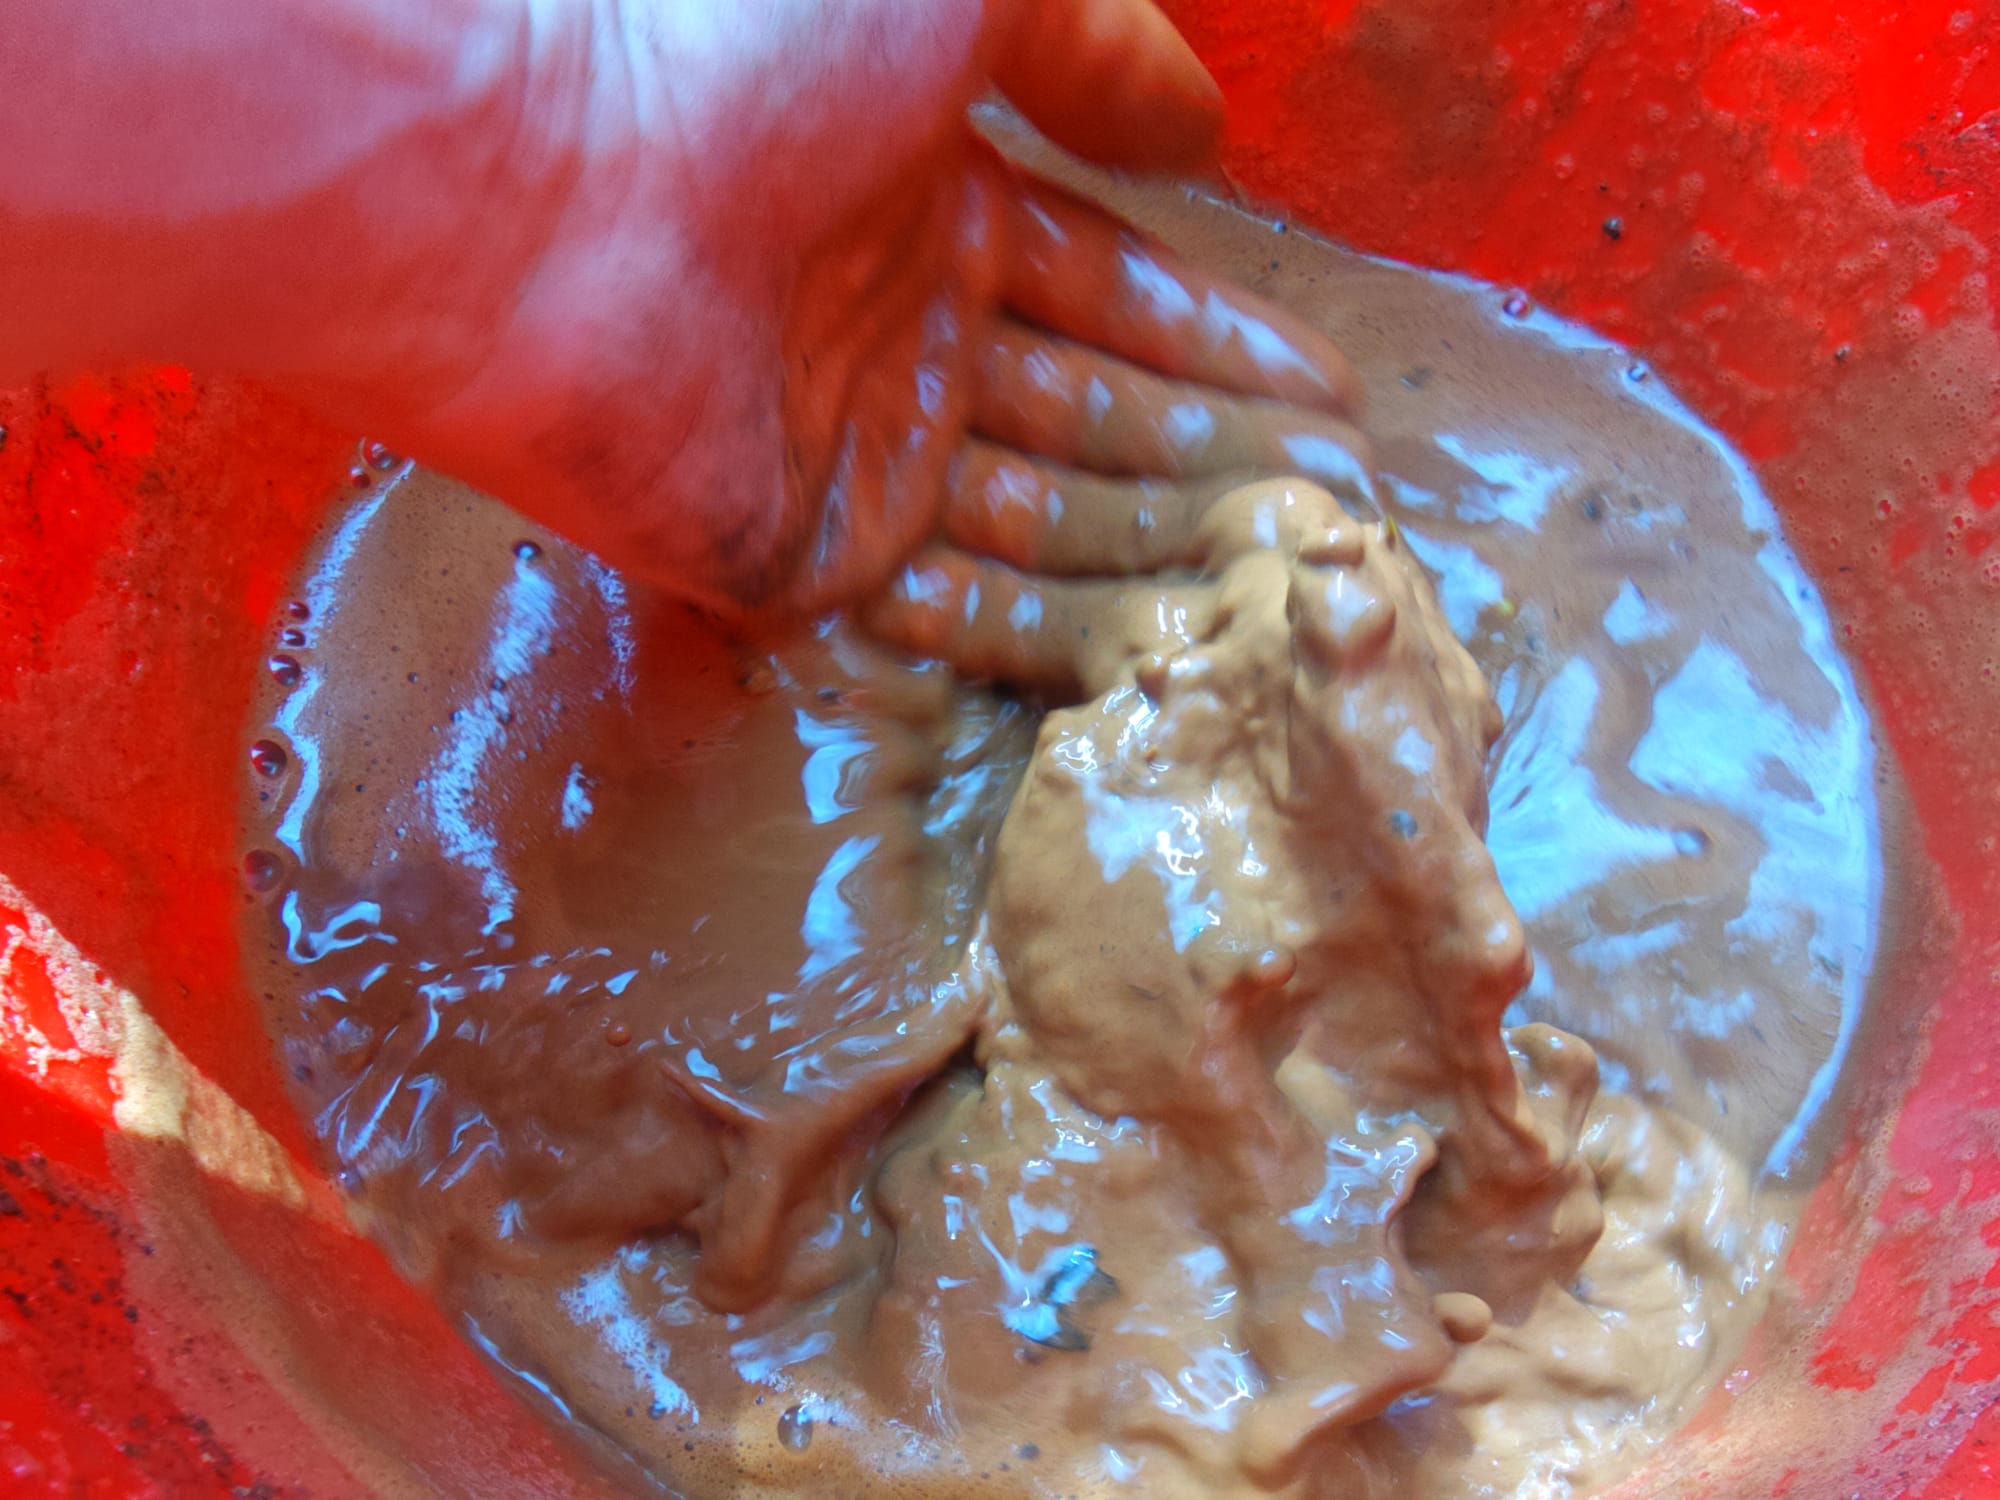
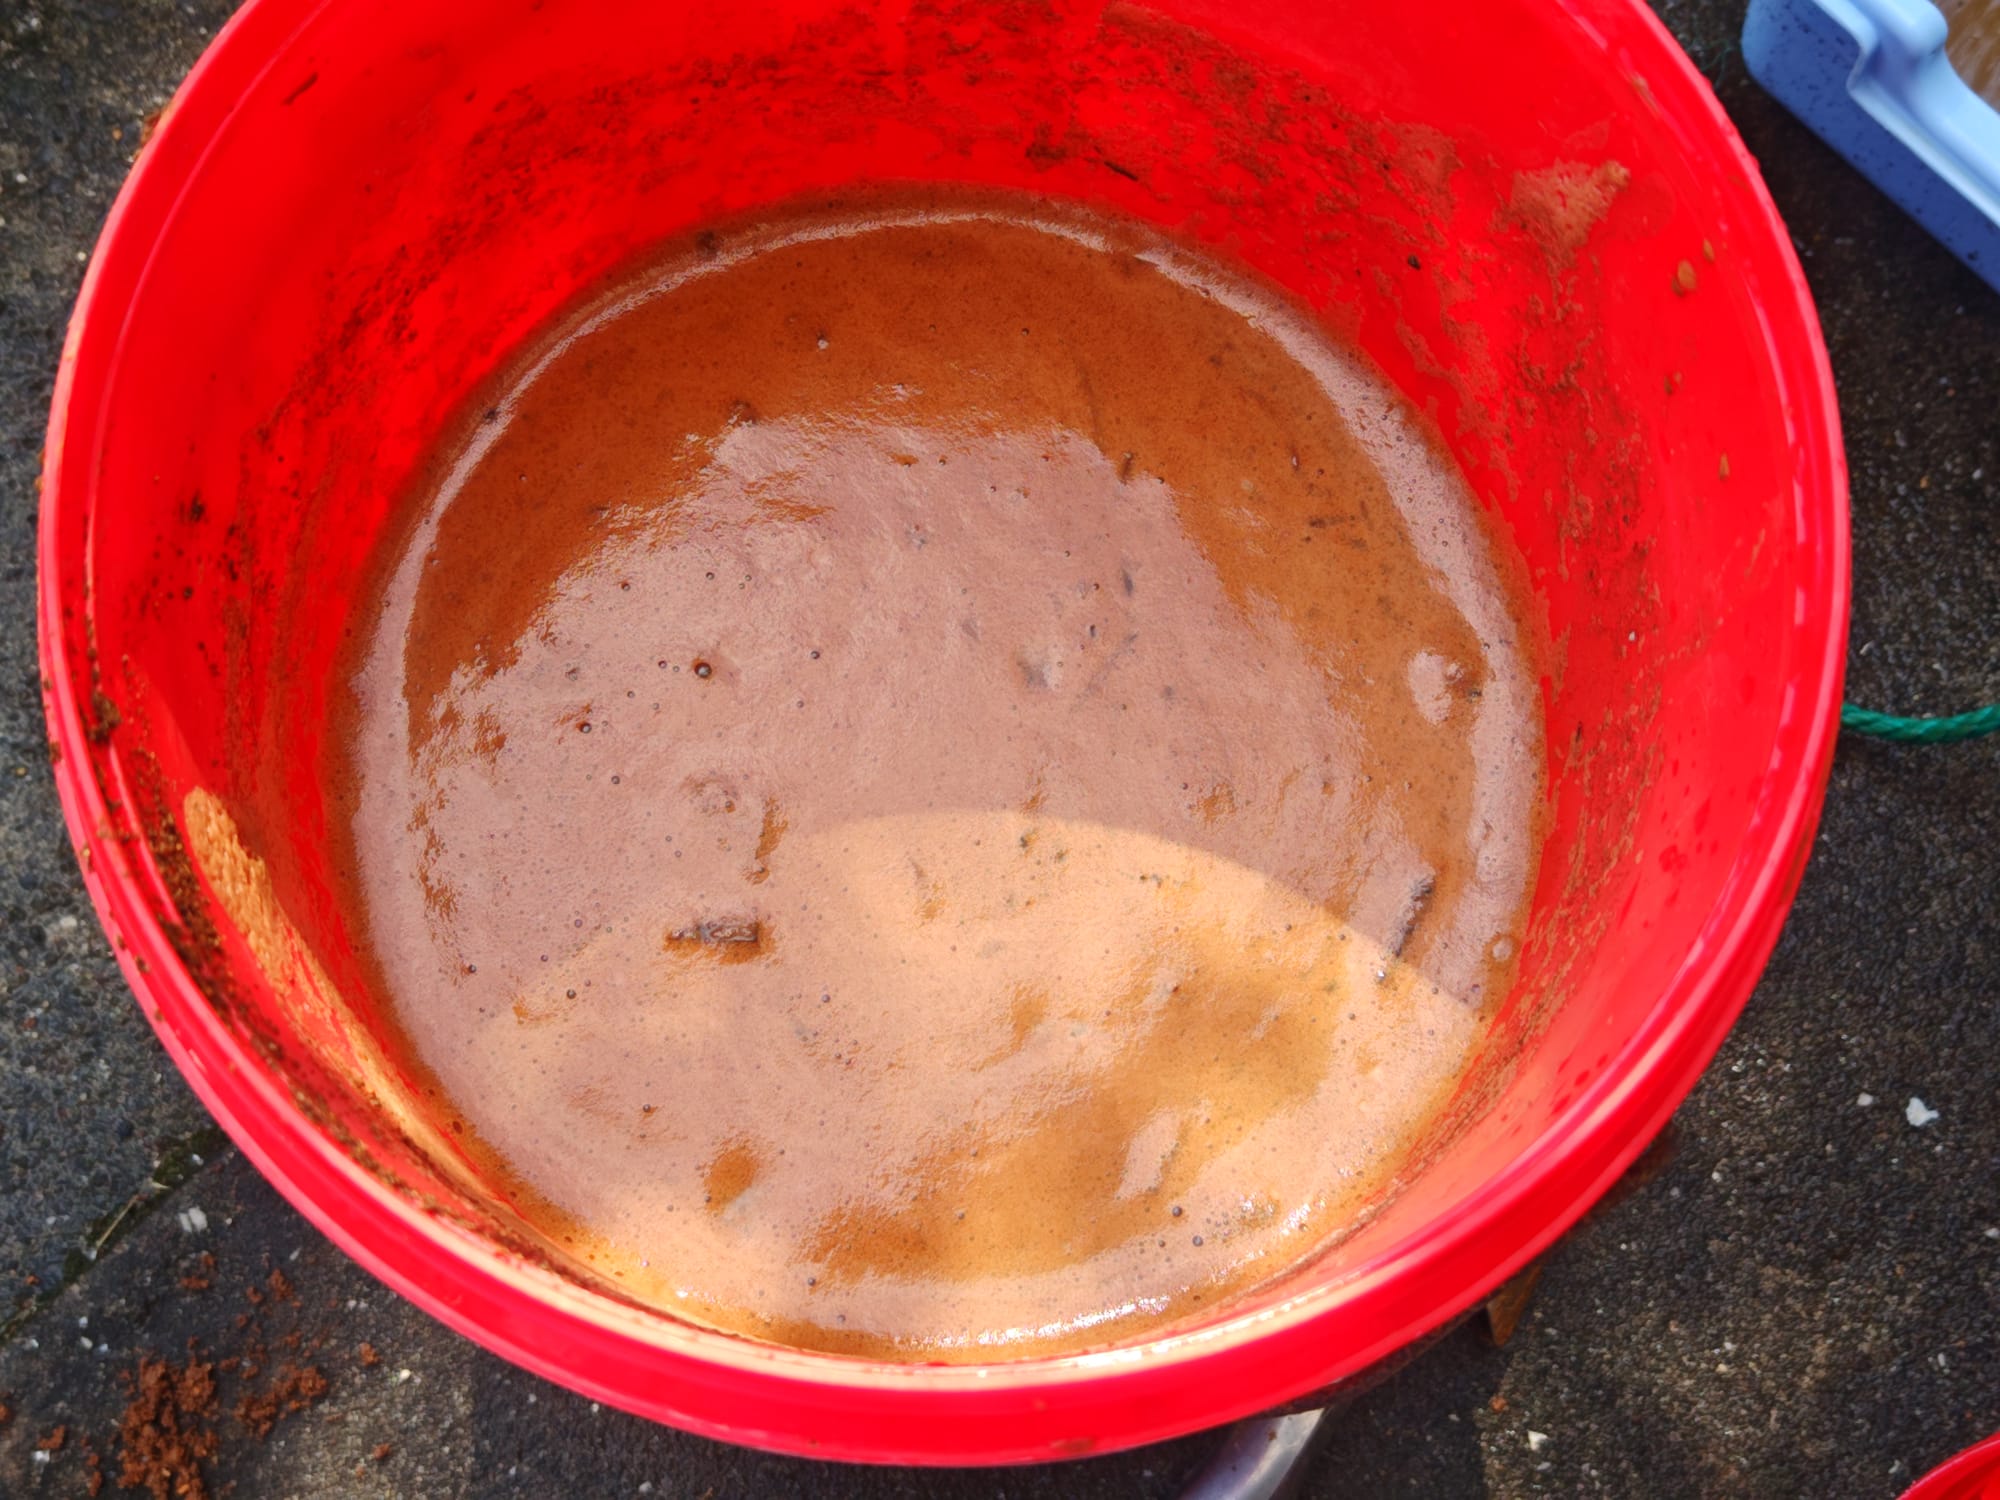
To a bucket ¼ full of loose soil, add water until ½ to ¾ full and mix thoroughly.
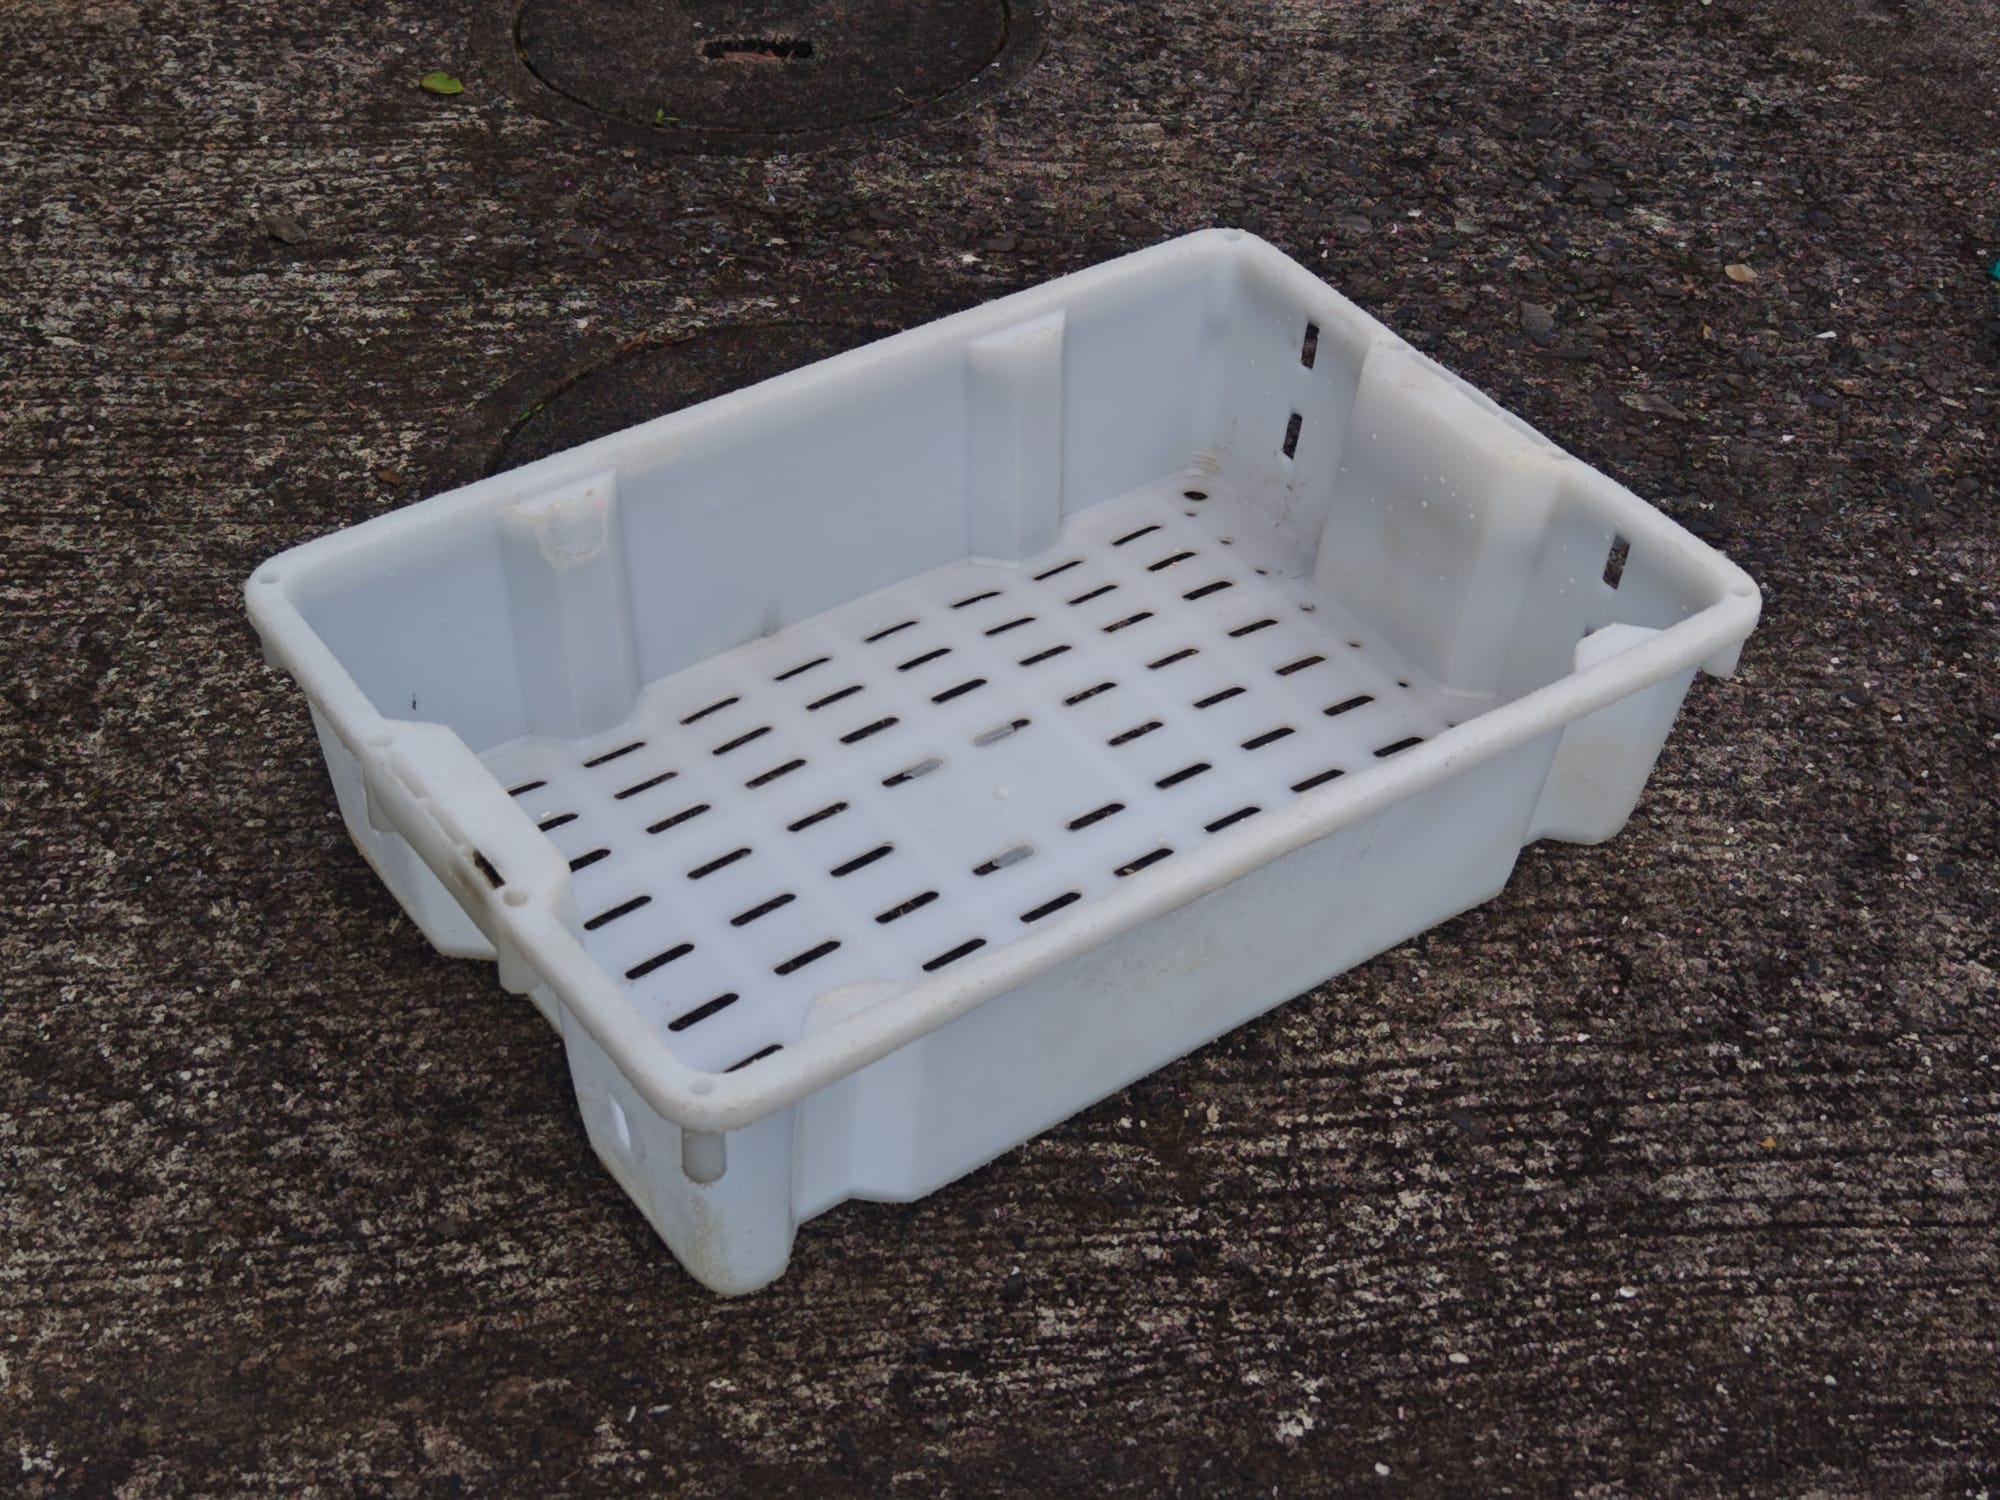
Straining Trays
From the salvaged fishing crates, the curtain, and several planks of scrap wood discarded by the same construction site as before, I prepared trays for straining the water off the liquid clay. Drilling holes in the wooden planks allows water to flow more freely beneath the curtain fabric, which is used as a filter. Since wood is porous, it also helps to absorb some moisture out of the clay. The bottoms of the crates were lined with a layer of planks, then fabric to complete the strainer. Think "coffee filter" but for clay.
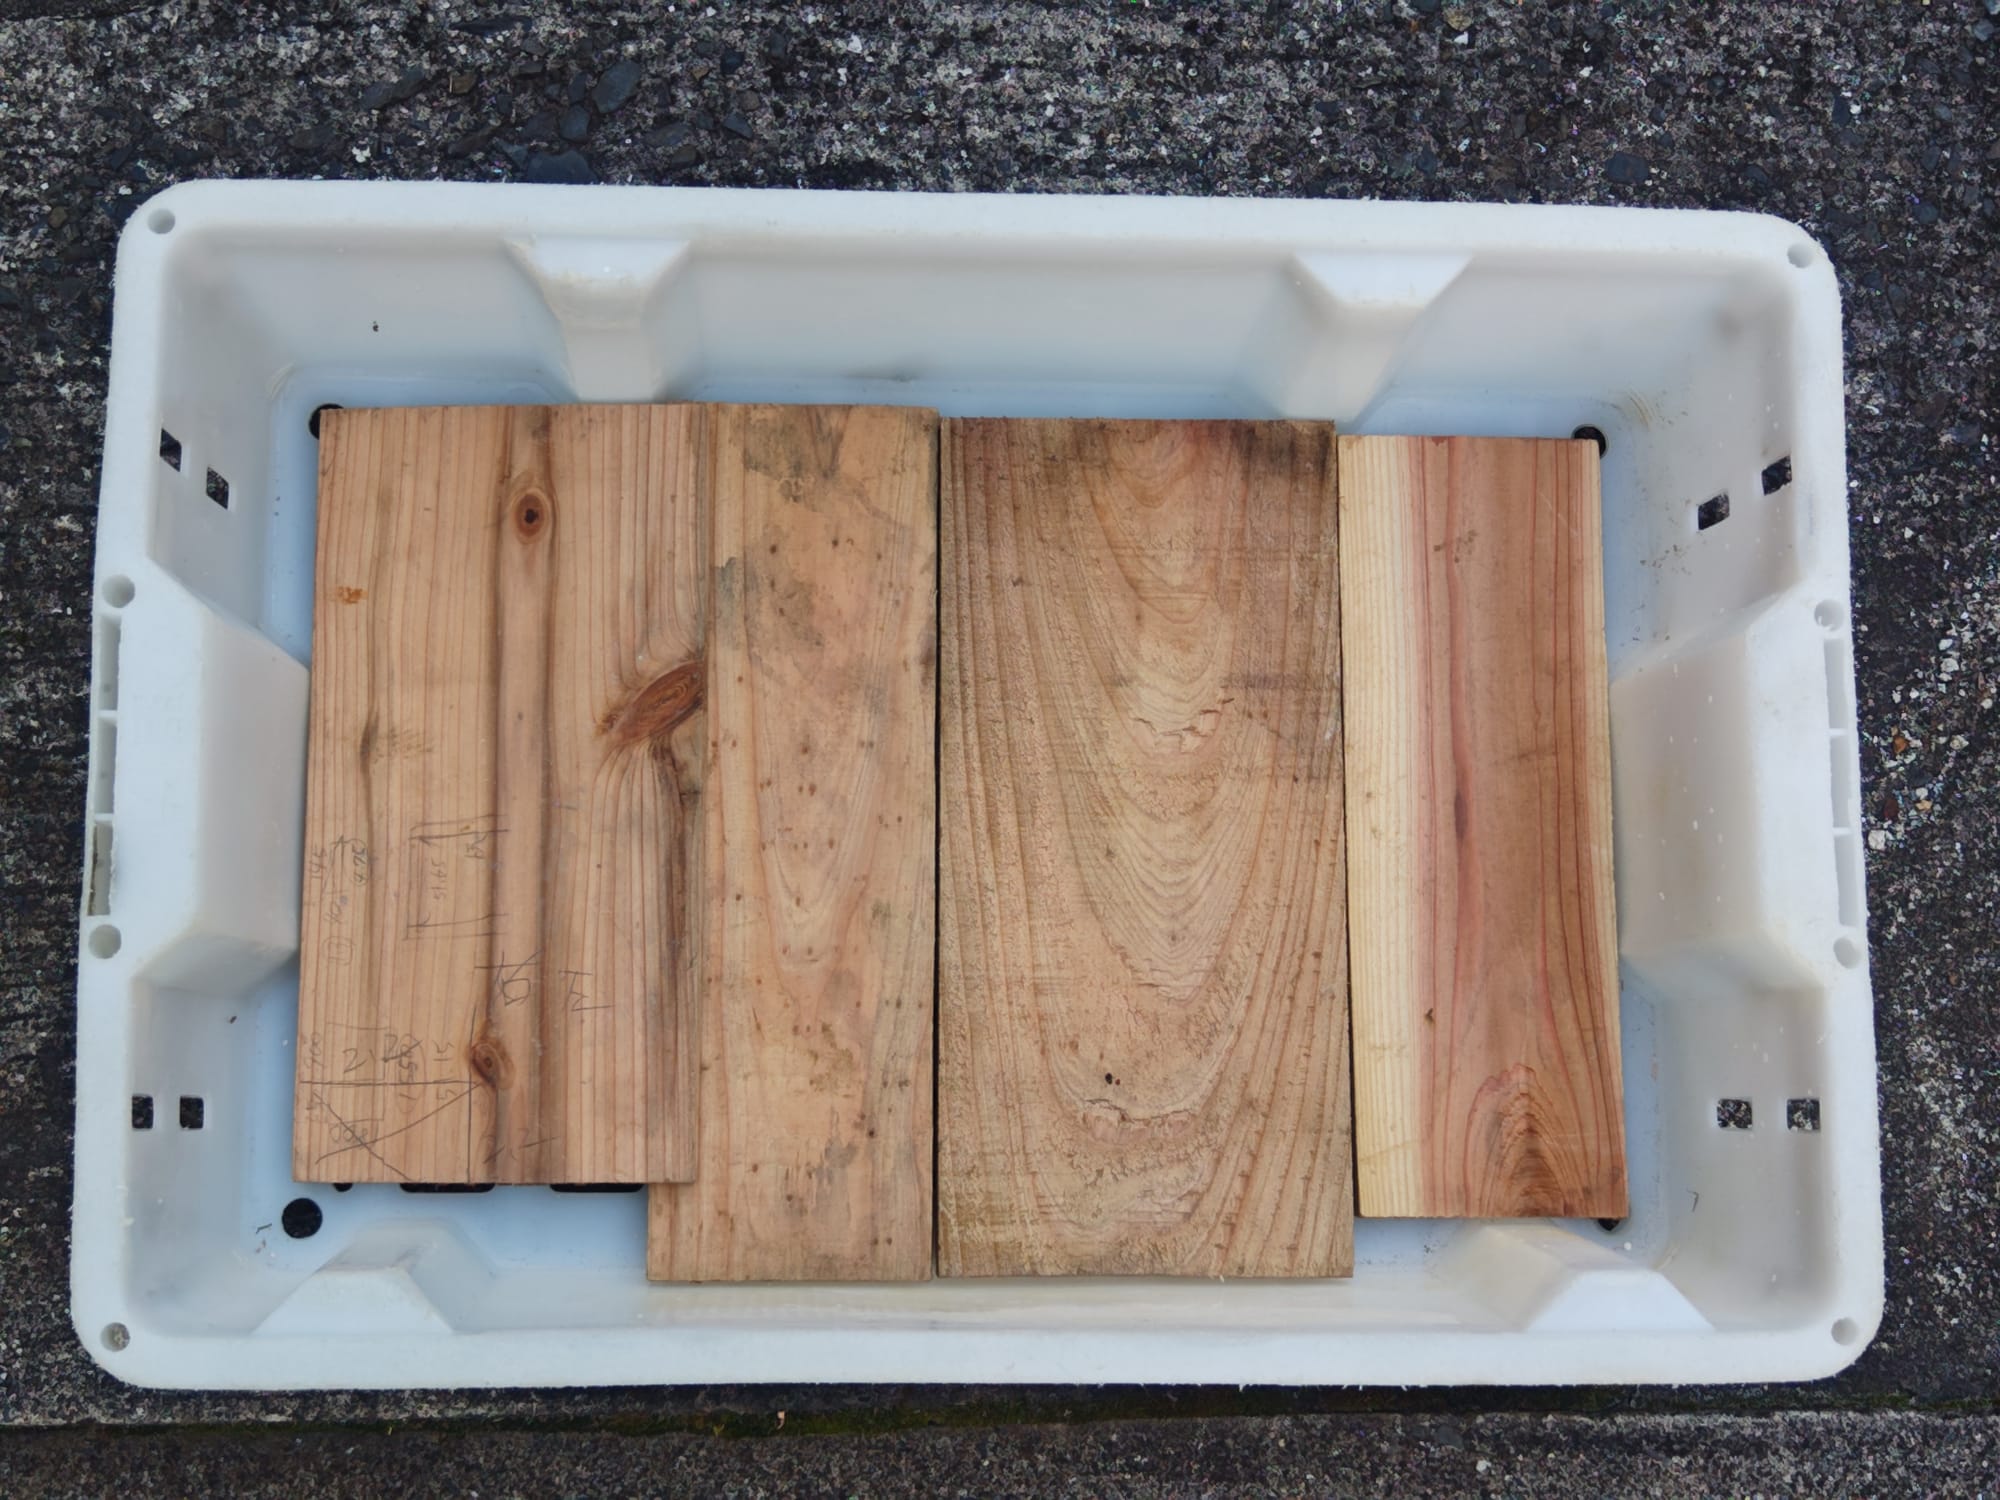
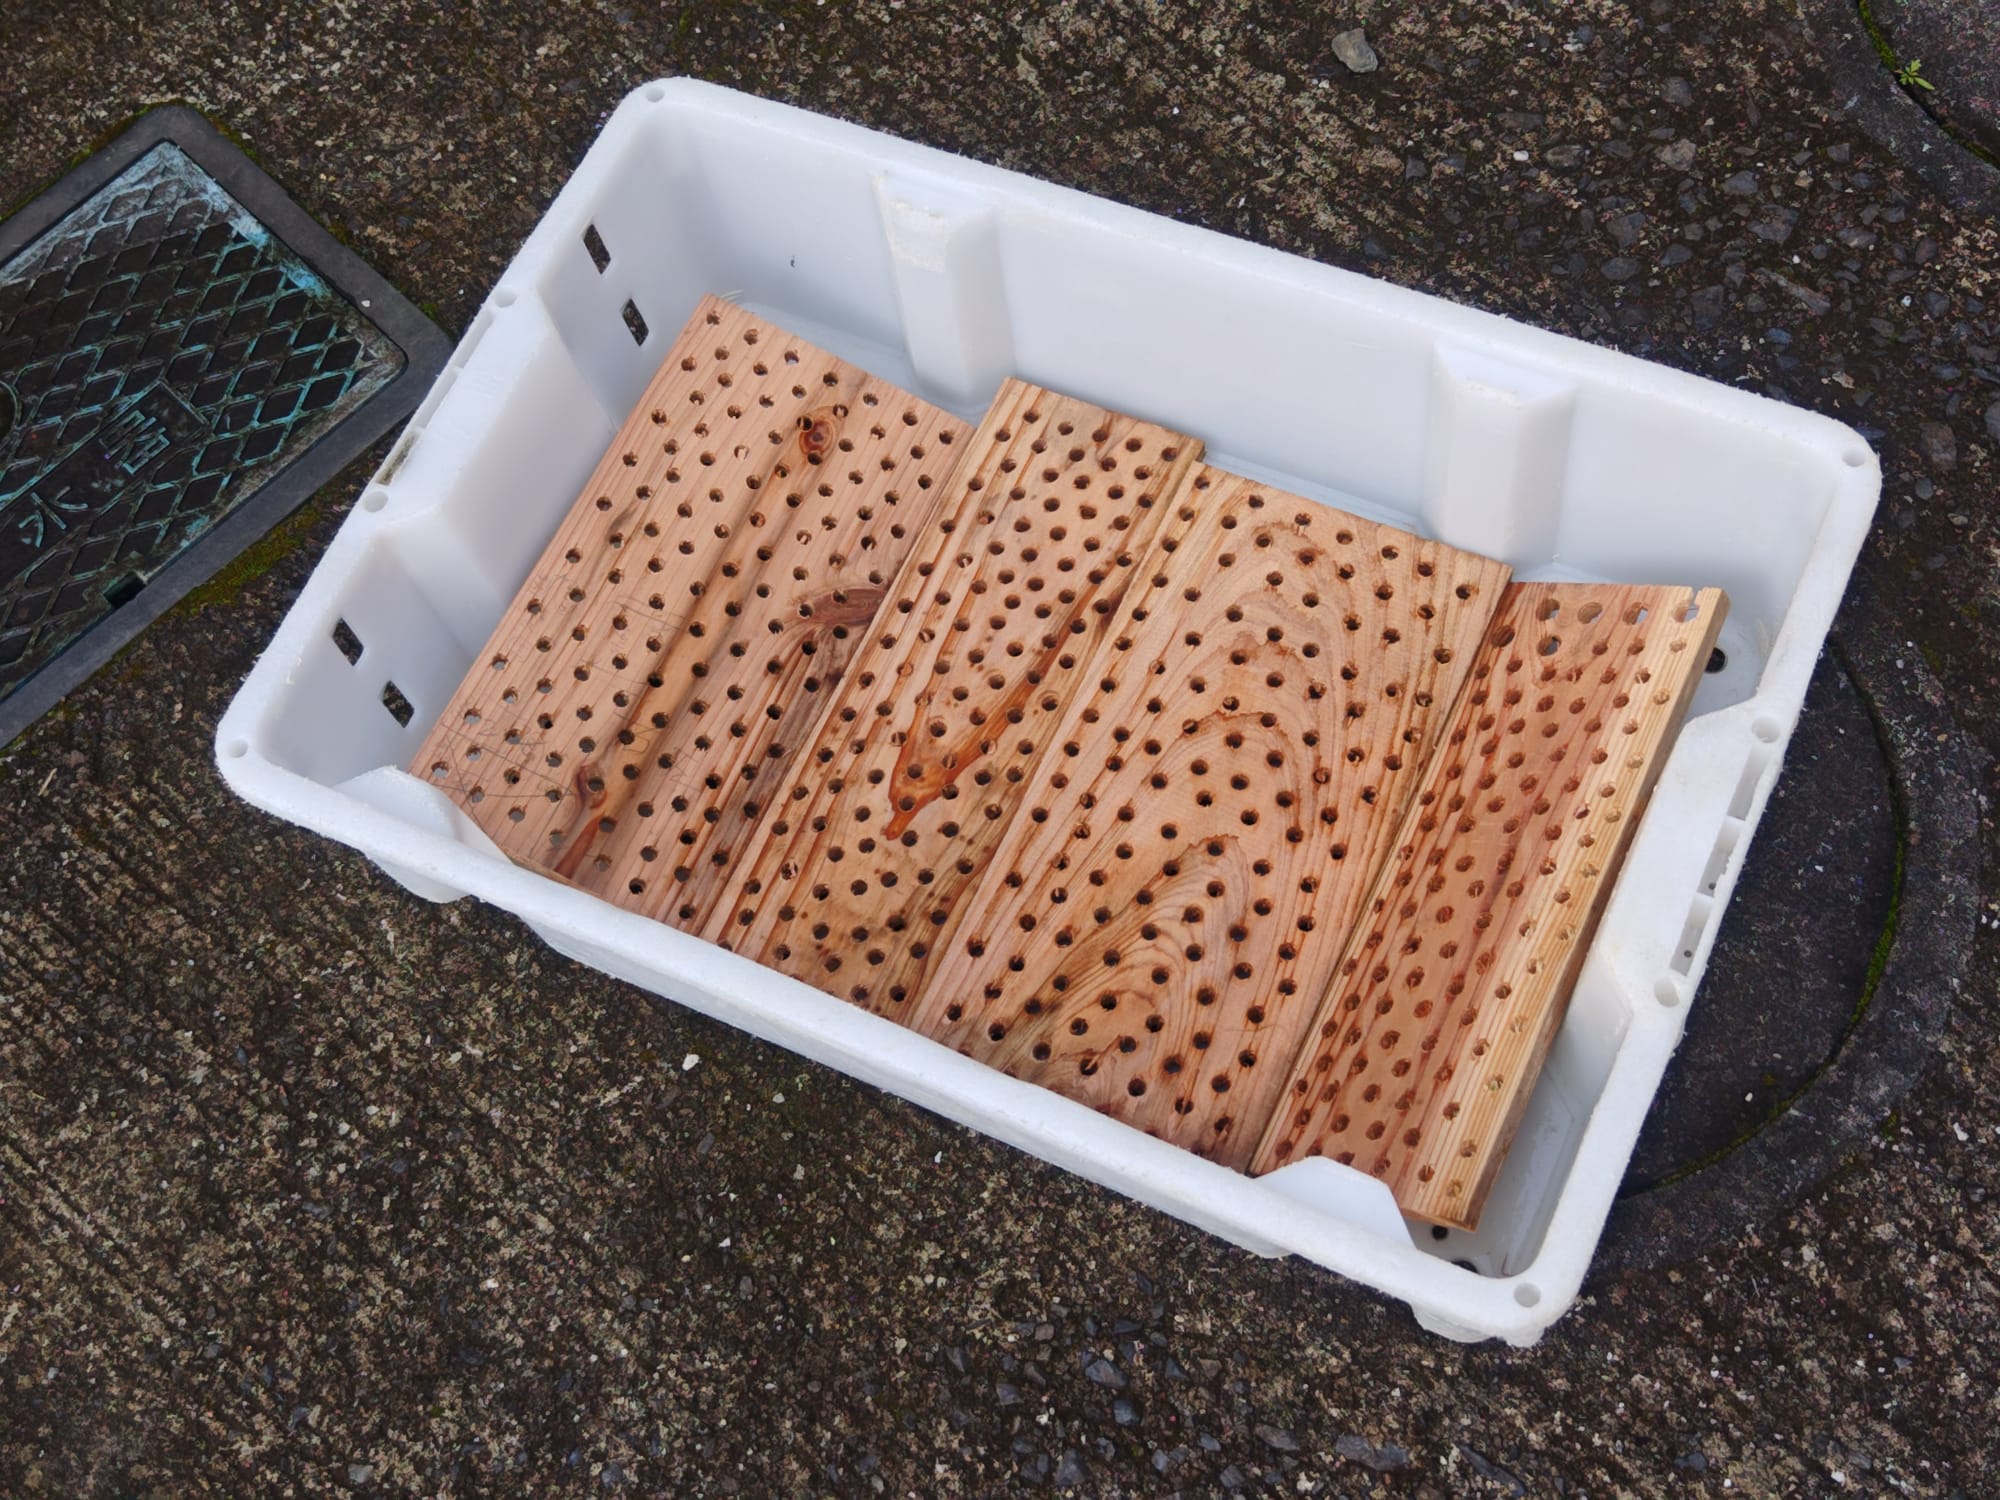
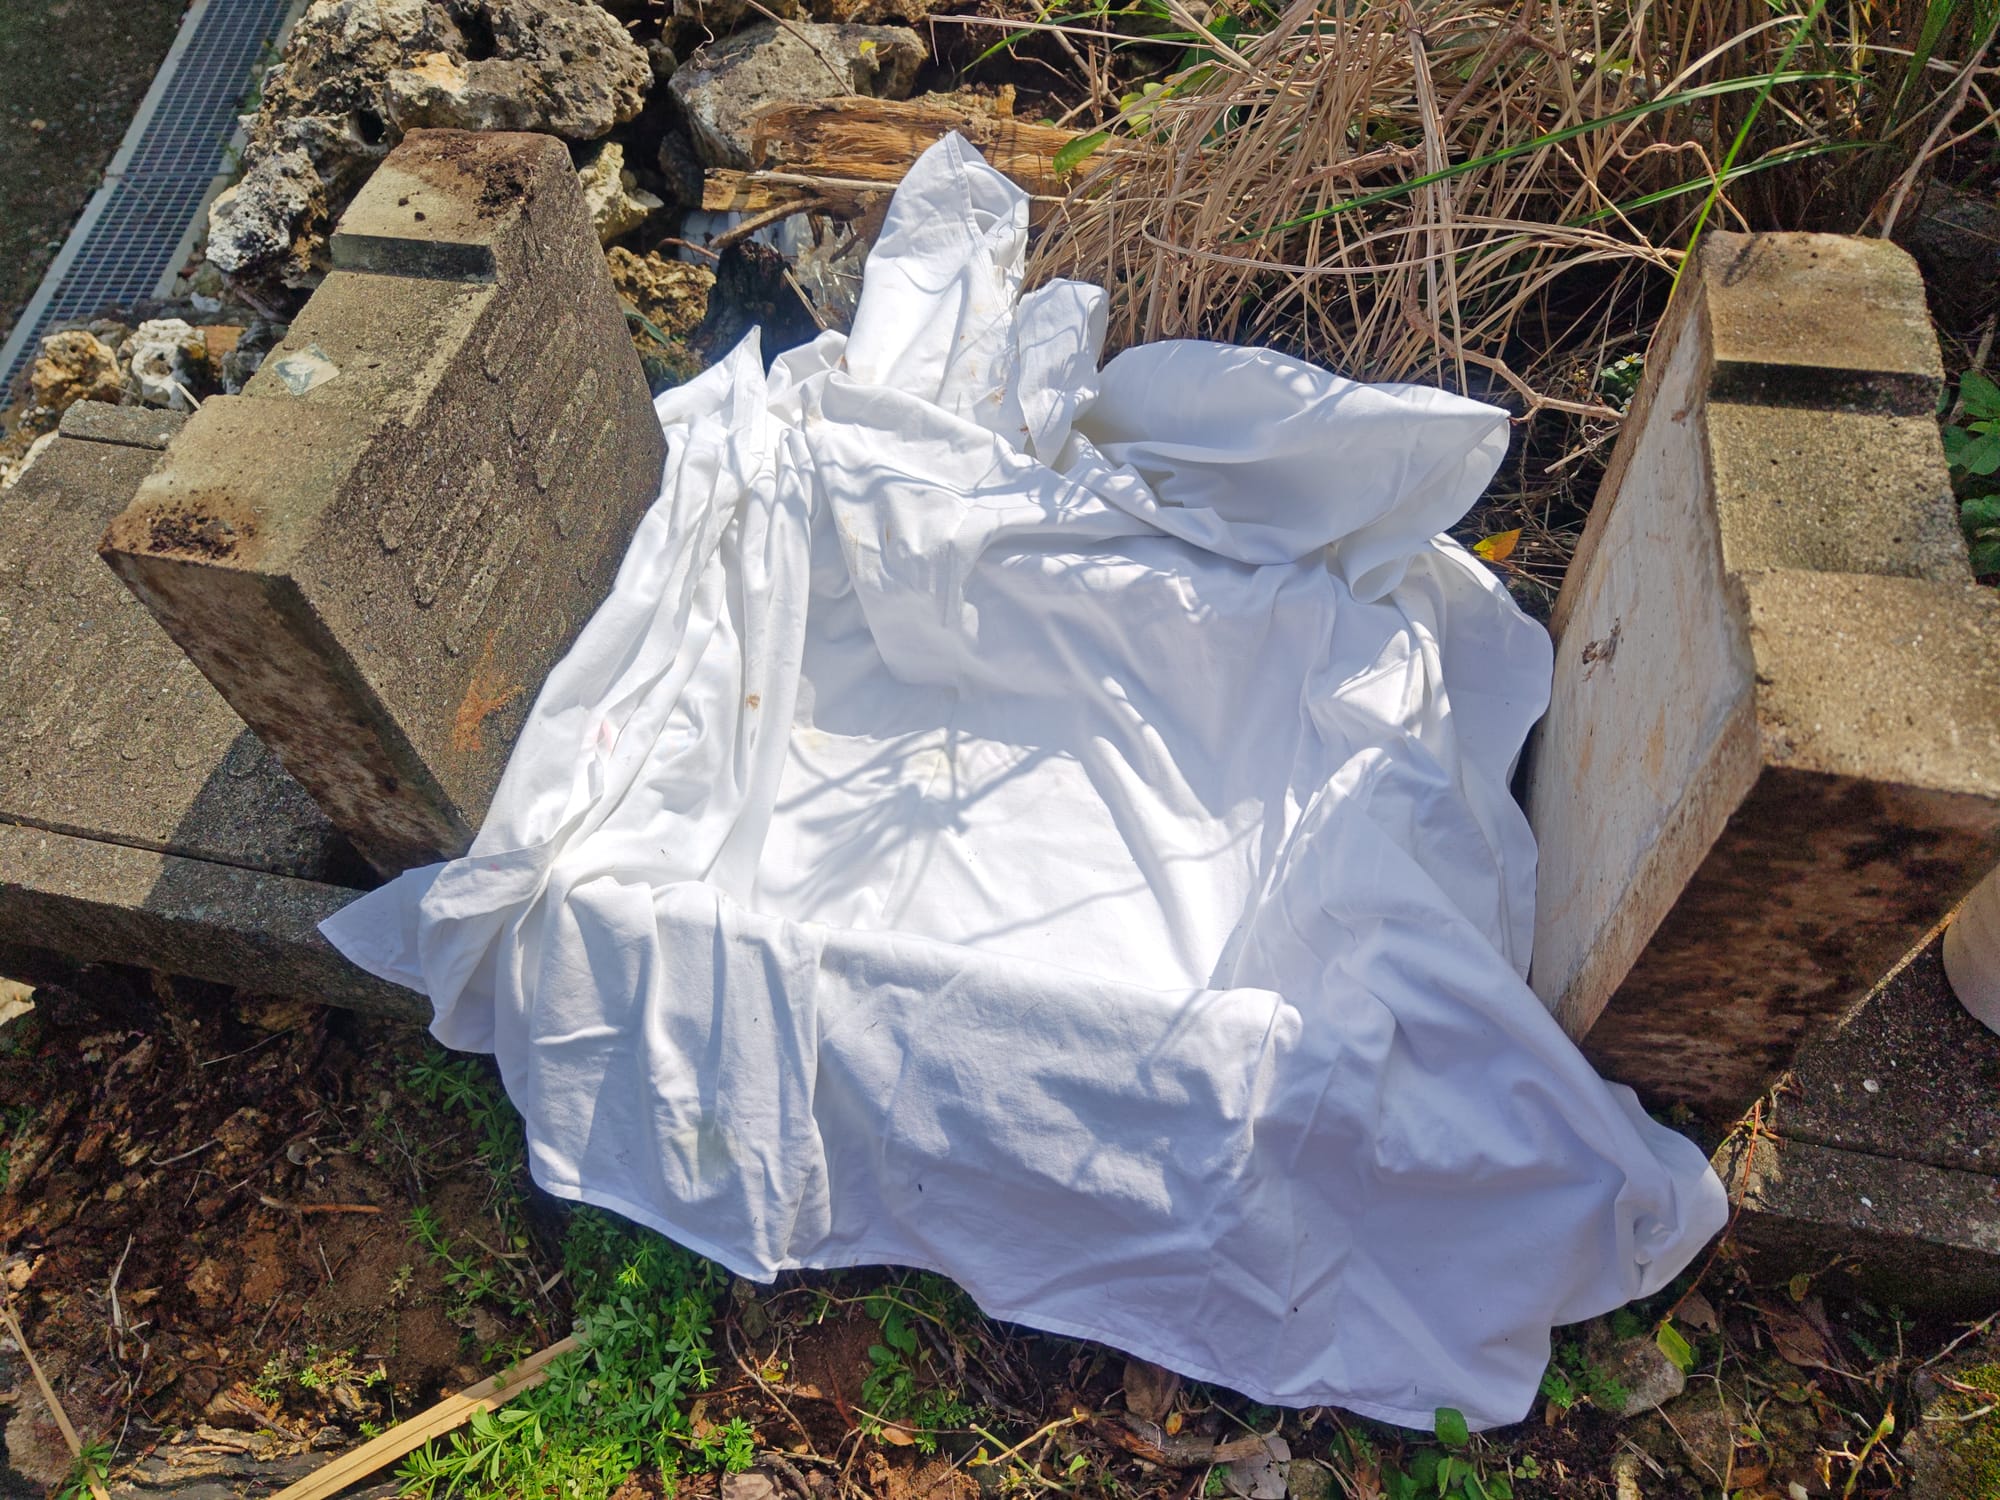
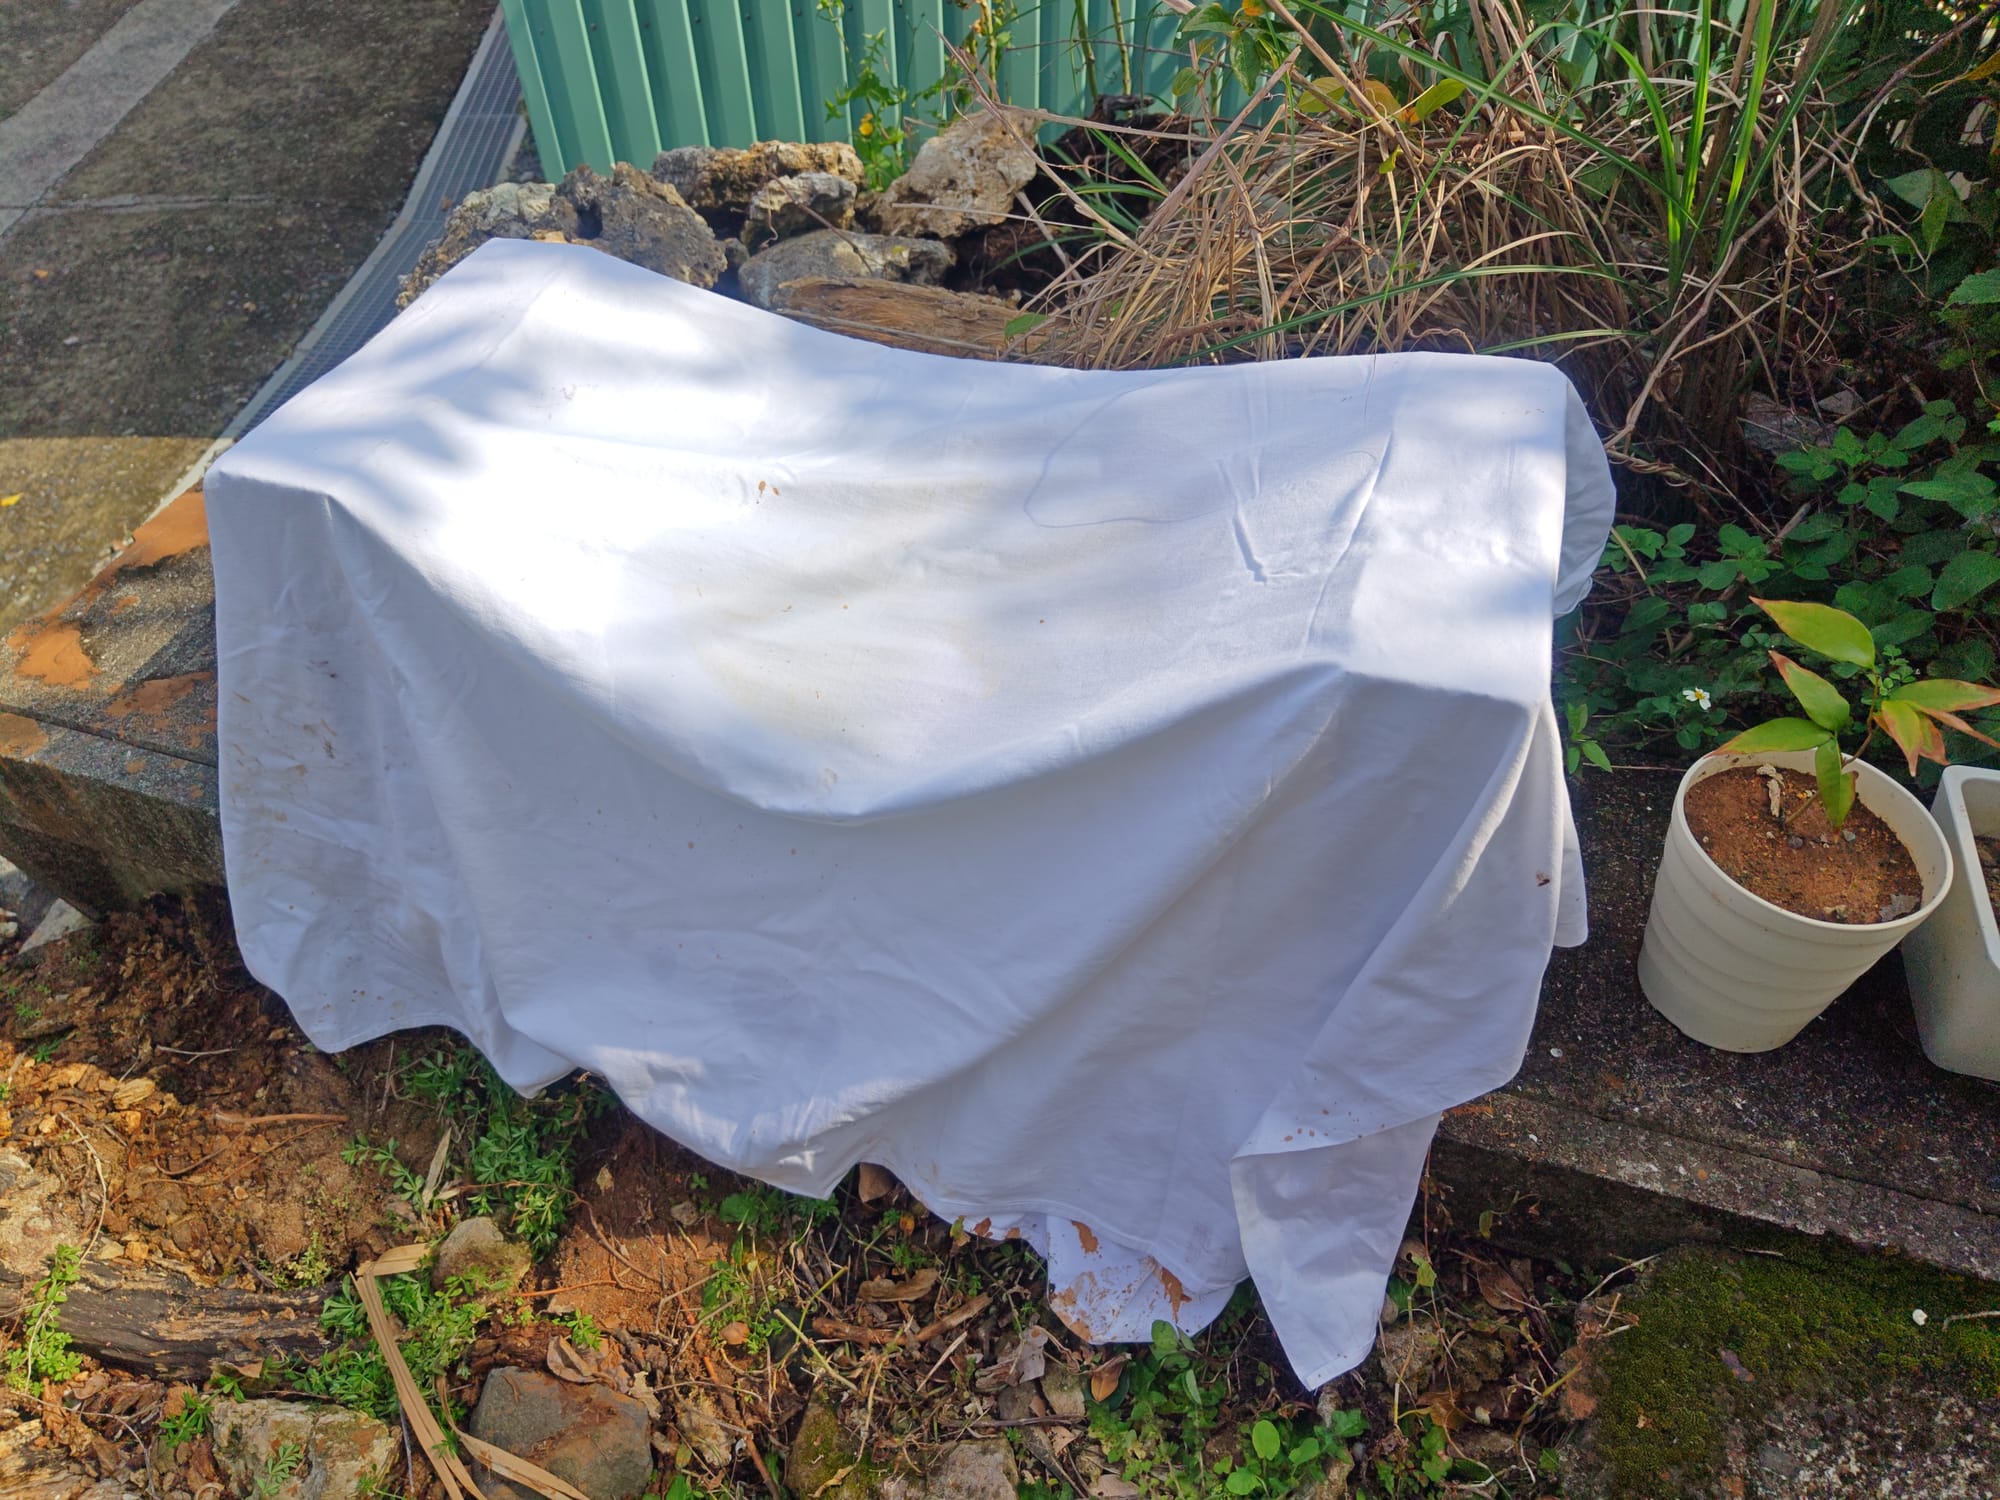
The straining setup.
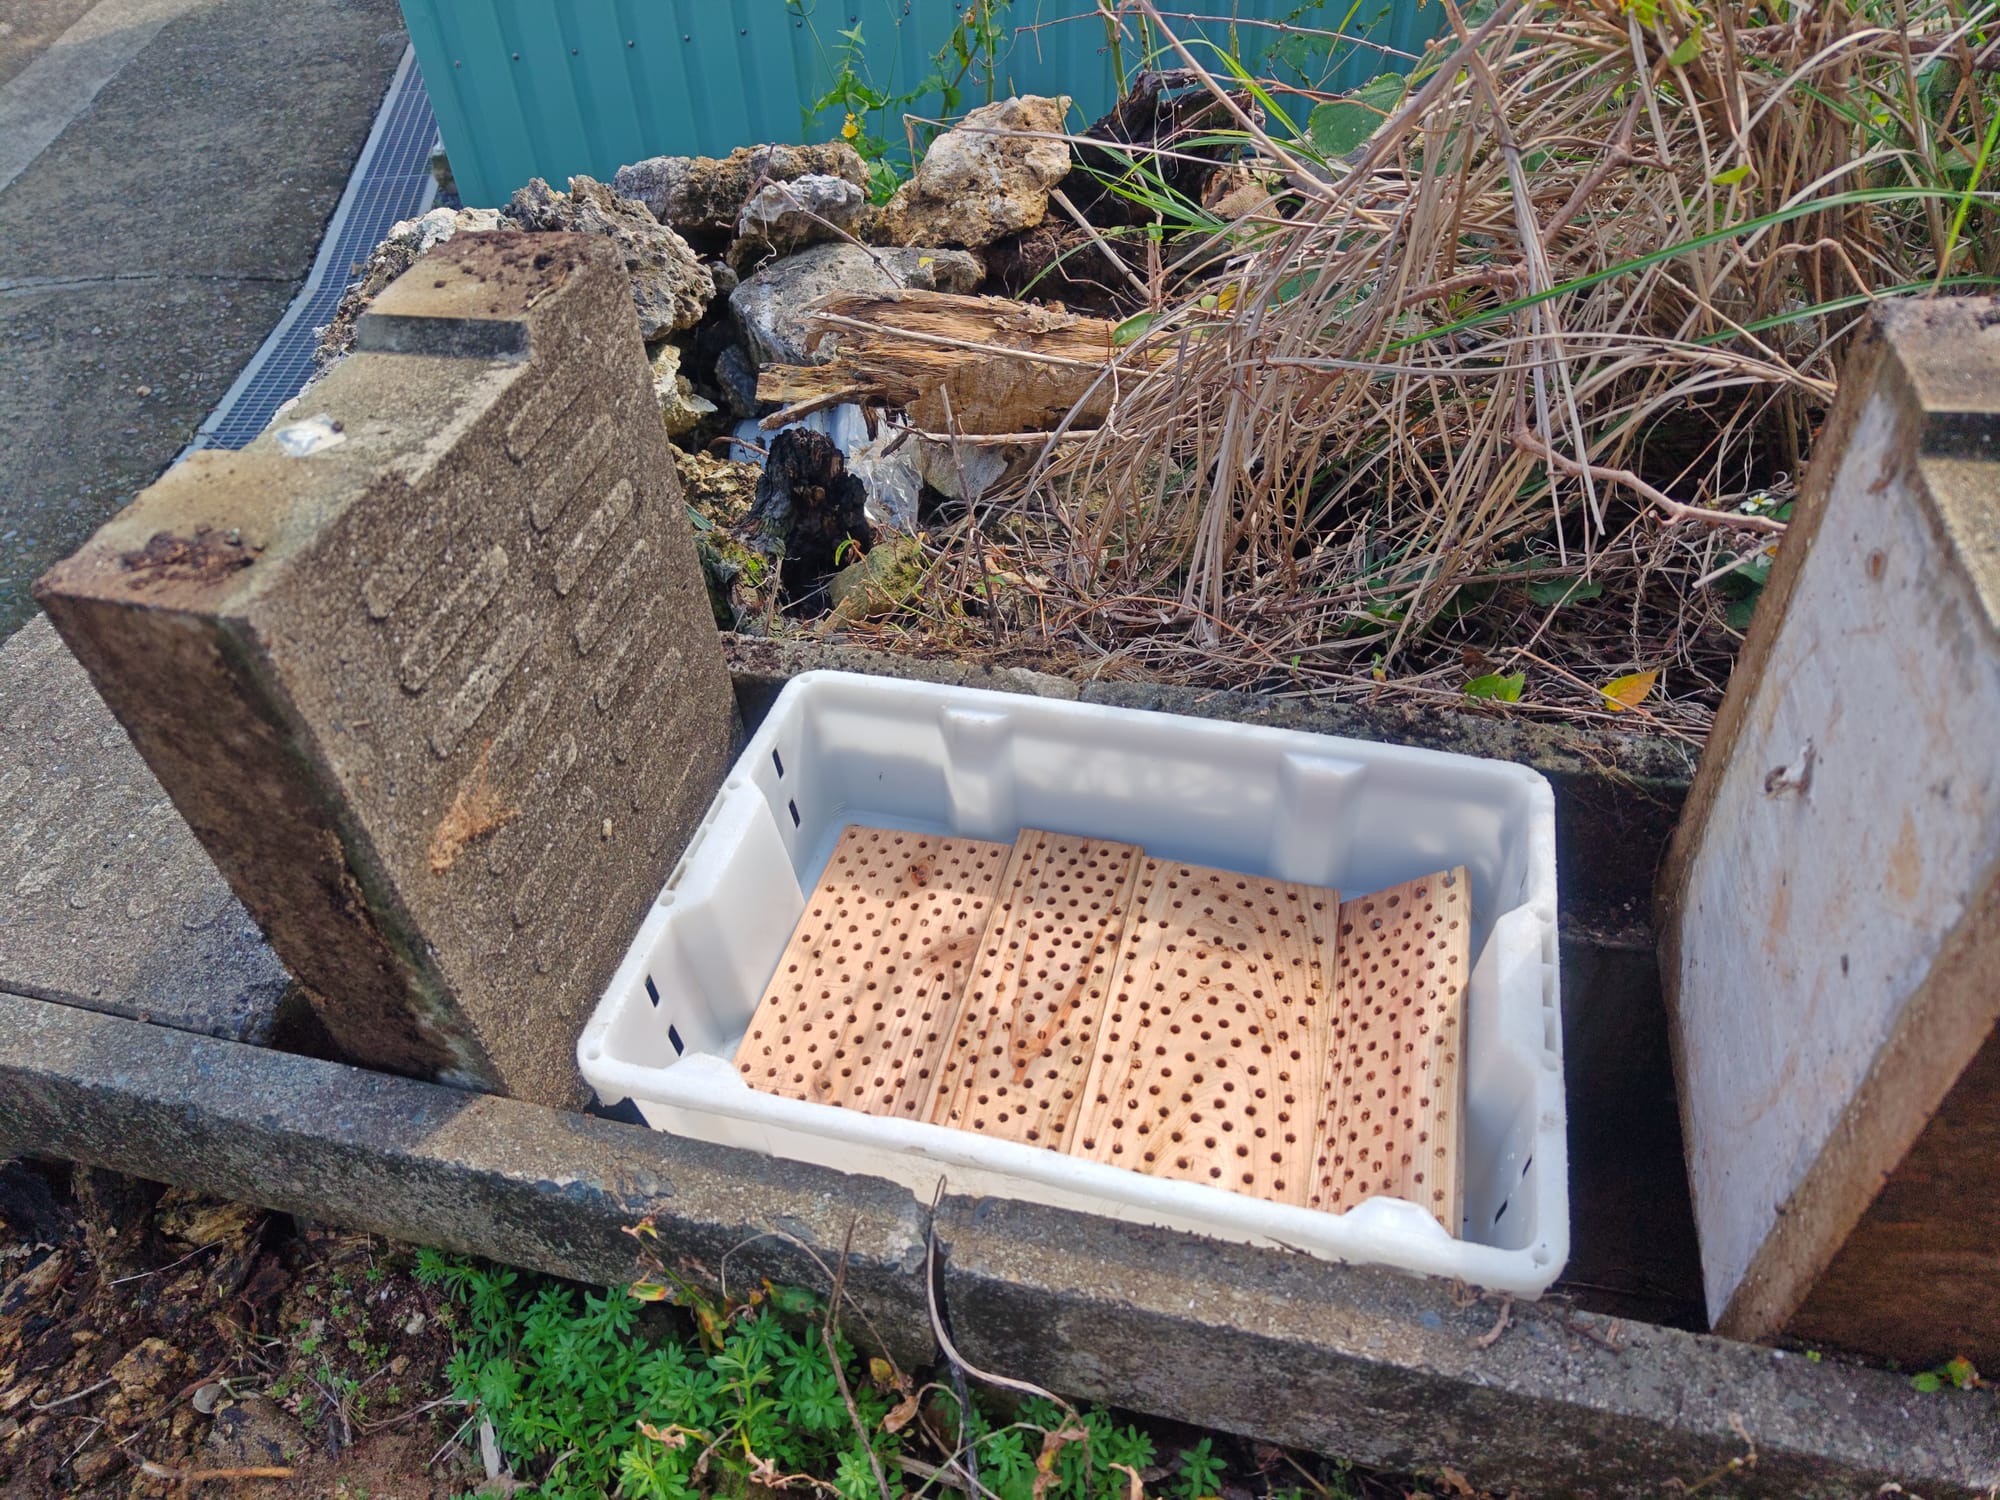
I placed the tray over a stone storm gutter near my house. This was fine as the filter was so effective that almost no sediment escaped the system and only water drained away. The remaining fabric could be propped up over the straining basin to prevent contamination from the foreign matter that the wind was always inevitably going to deposit in uncovered clay.
Decanting Liquid Clay
At this point, the bucket contained a large fraction of very thin liquid clay atop a smaller but thicker fraction of mud containing mainly silt, sand, and gravel. This made it easy to gently decant the liquid fraction on top into a straining tray by carefully tipping the bucket. Slow and careful was key. The liquid seemed very thin as it flowed just like ordinary water, but there was much more clay in suspension than what the viscosity hinted at. It was important not to pour off anything other than the liquid clay at this stage, since nearly all solids past this stage made it into the final product.
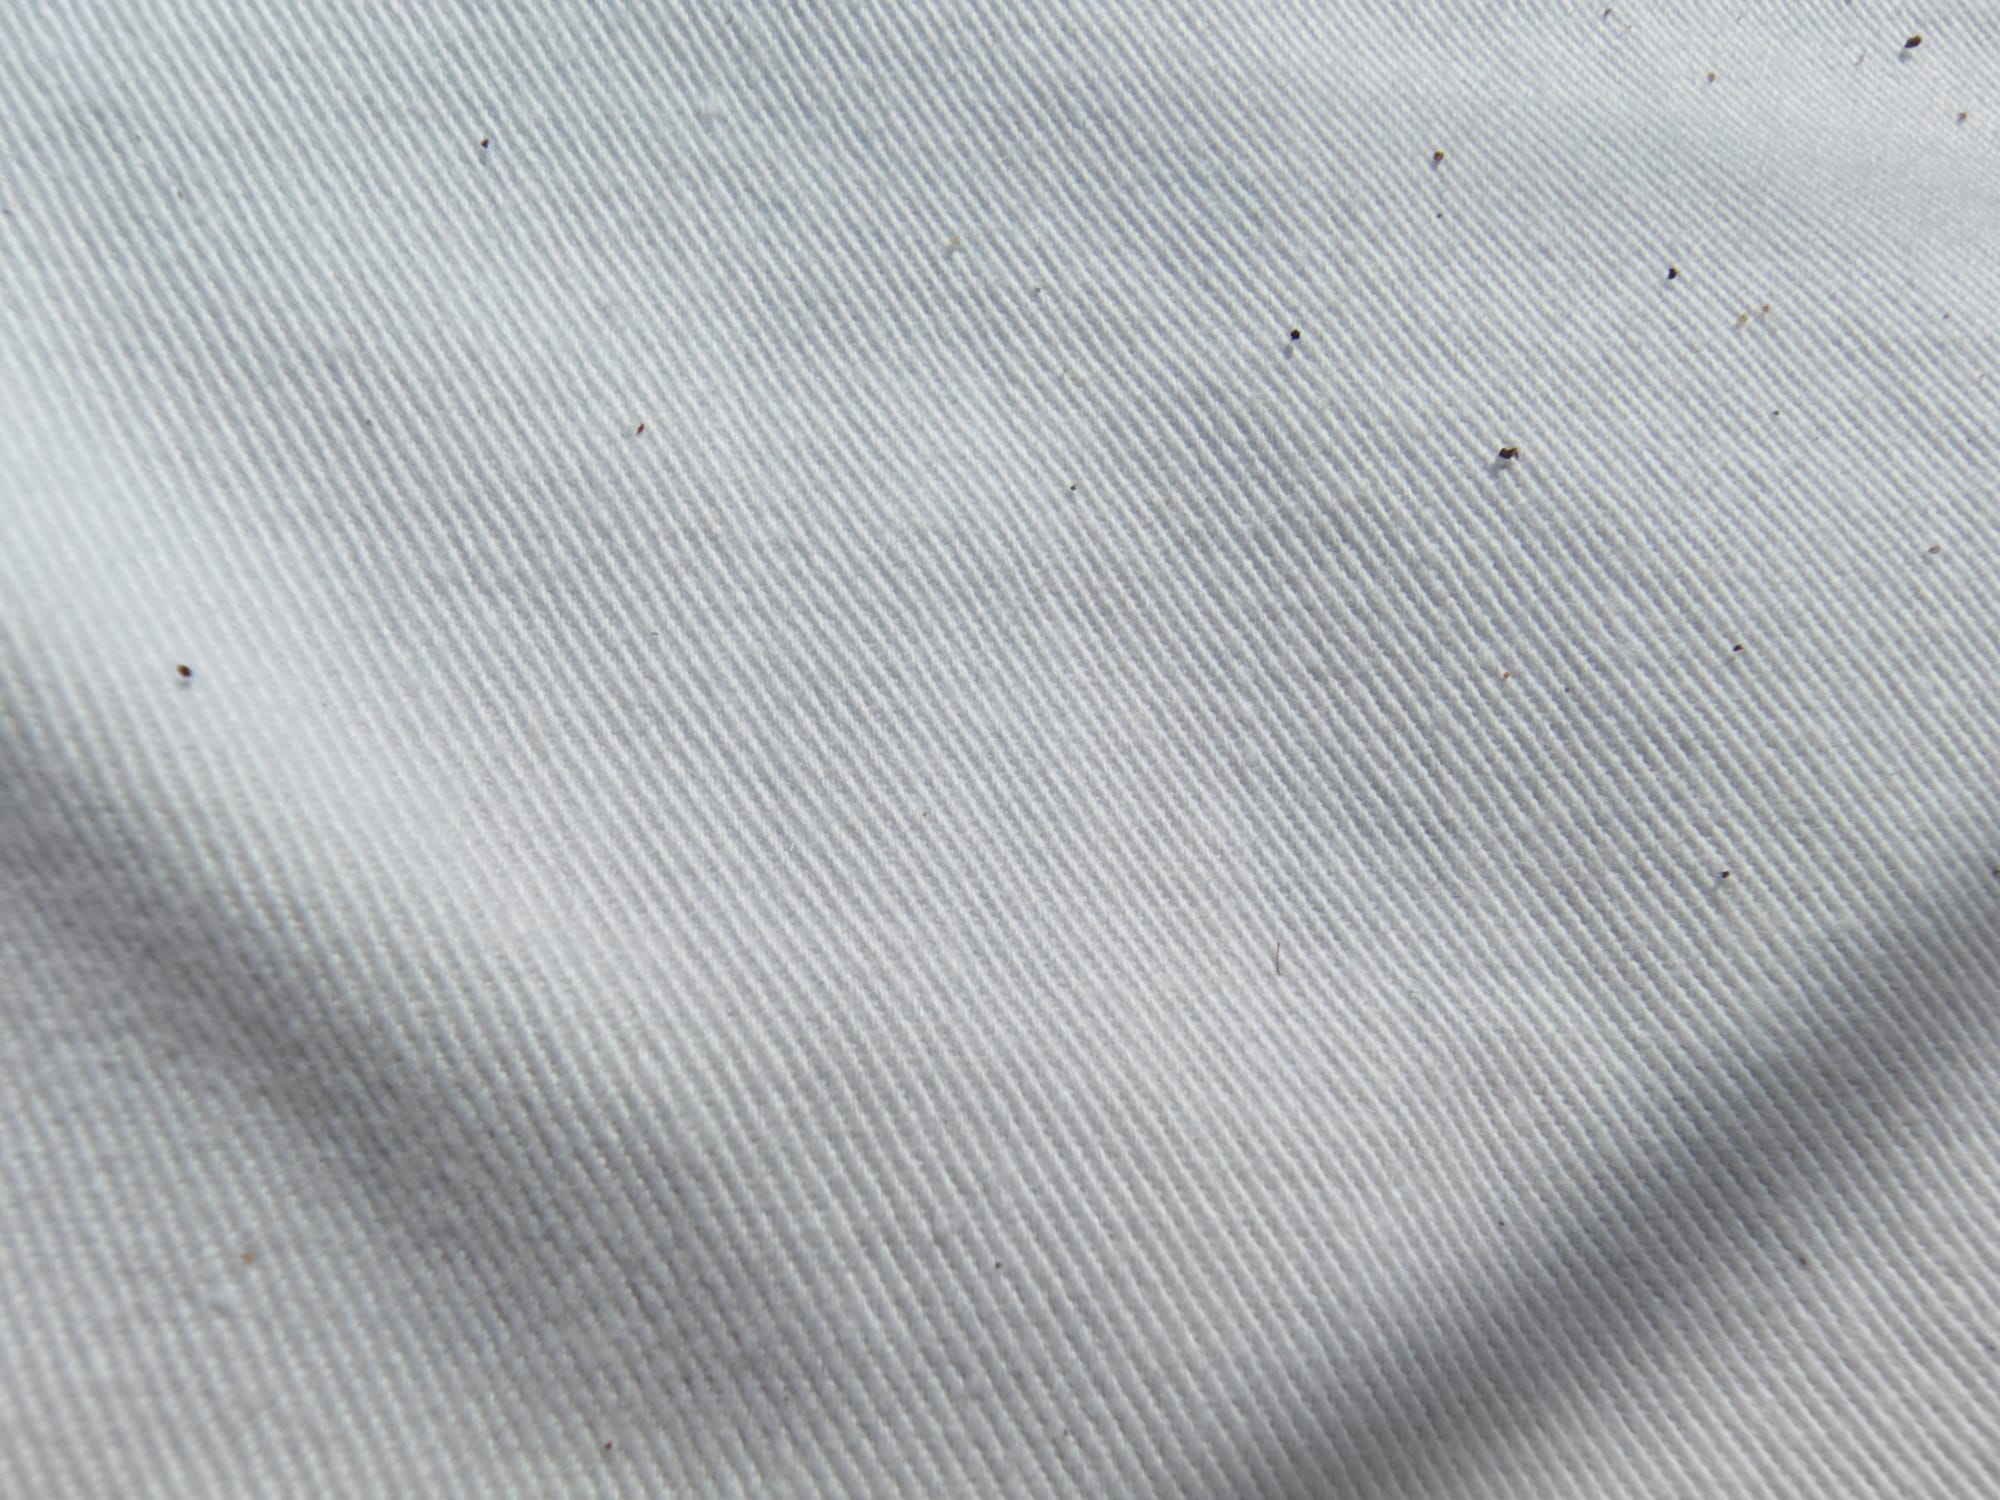
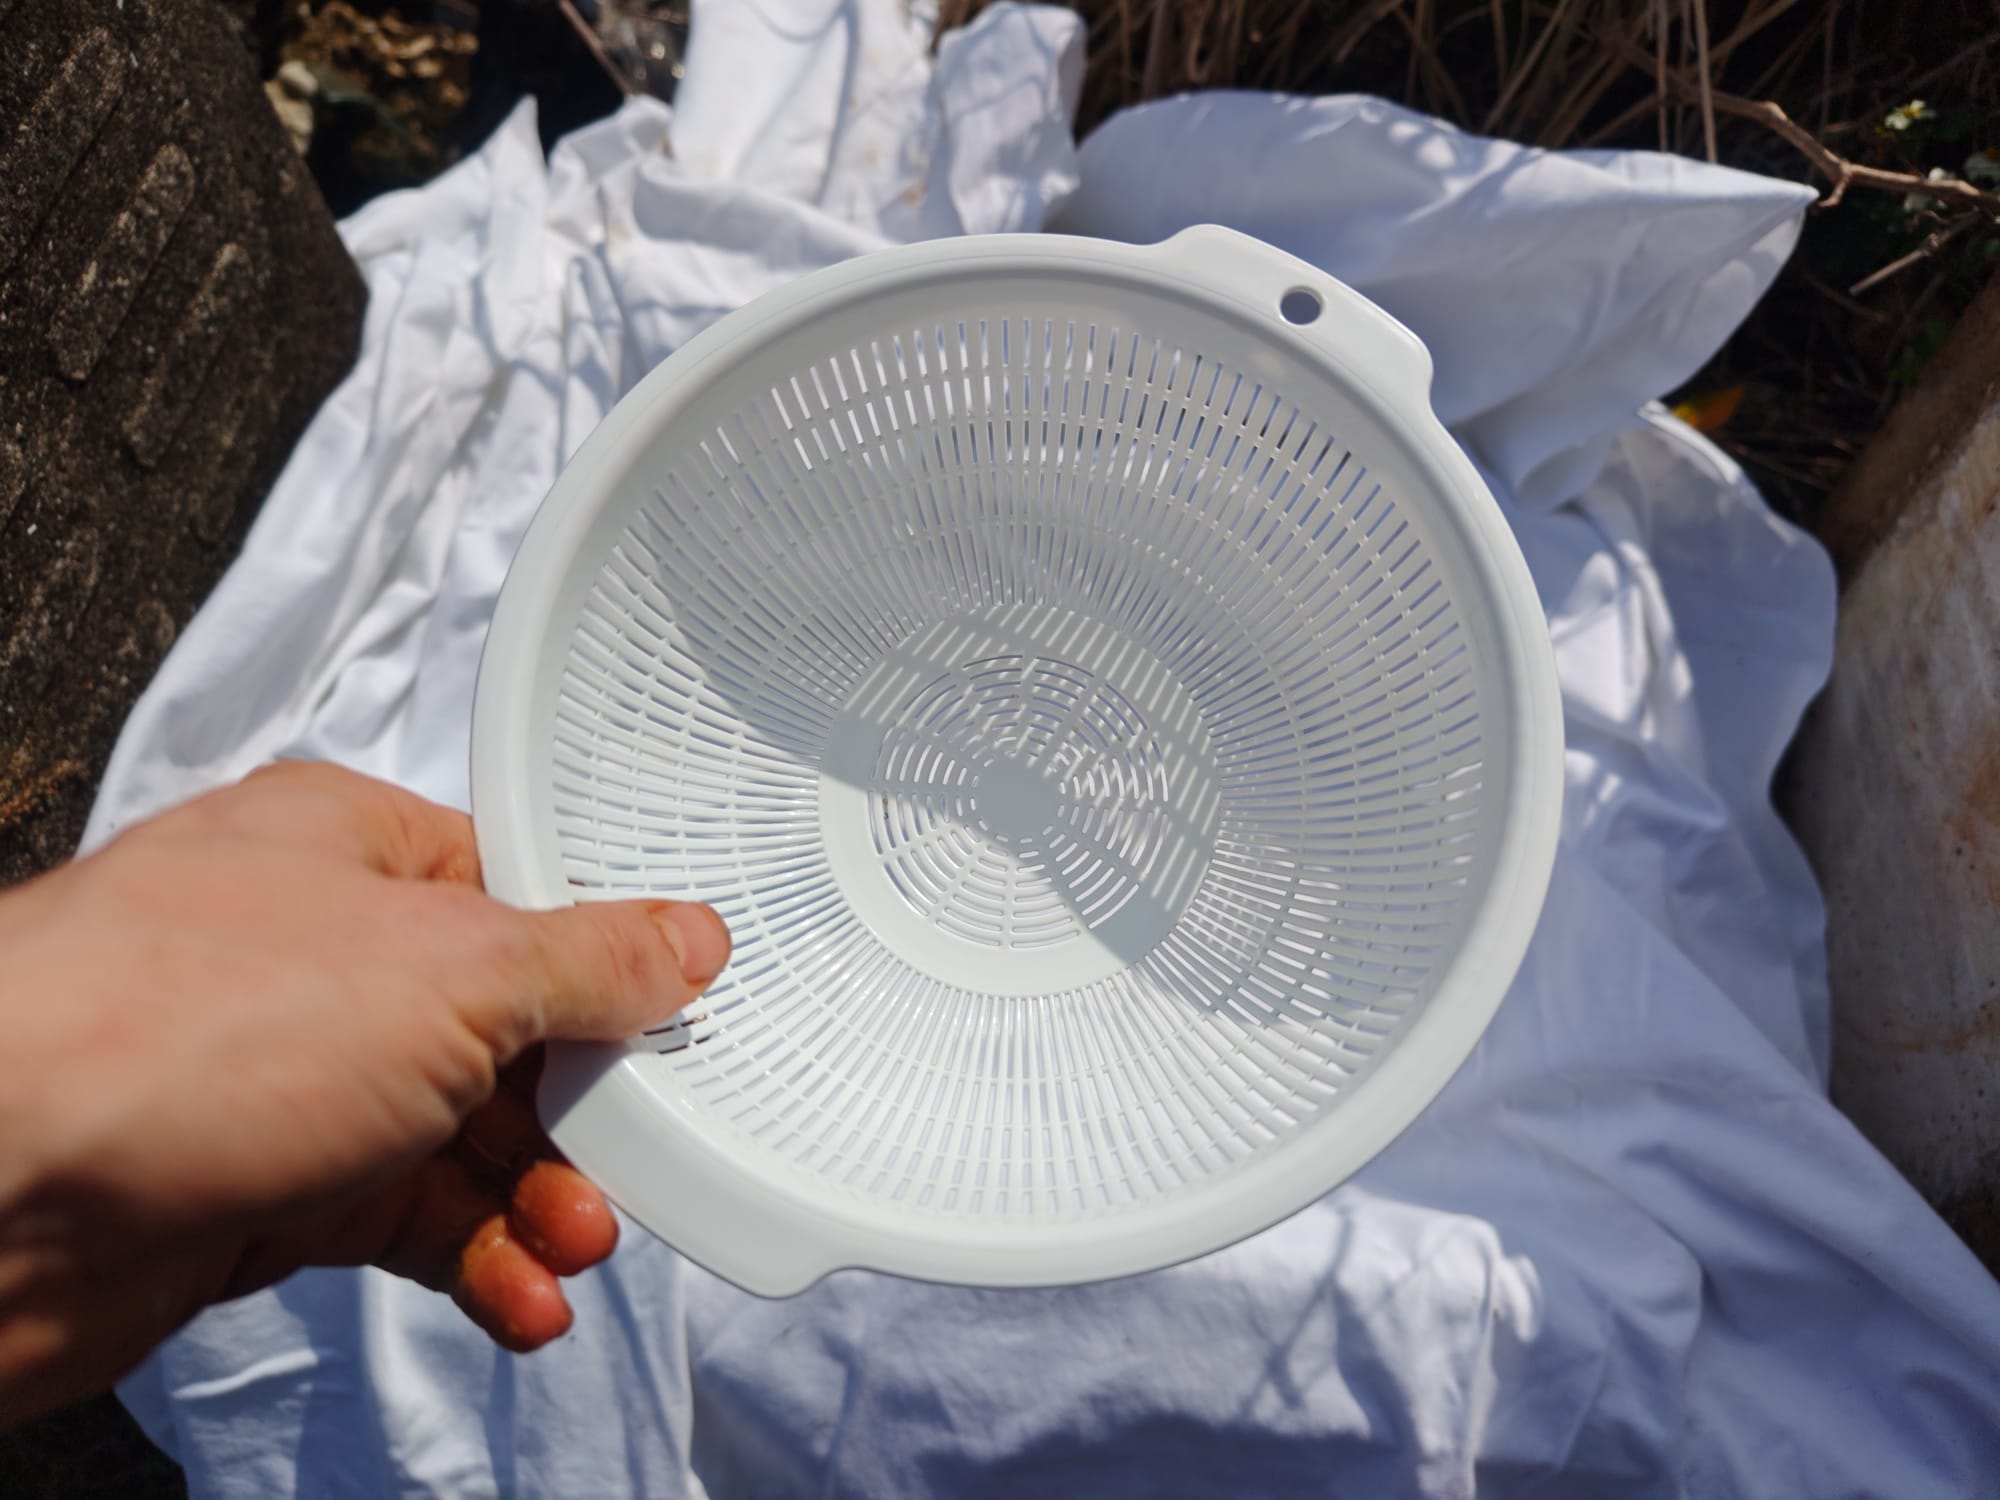
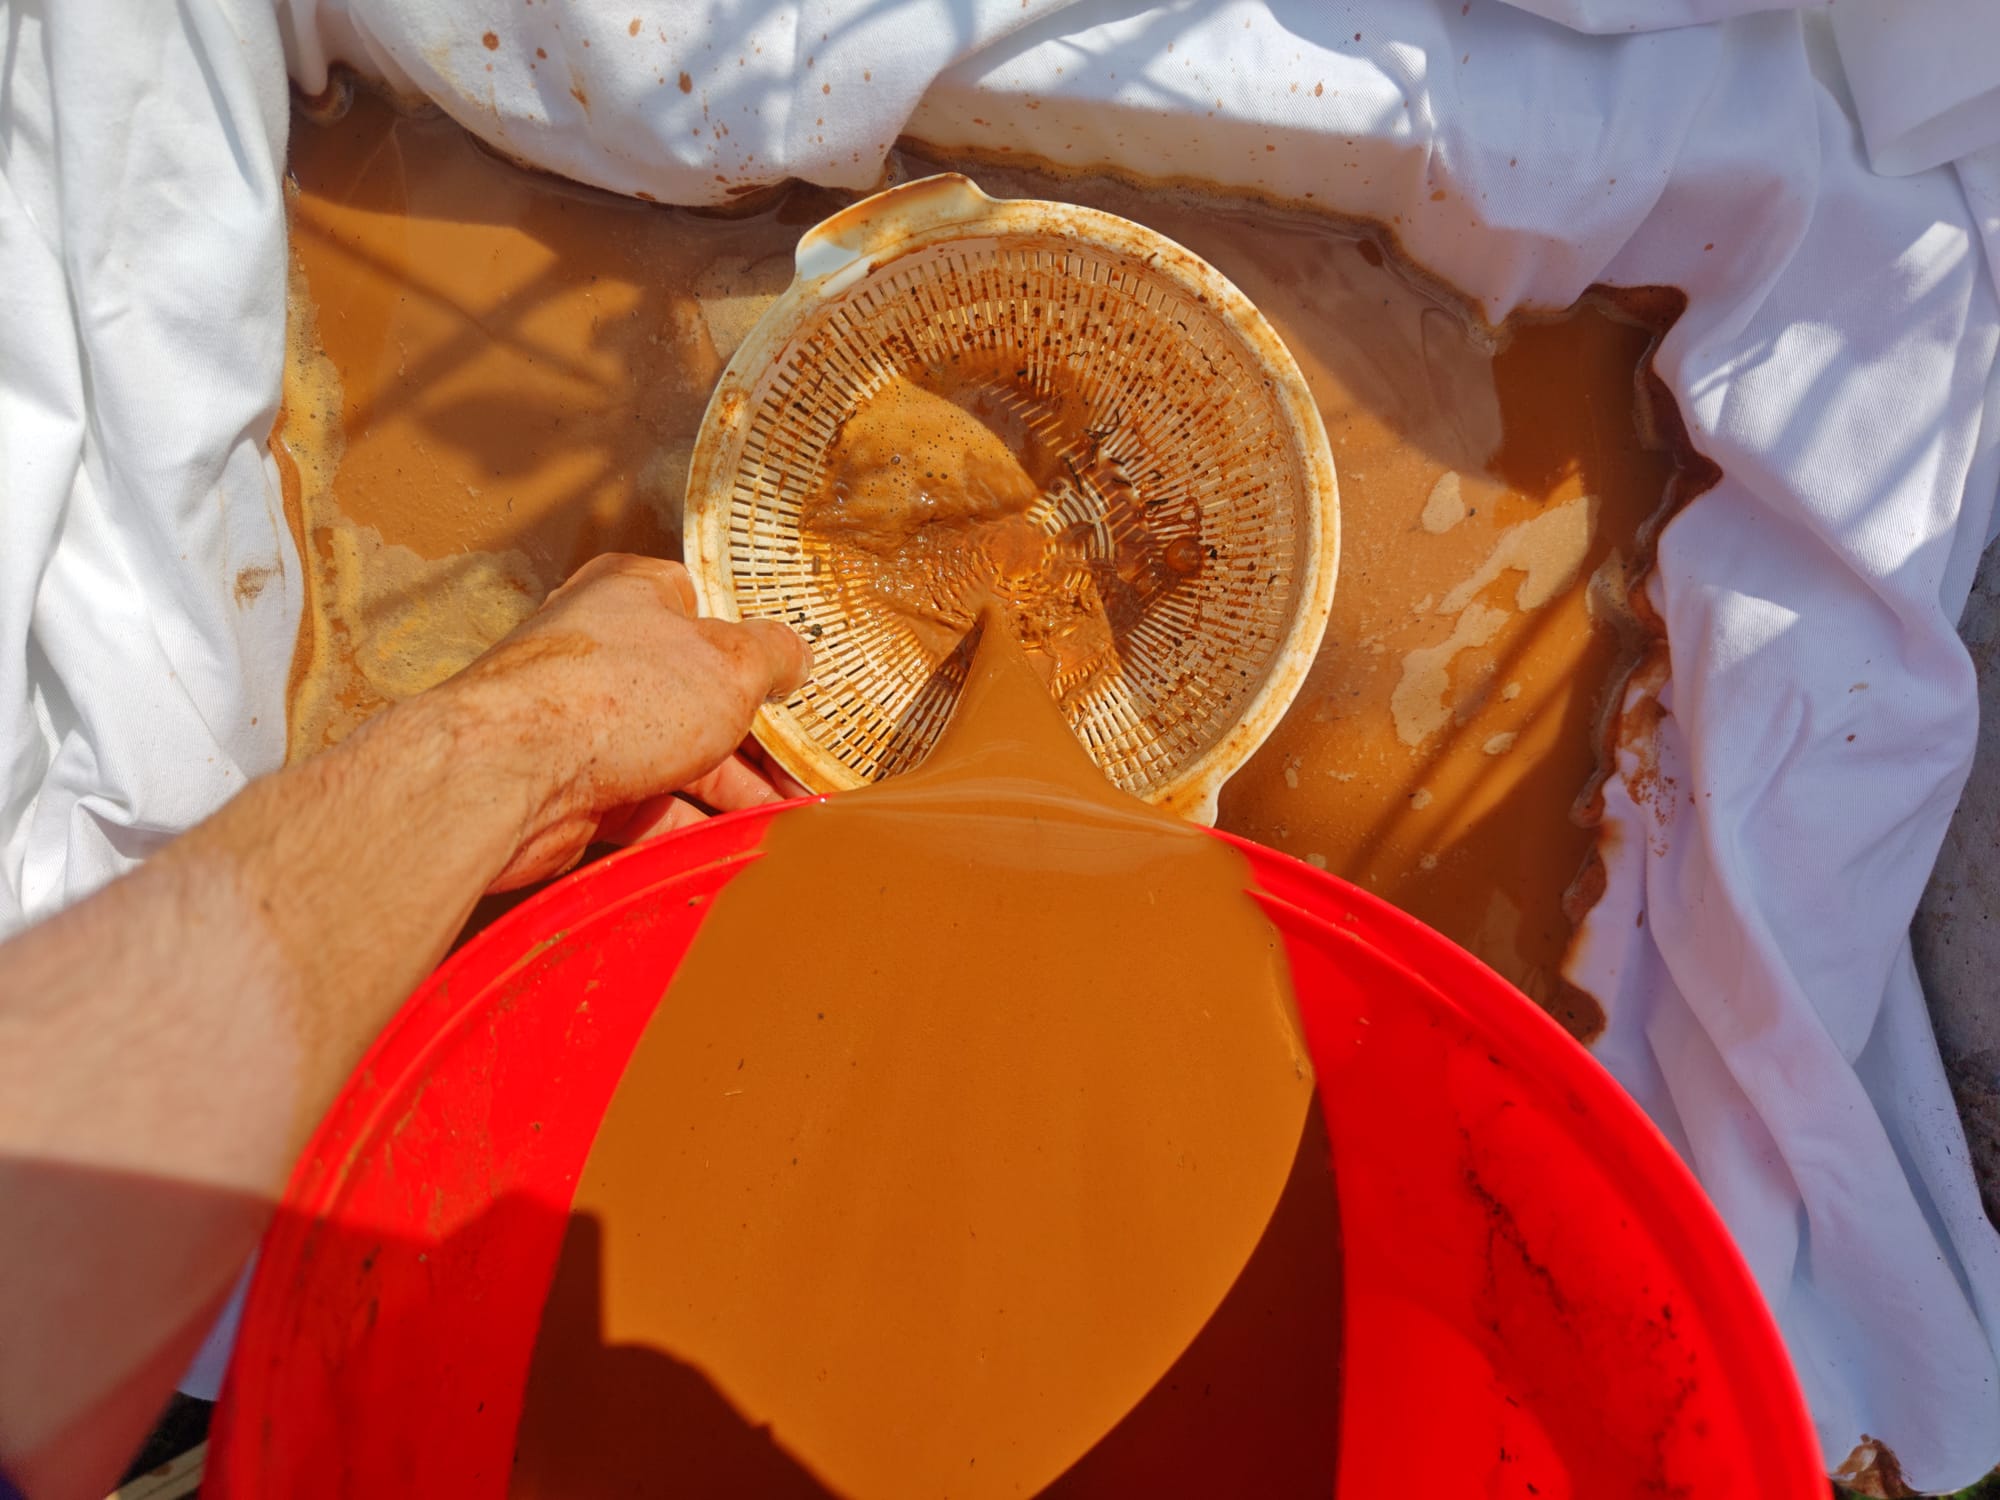
The fabric used was a rather tight cotton twill, and a kitchen strainer caught stray organic material.
The Waiting Game
The next stage was the most time-consuming, but the least laborious part of the process. All that remained was waiting. Over the course of several days, gravity caused all the clay solids to settle out and much of the remaining water content eventually either drained through the fabric filter or evaporated off. Putting the straining tray in a sunny location helped speed this stage up.
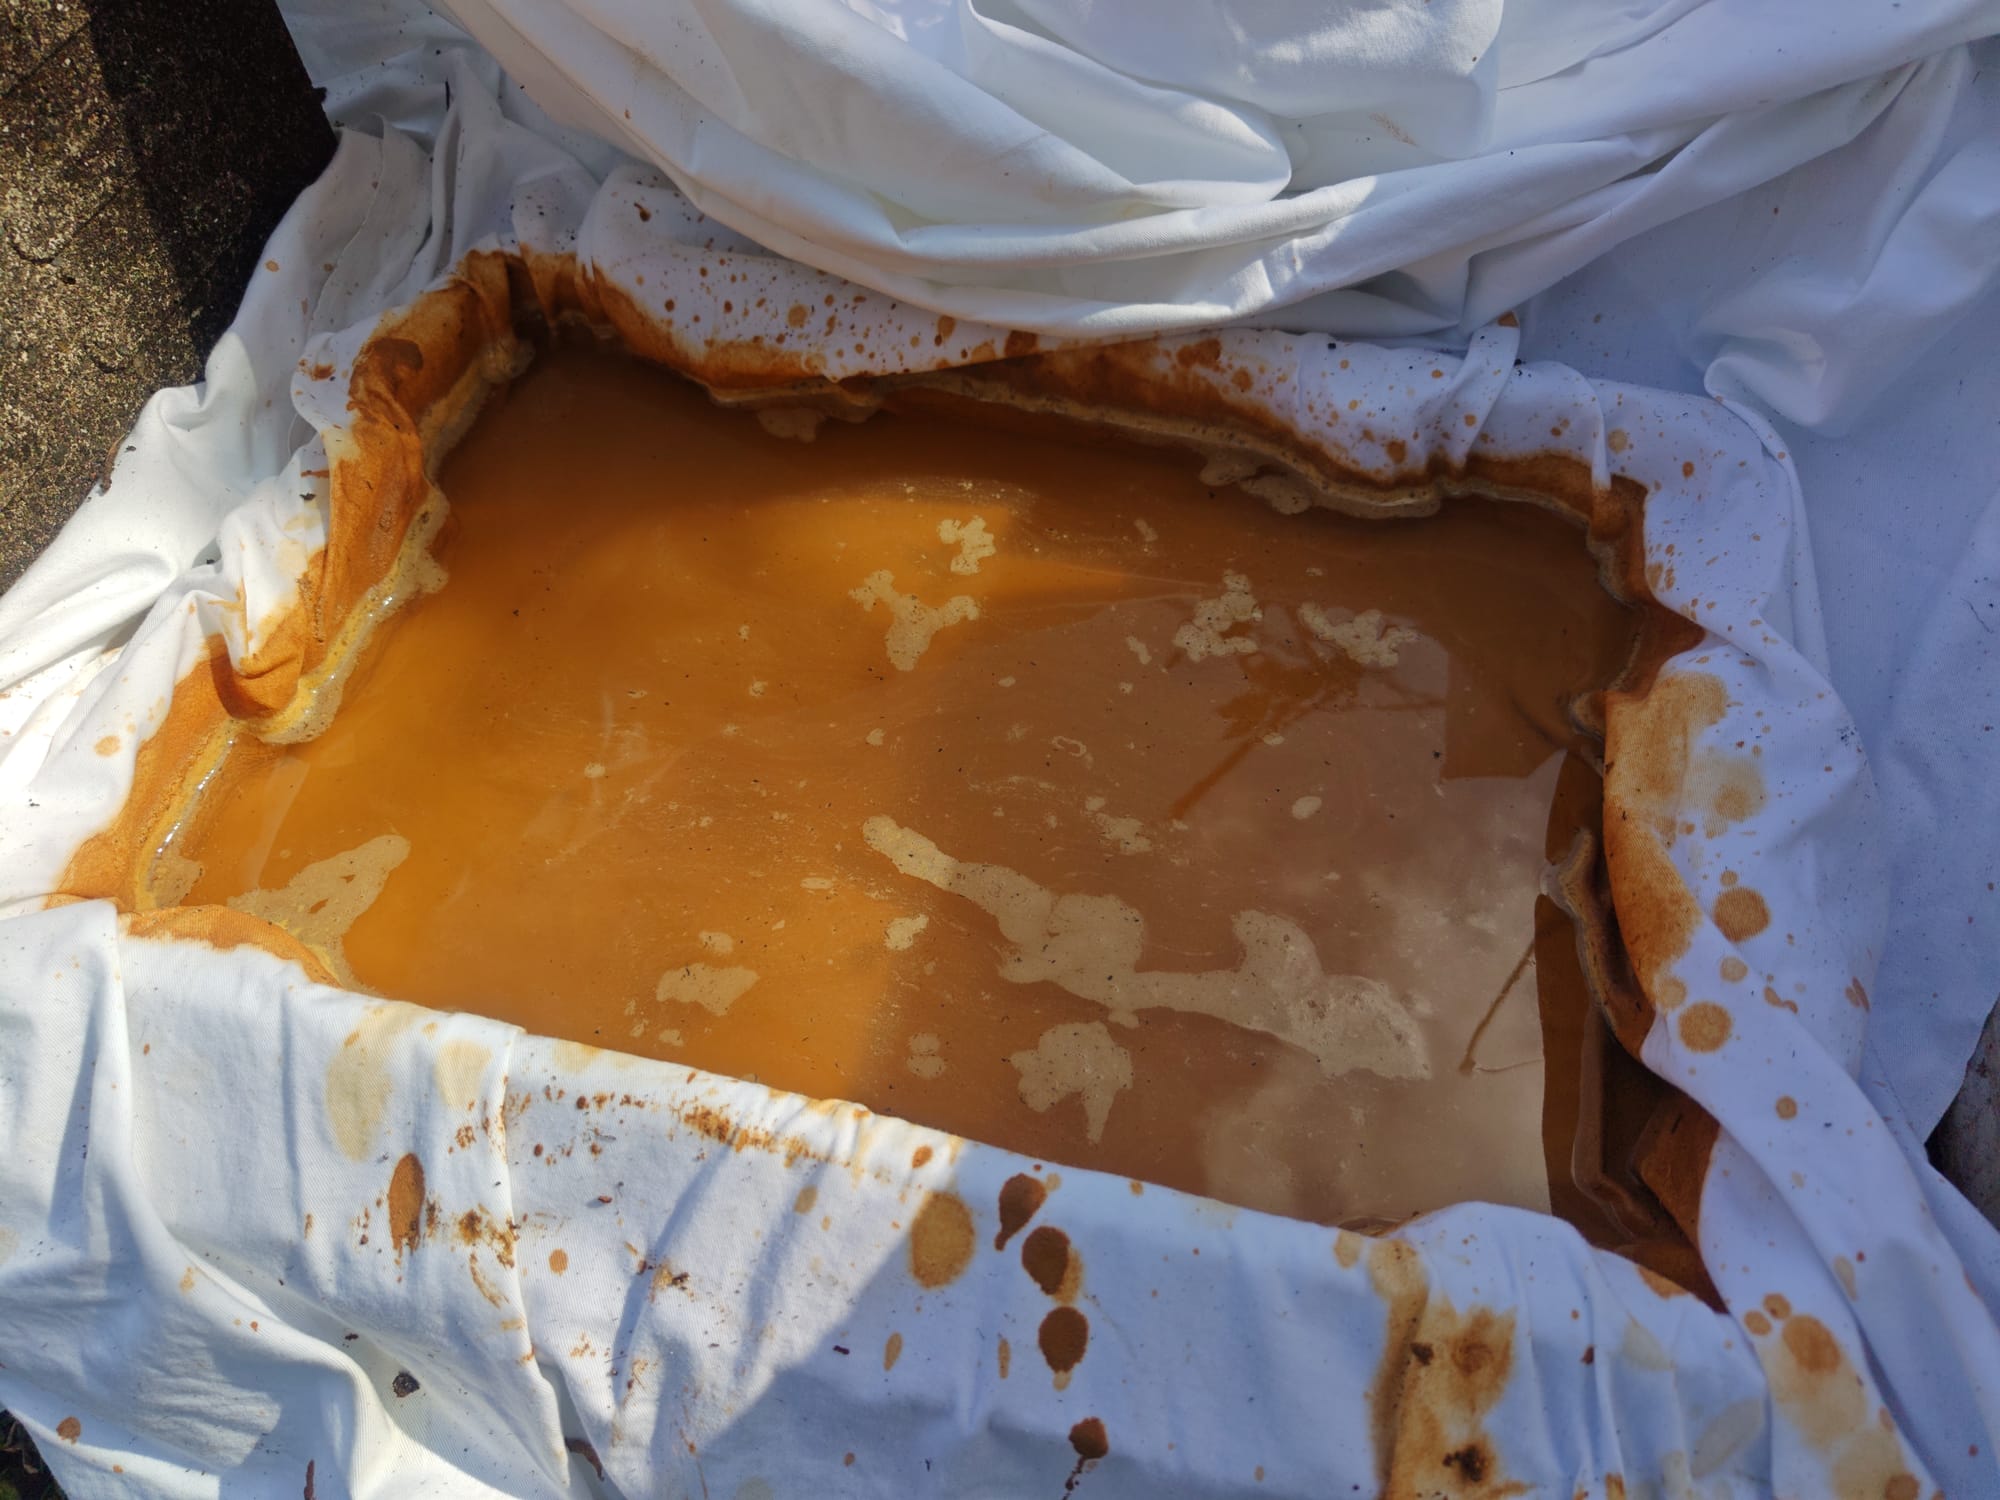
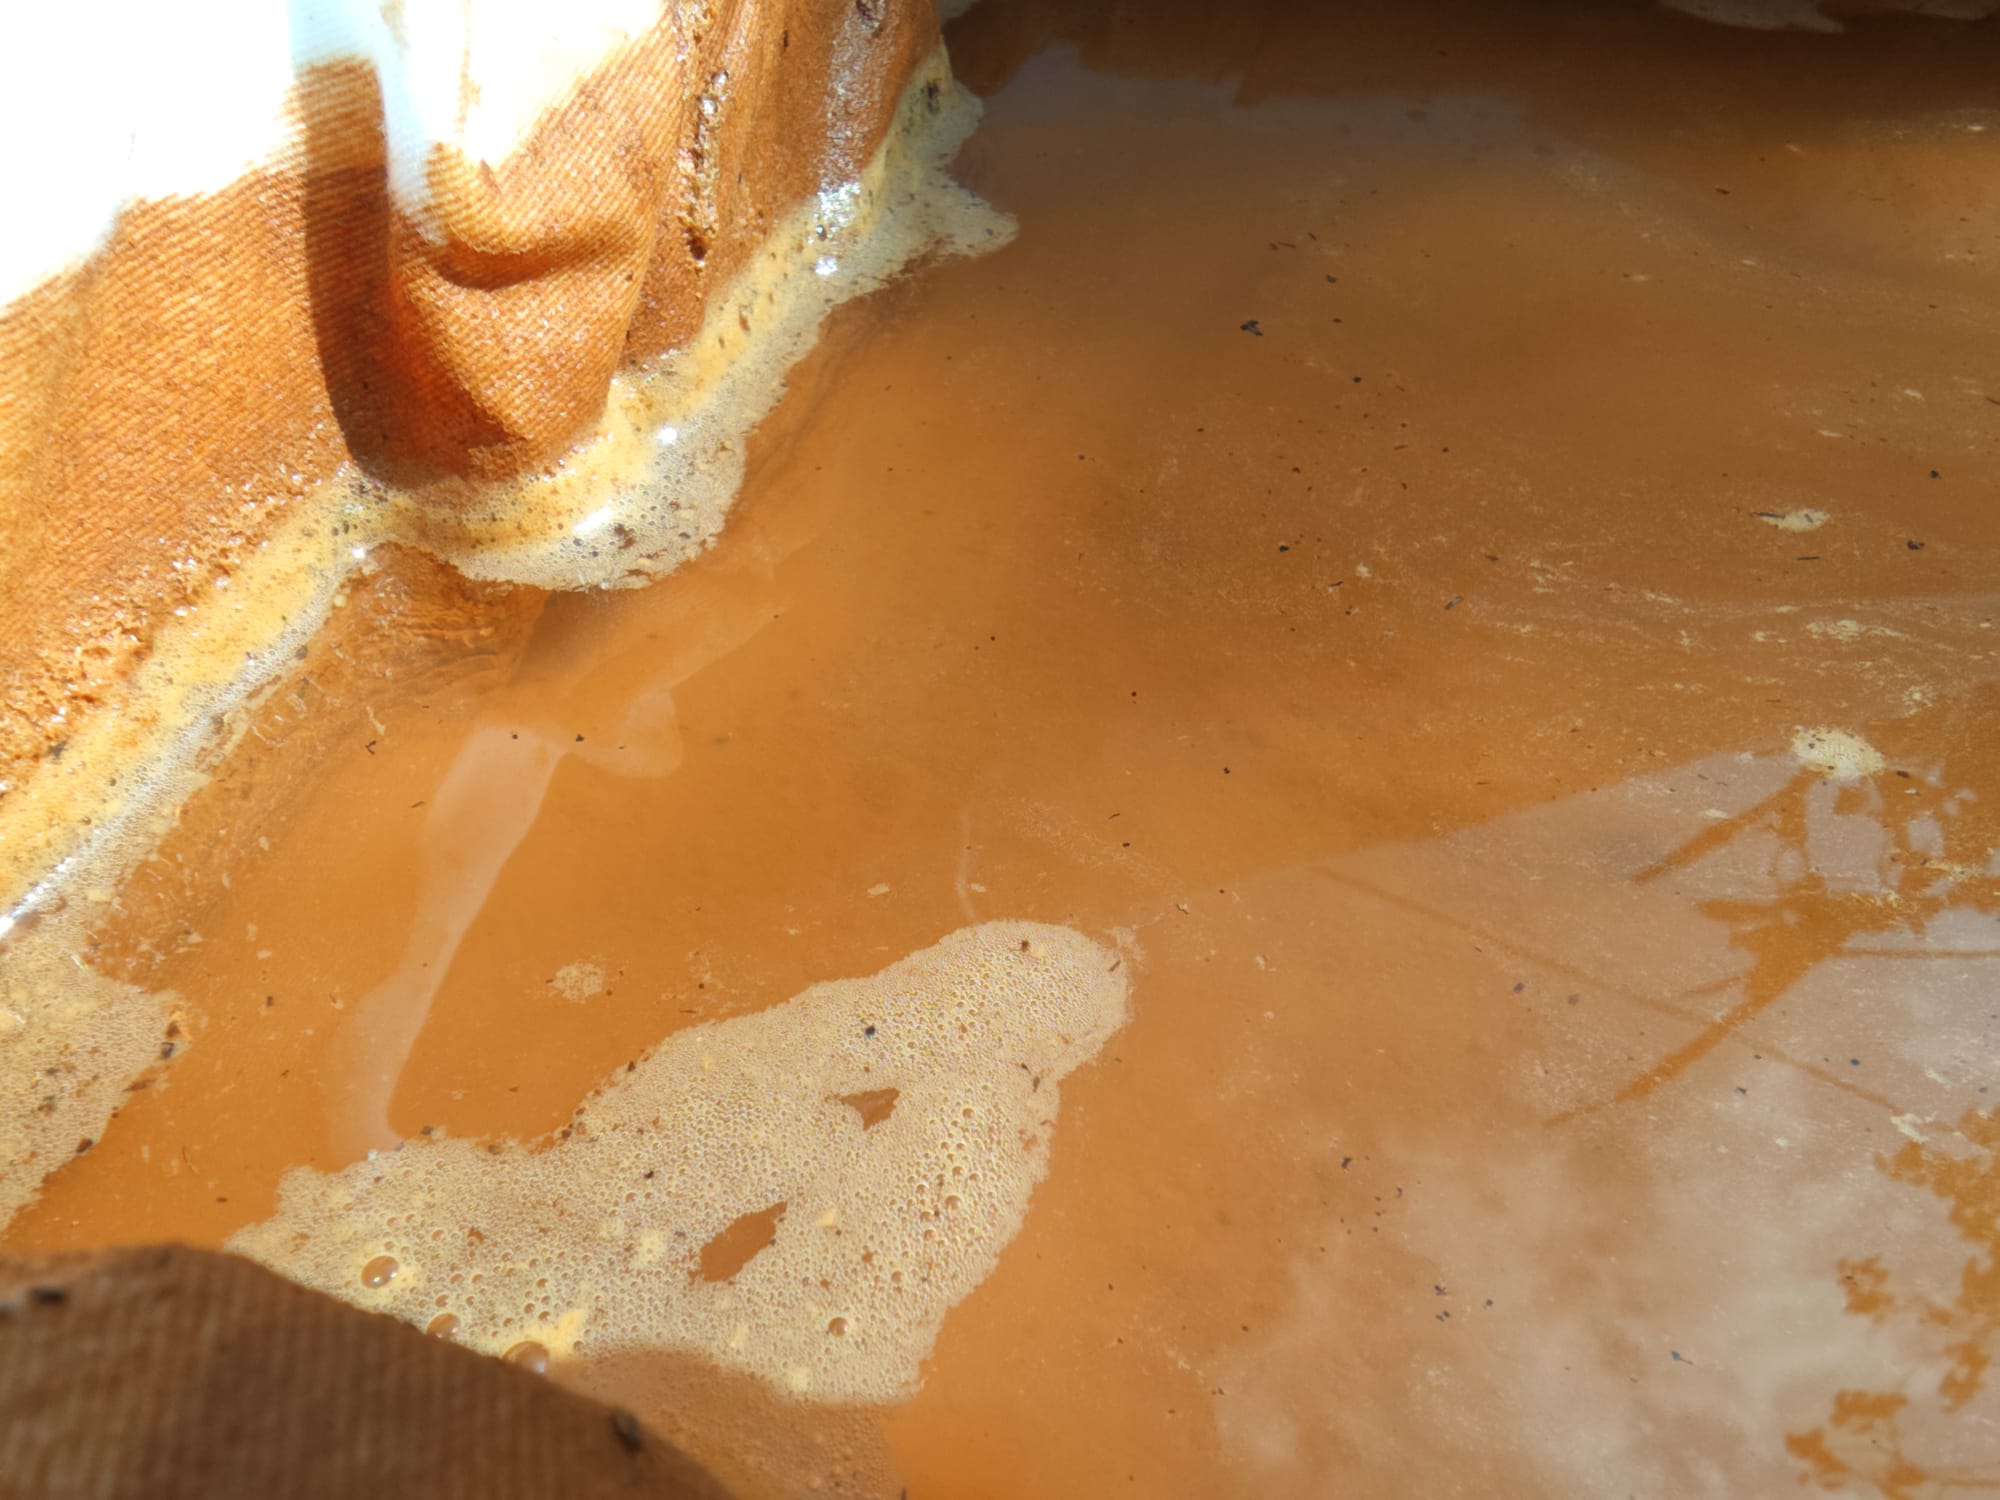
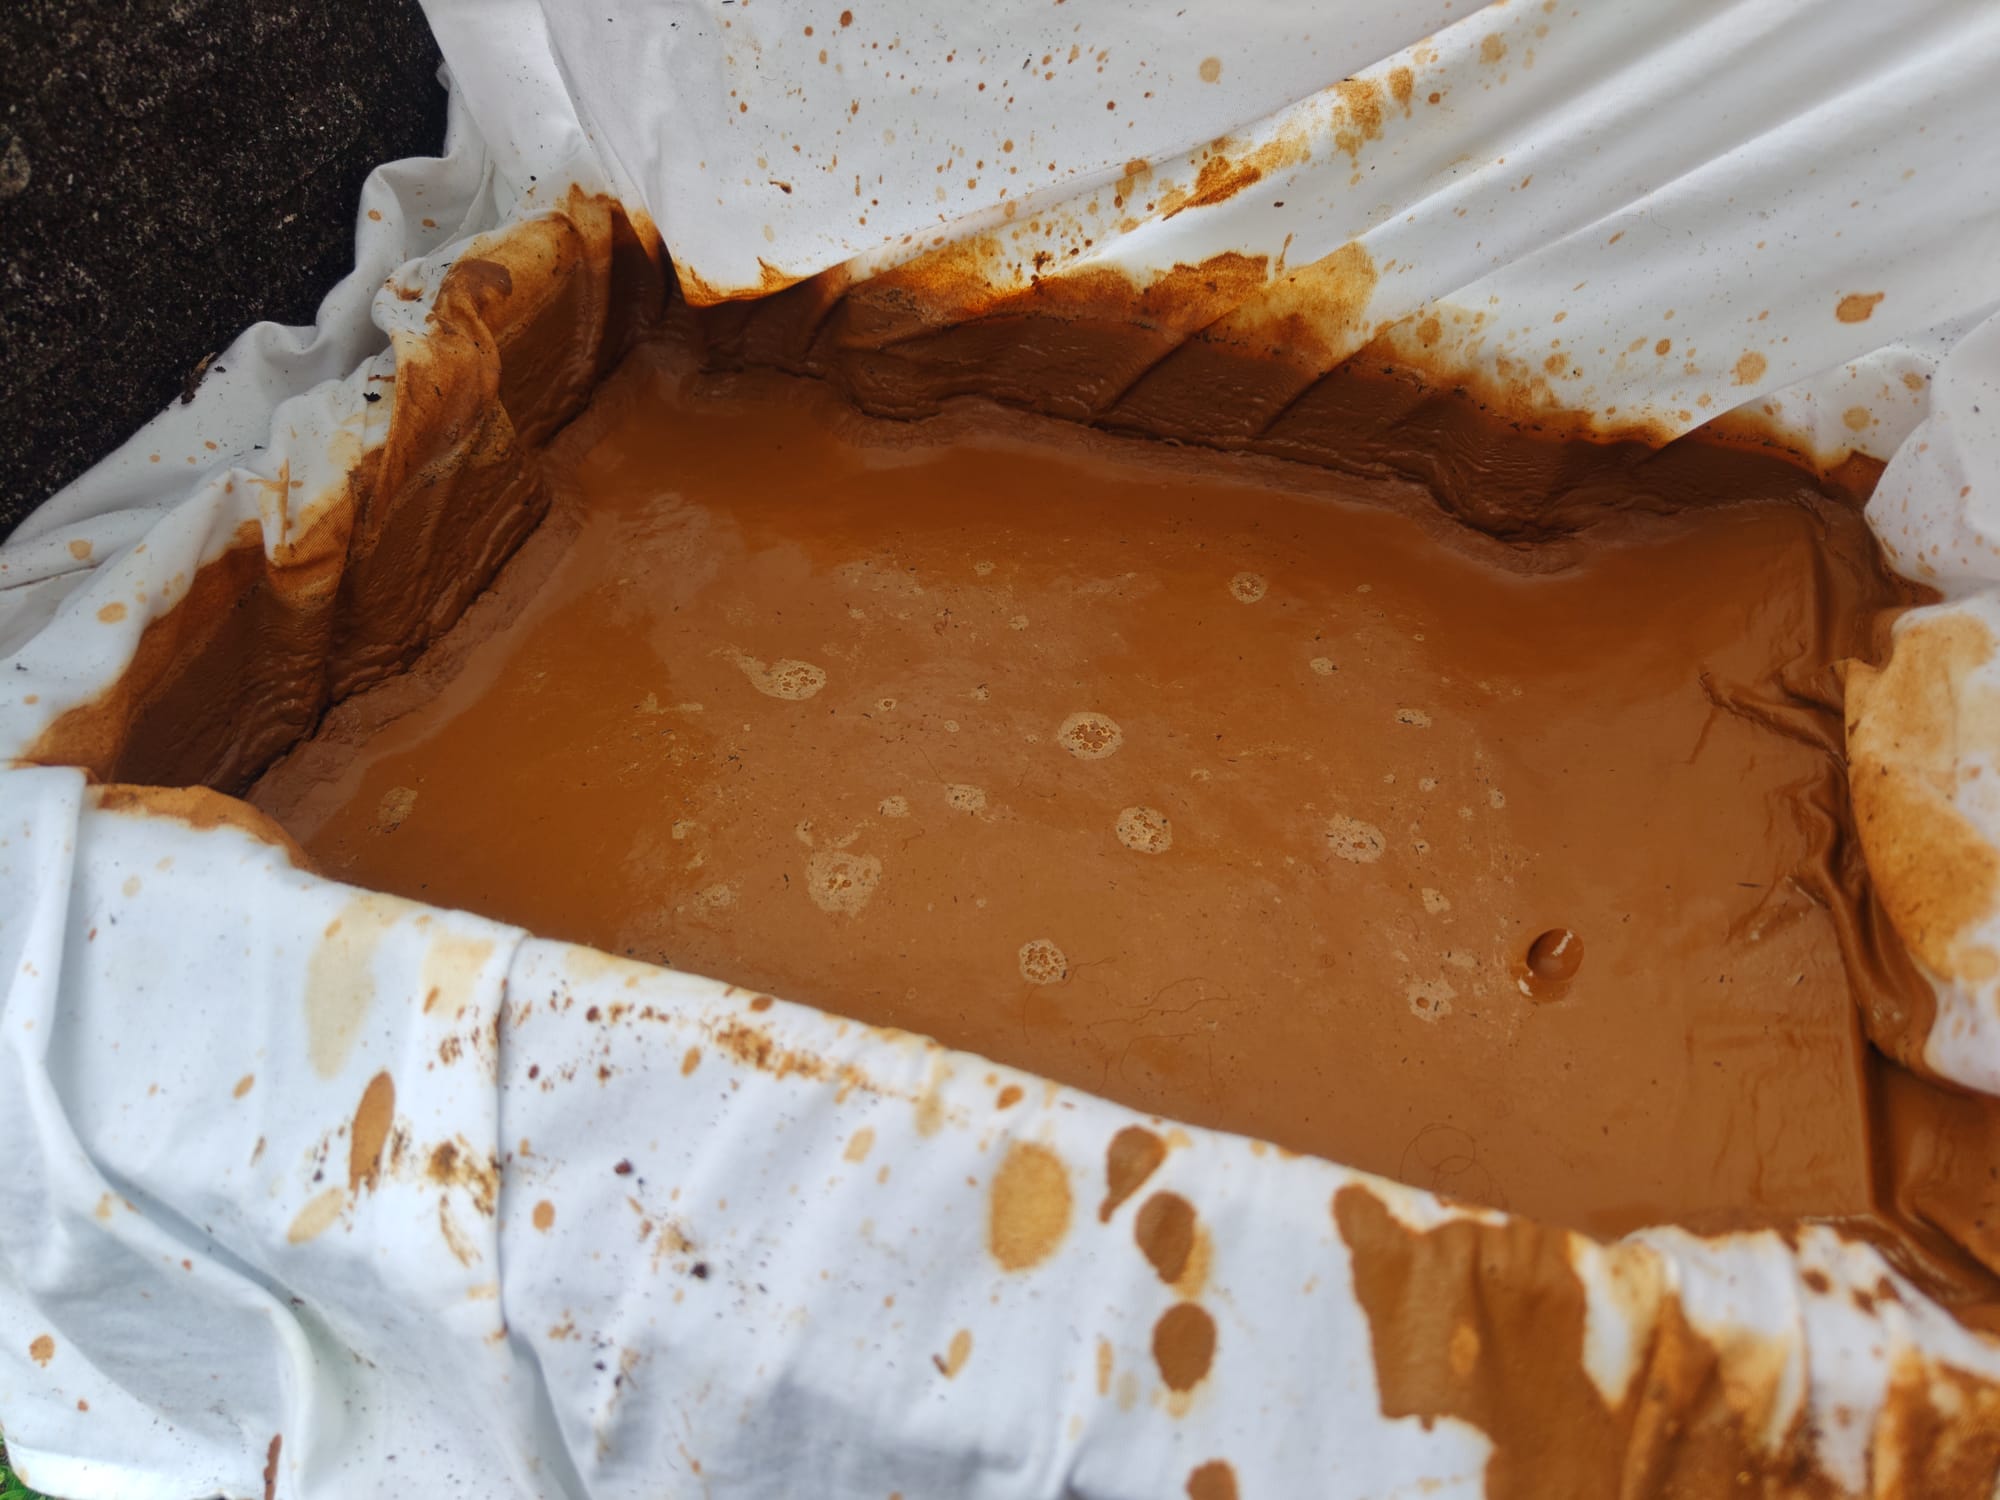
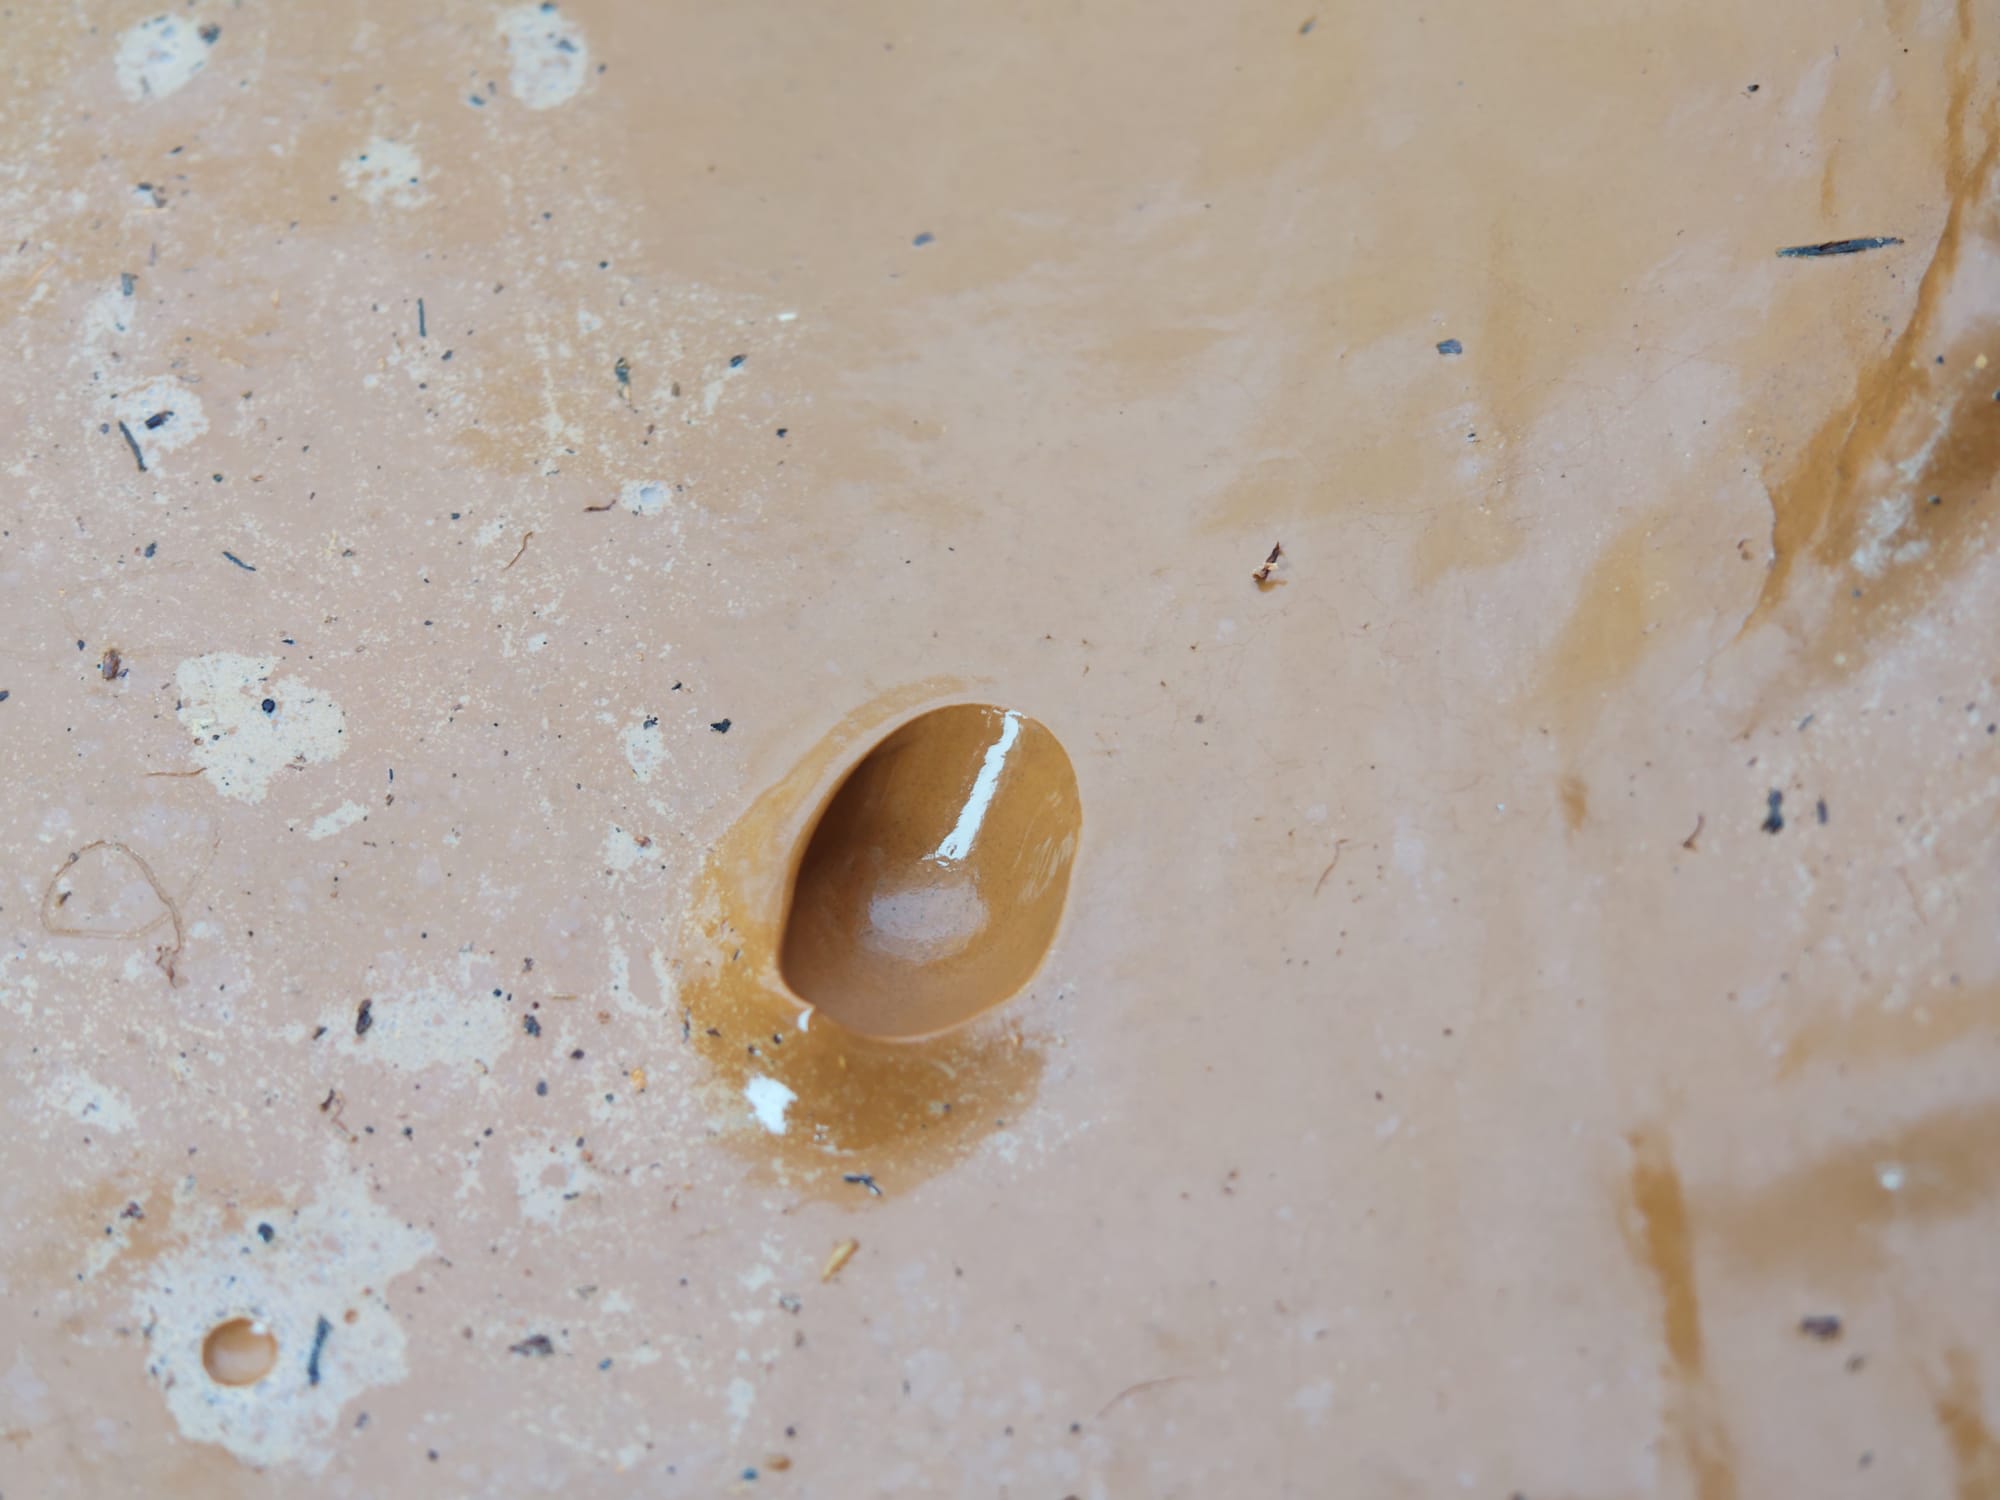
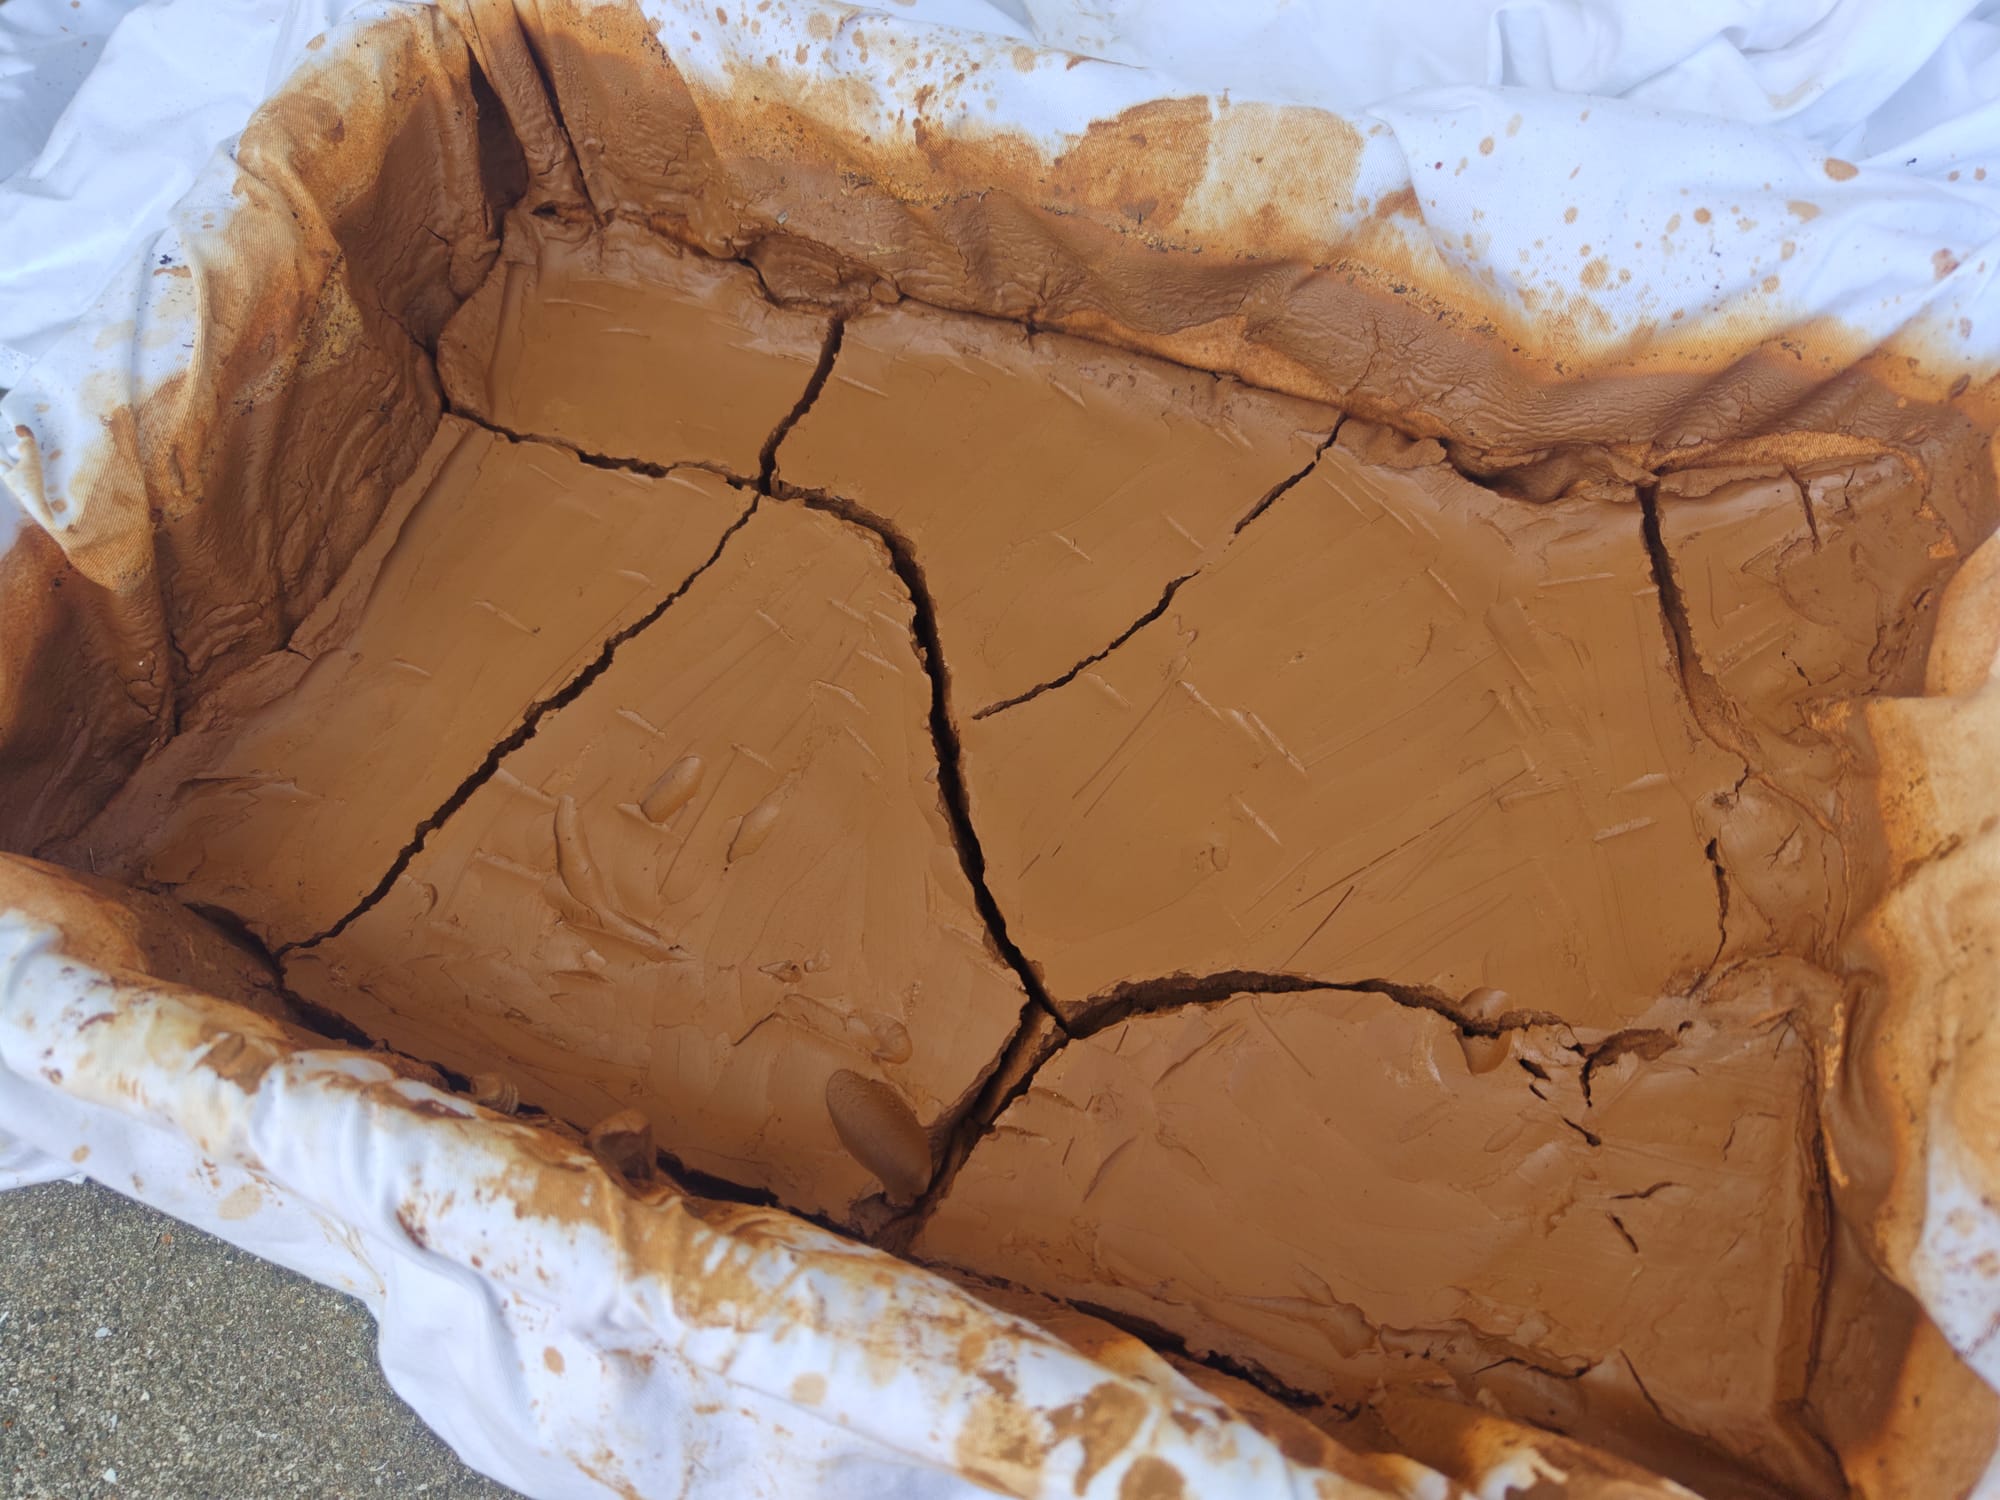
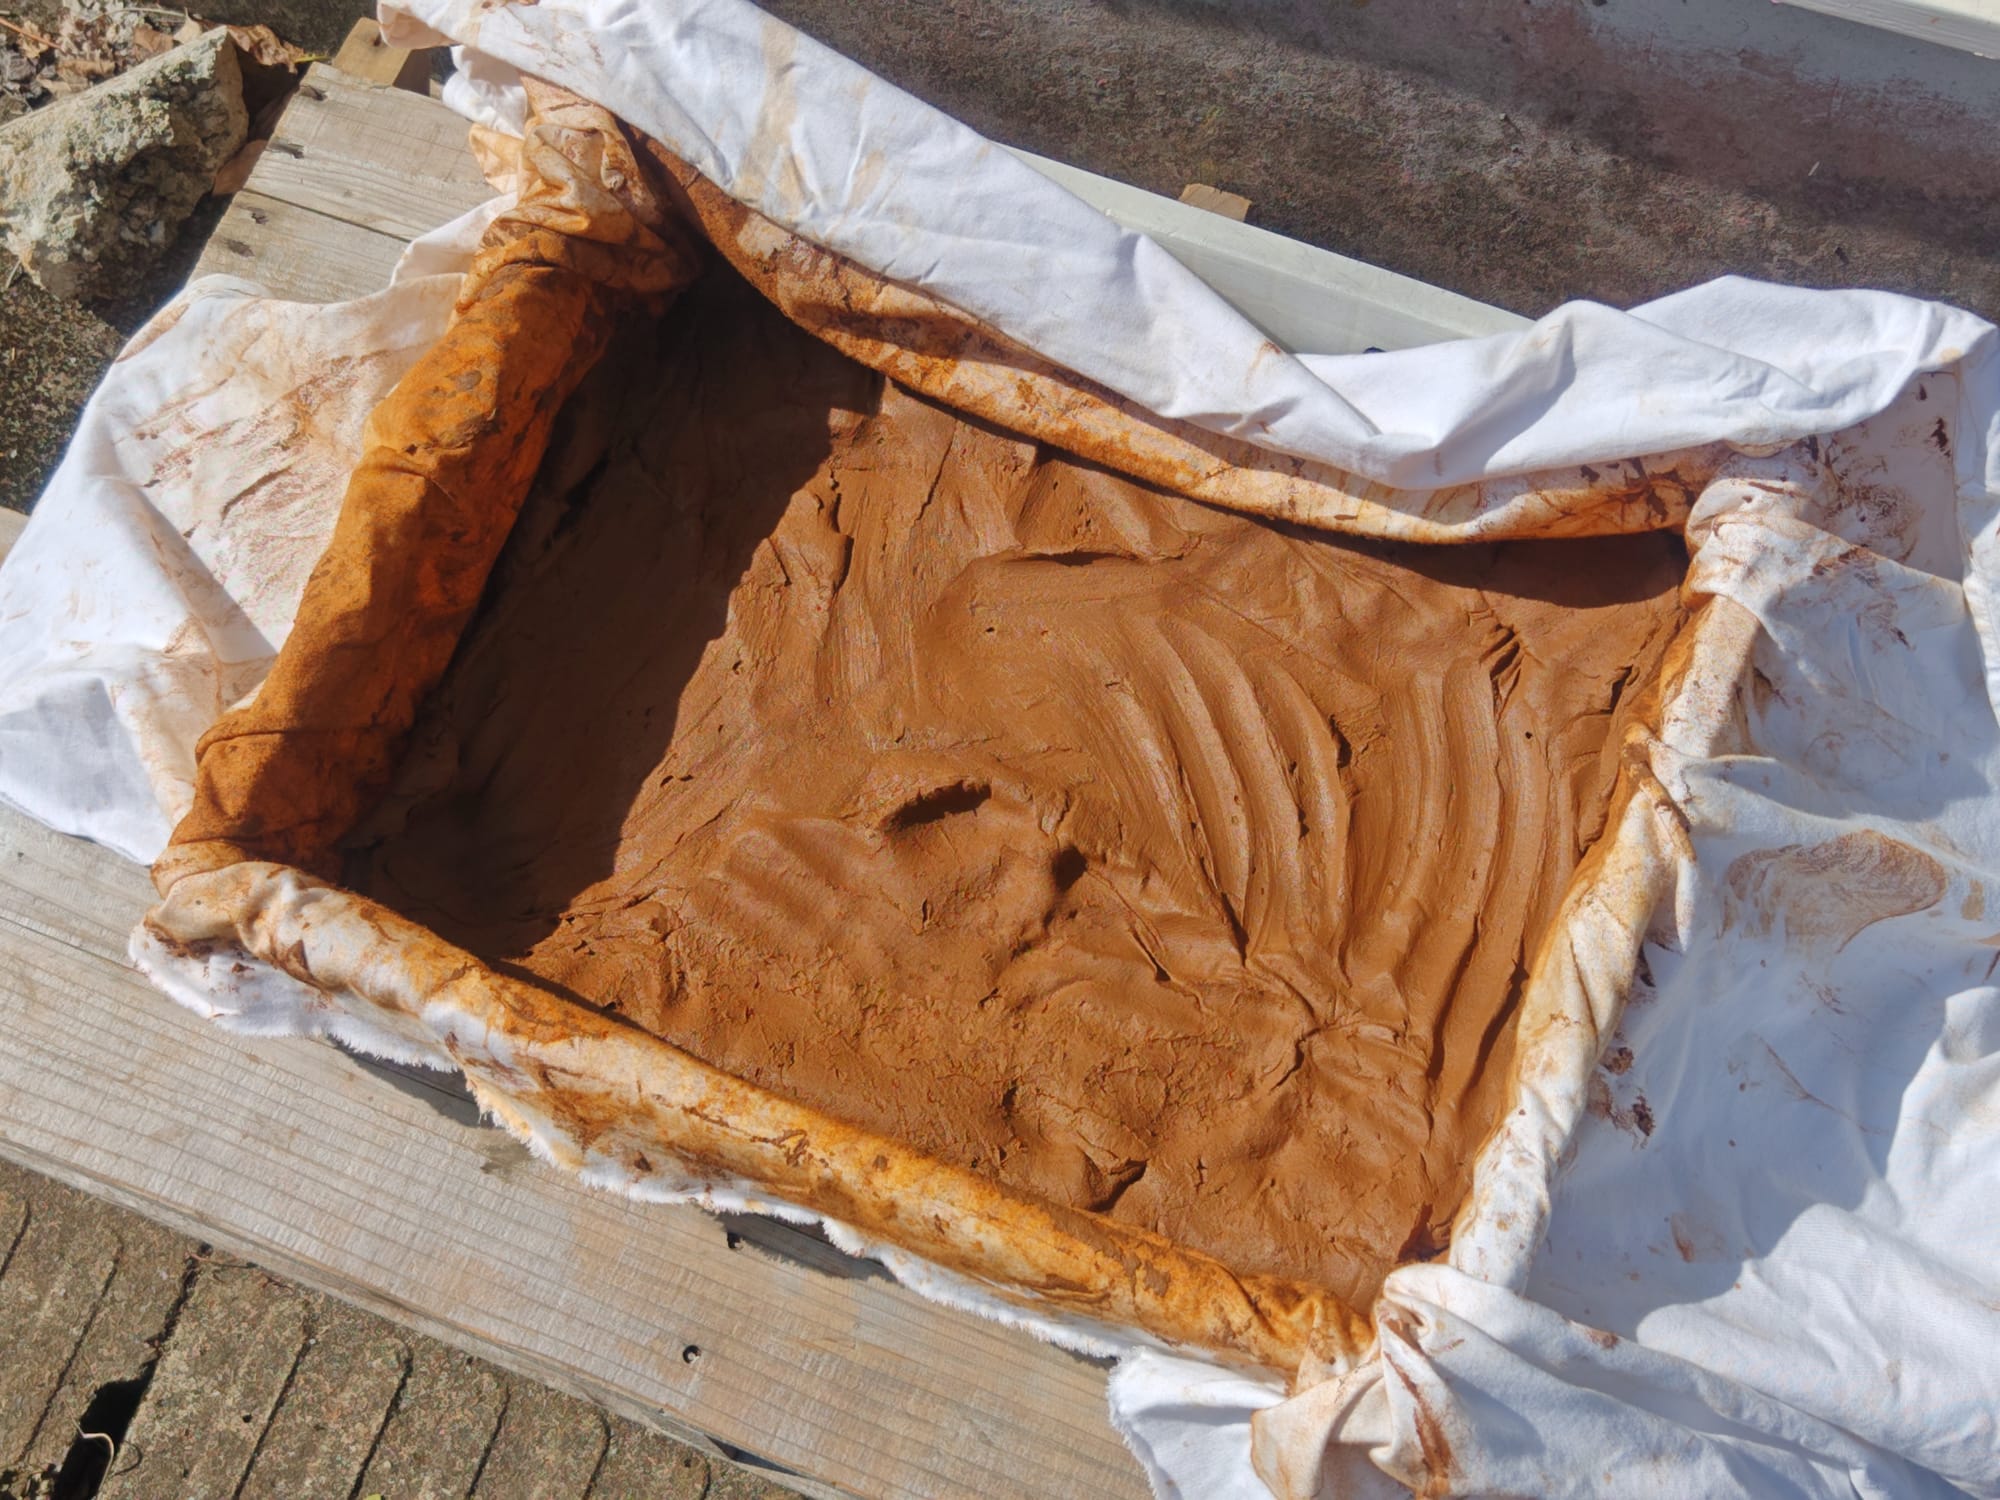
The clay basin 1 day after decanting (top) and 4 days after (bottom).
Clay is Born
As the moisture left the clay, it became slip. Slip's consistency is almost that of a light cake frosting or yogurt, though it is not tasty. At this stage, I could move it around without the threat of re-mixing the clay with water and losing progress. I transferred everything to another tray so that I could process a new batch of liquid clay in parallel as this batch continued to dry.
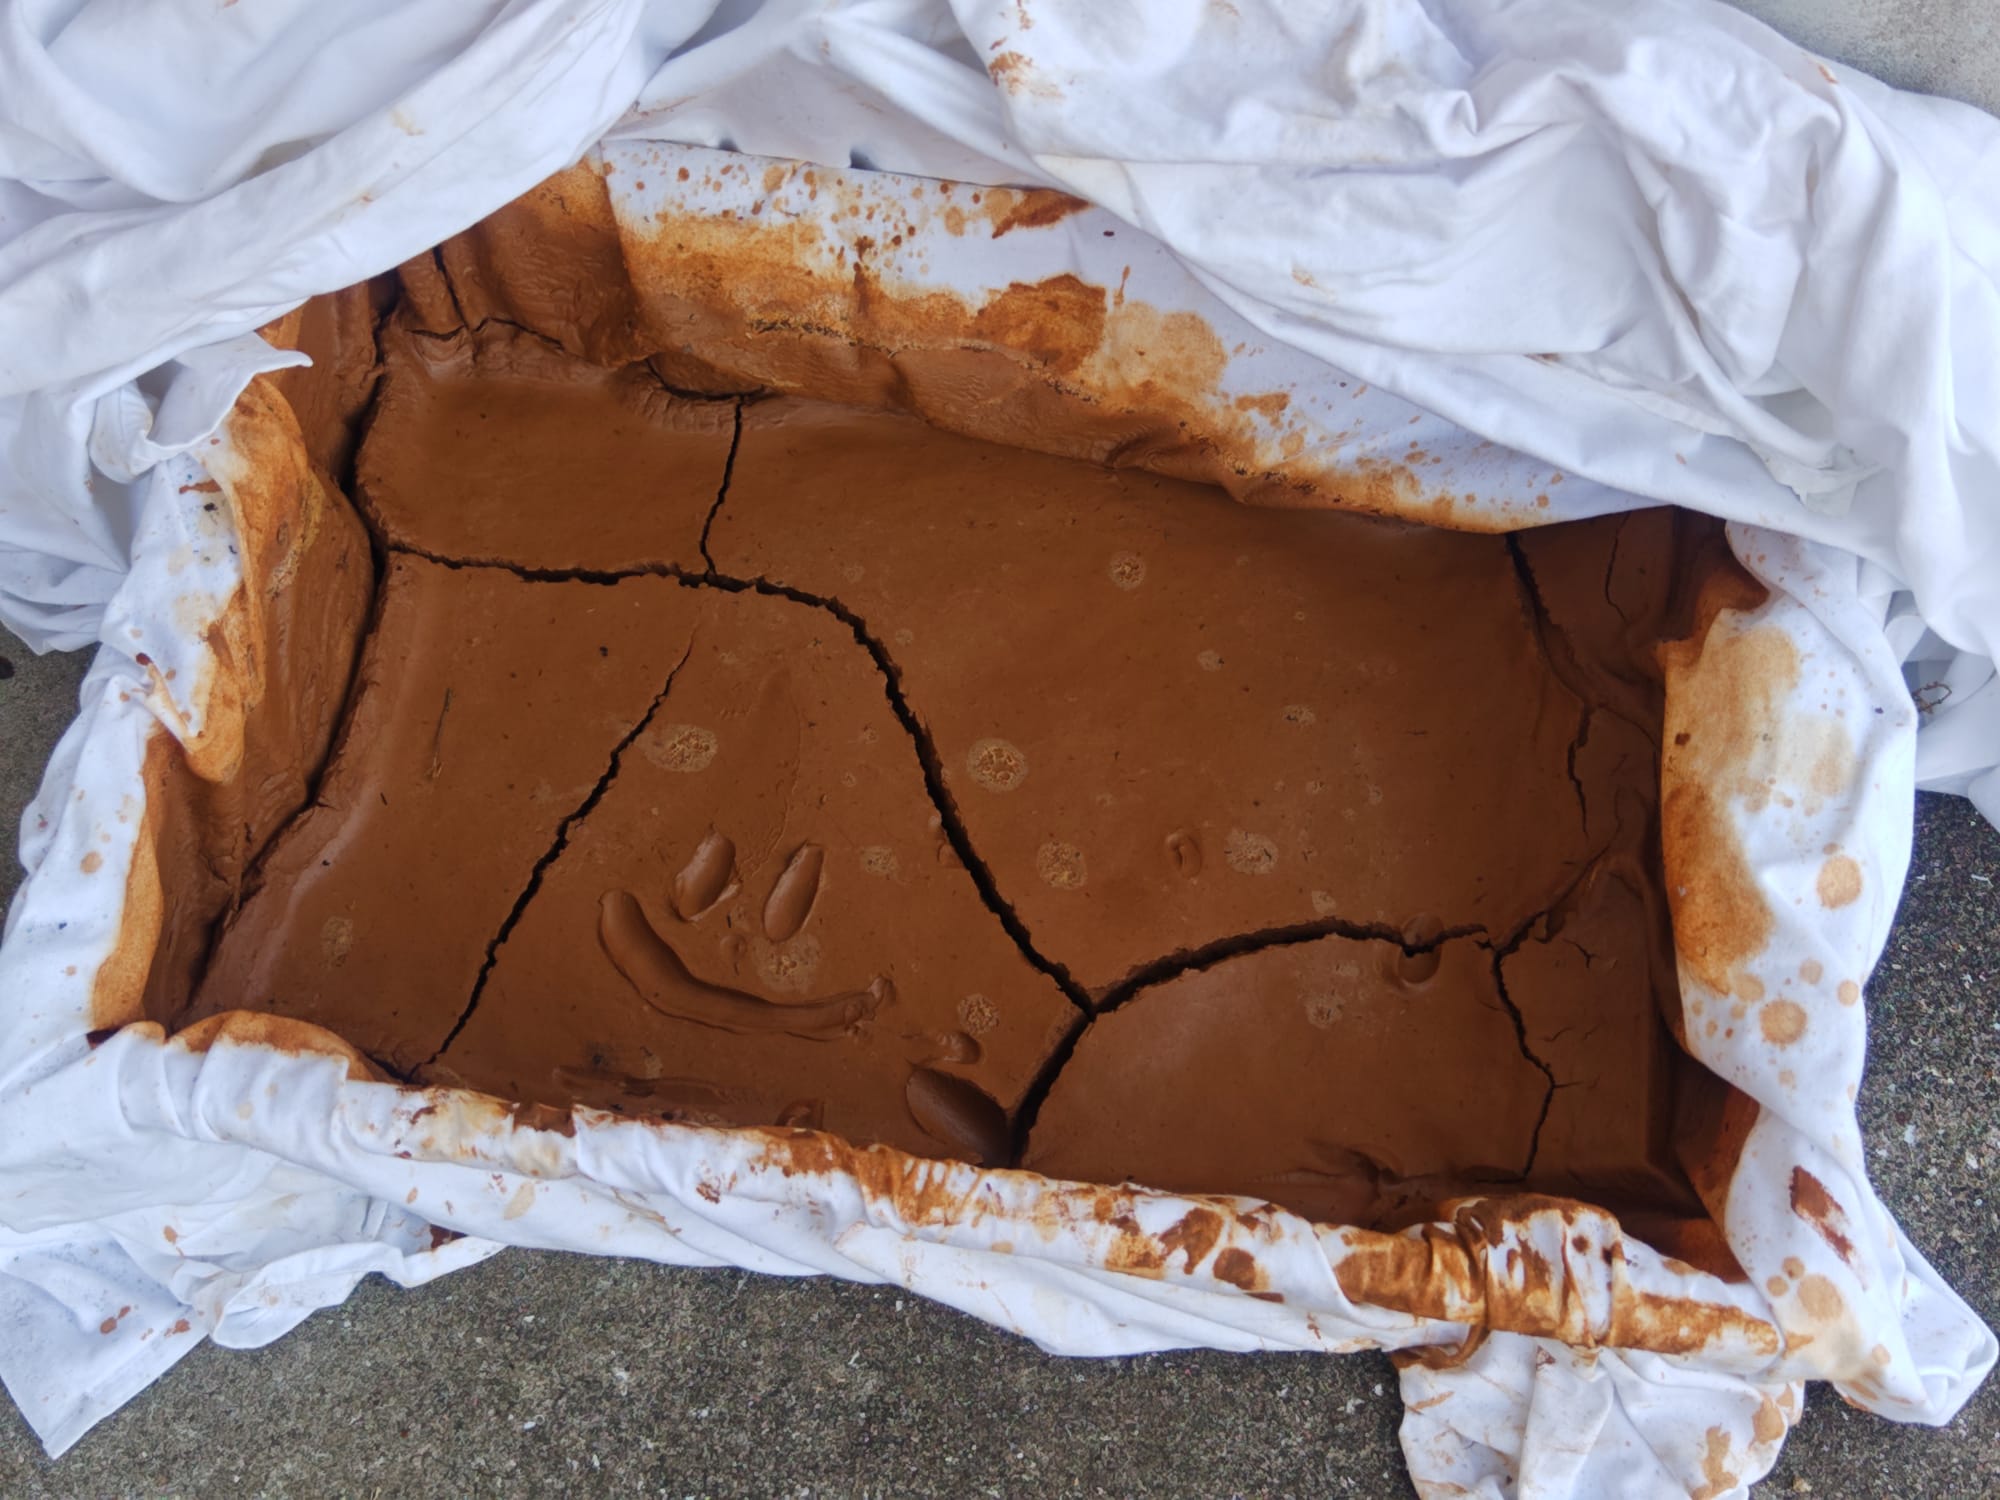
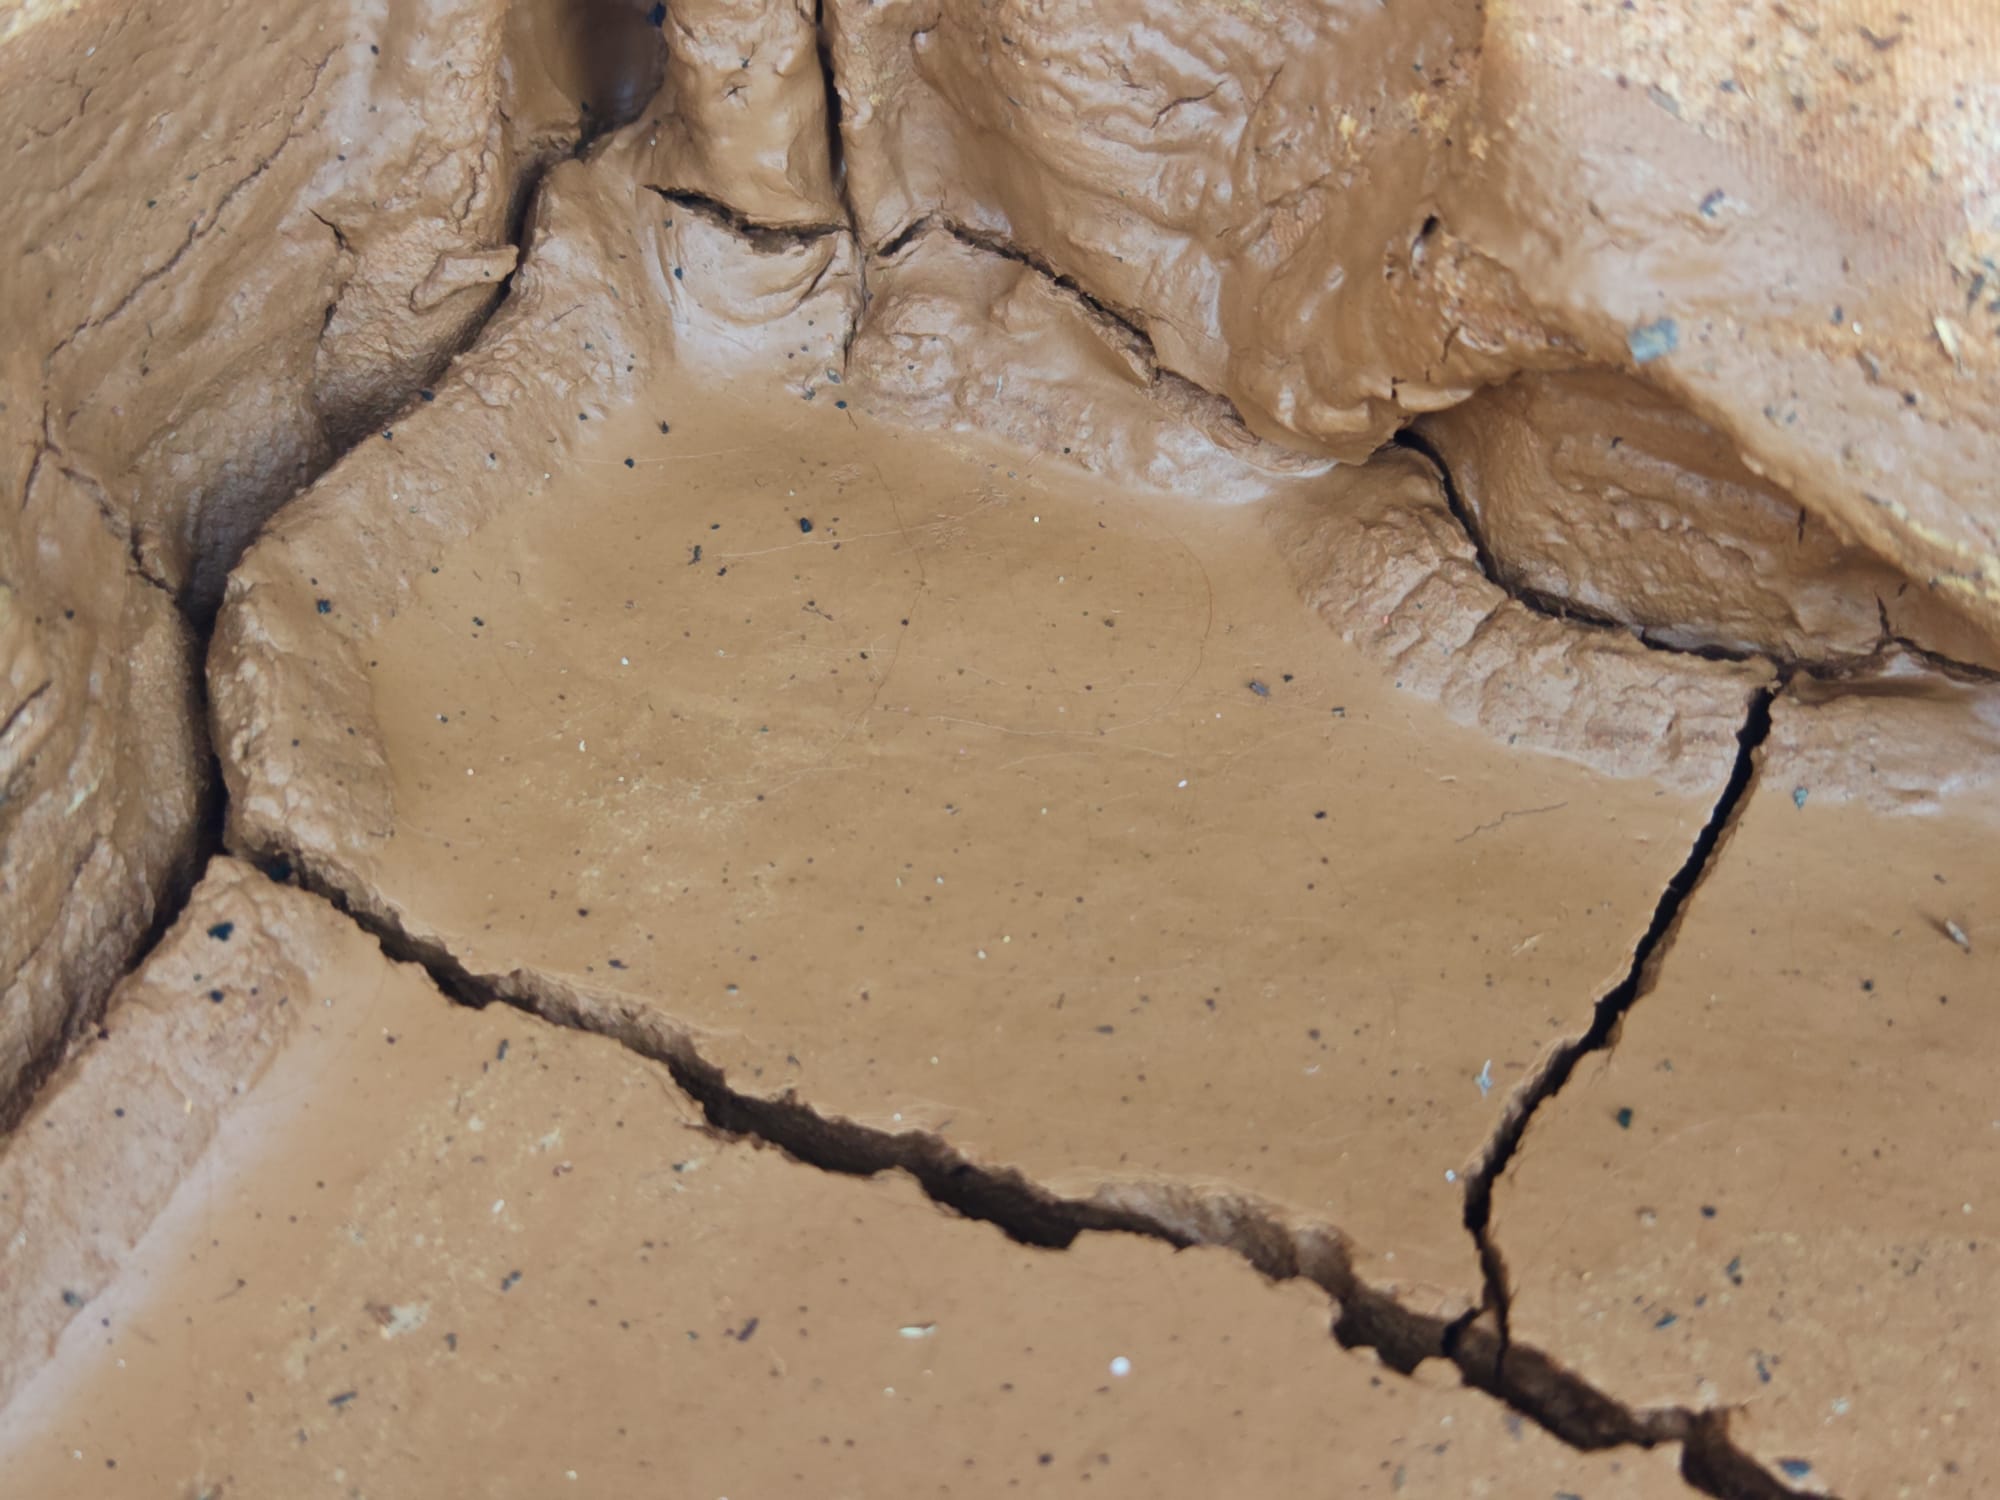
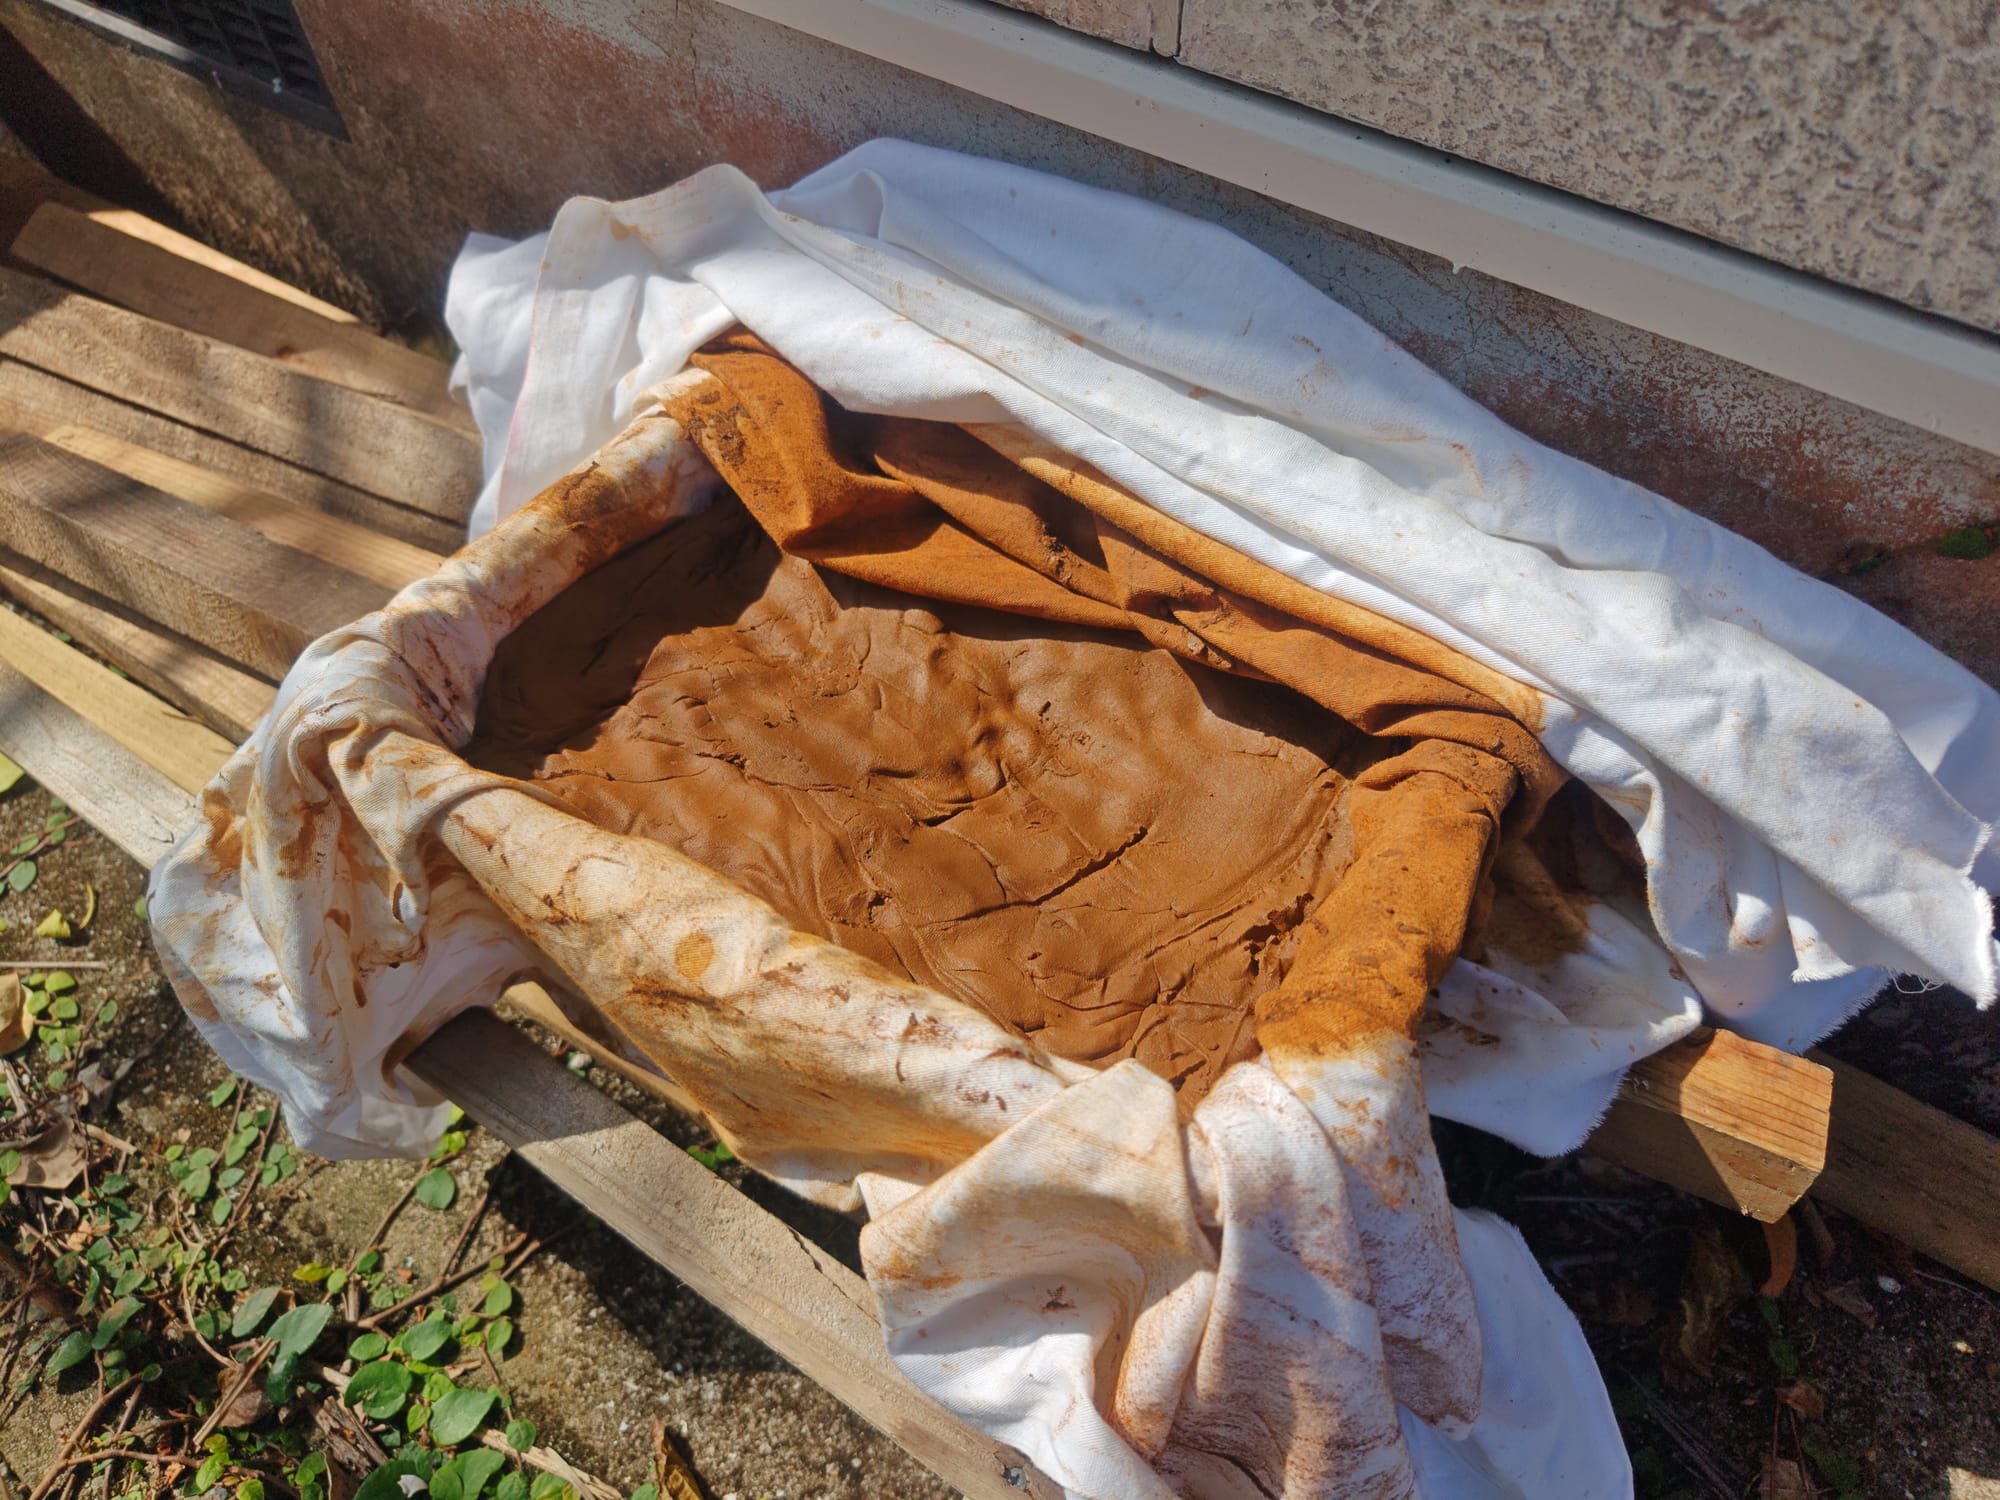
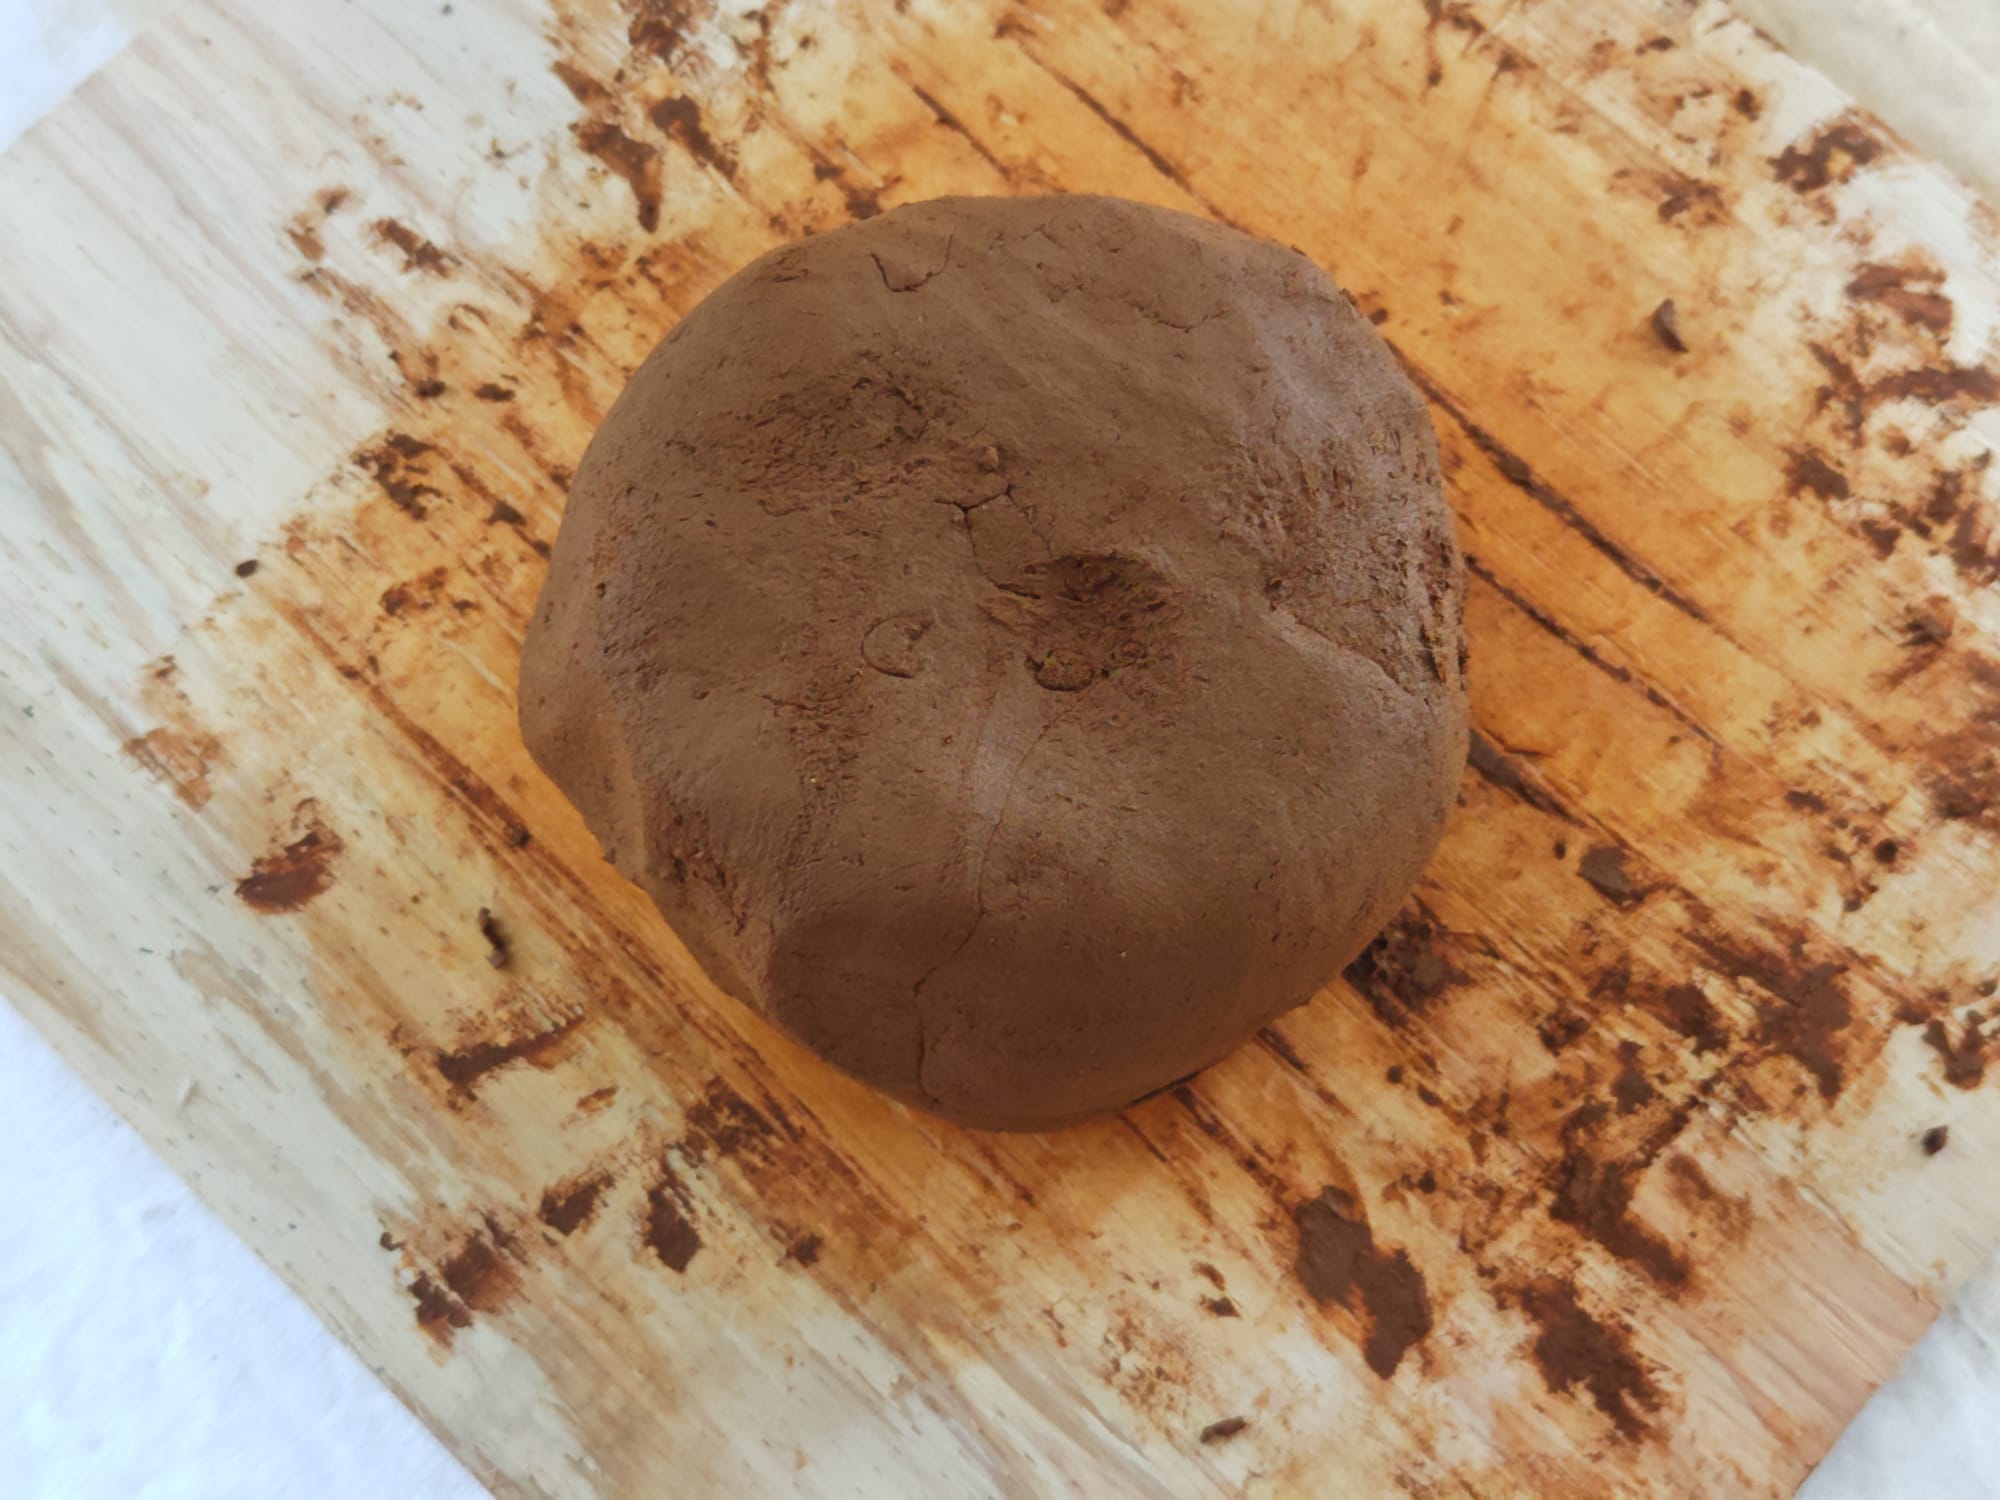
The happy newborn clay (top), shown scraped clean of debris (bottom) and kneaded.
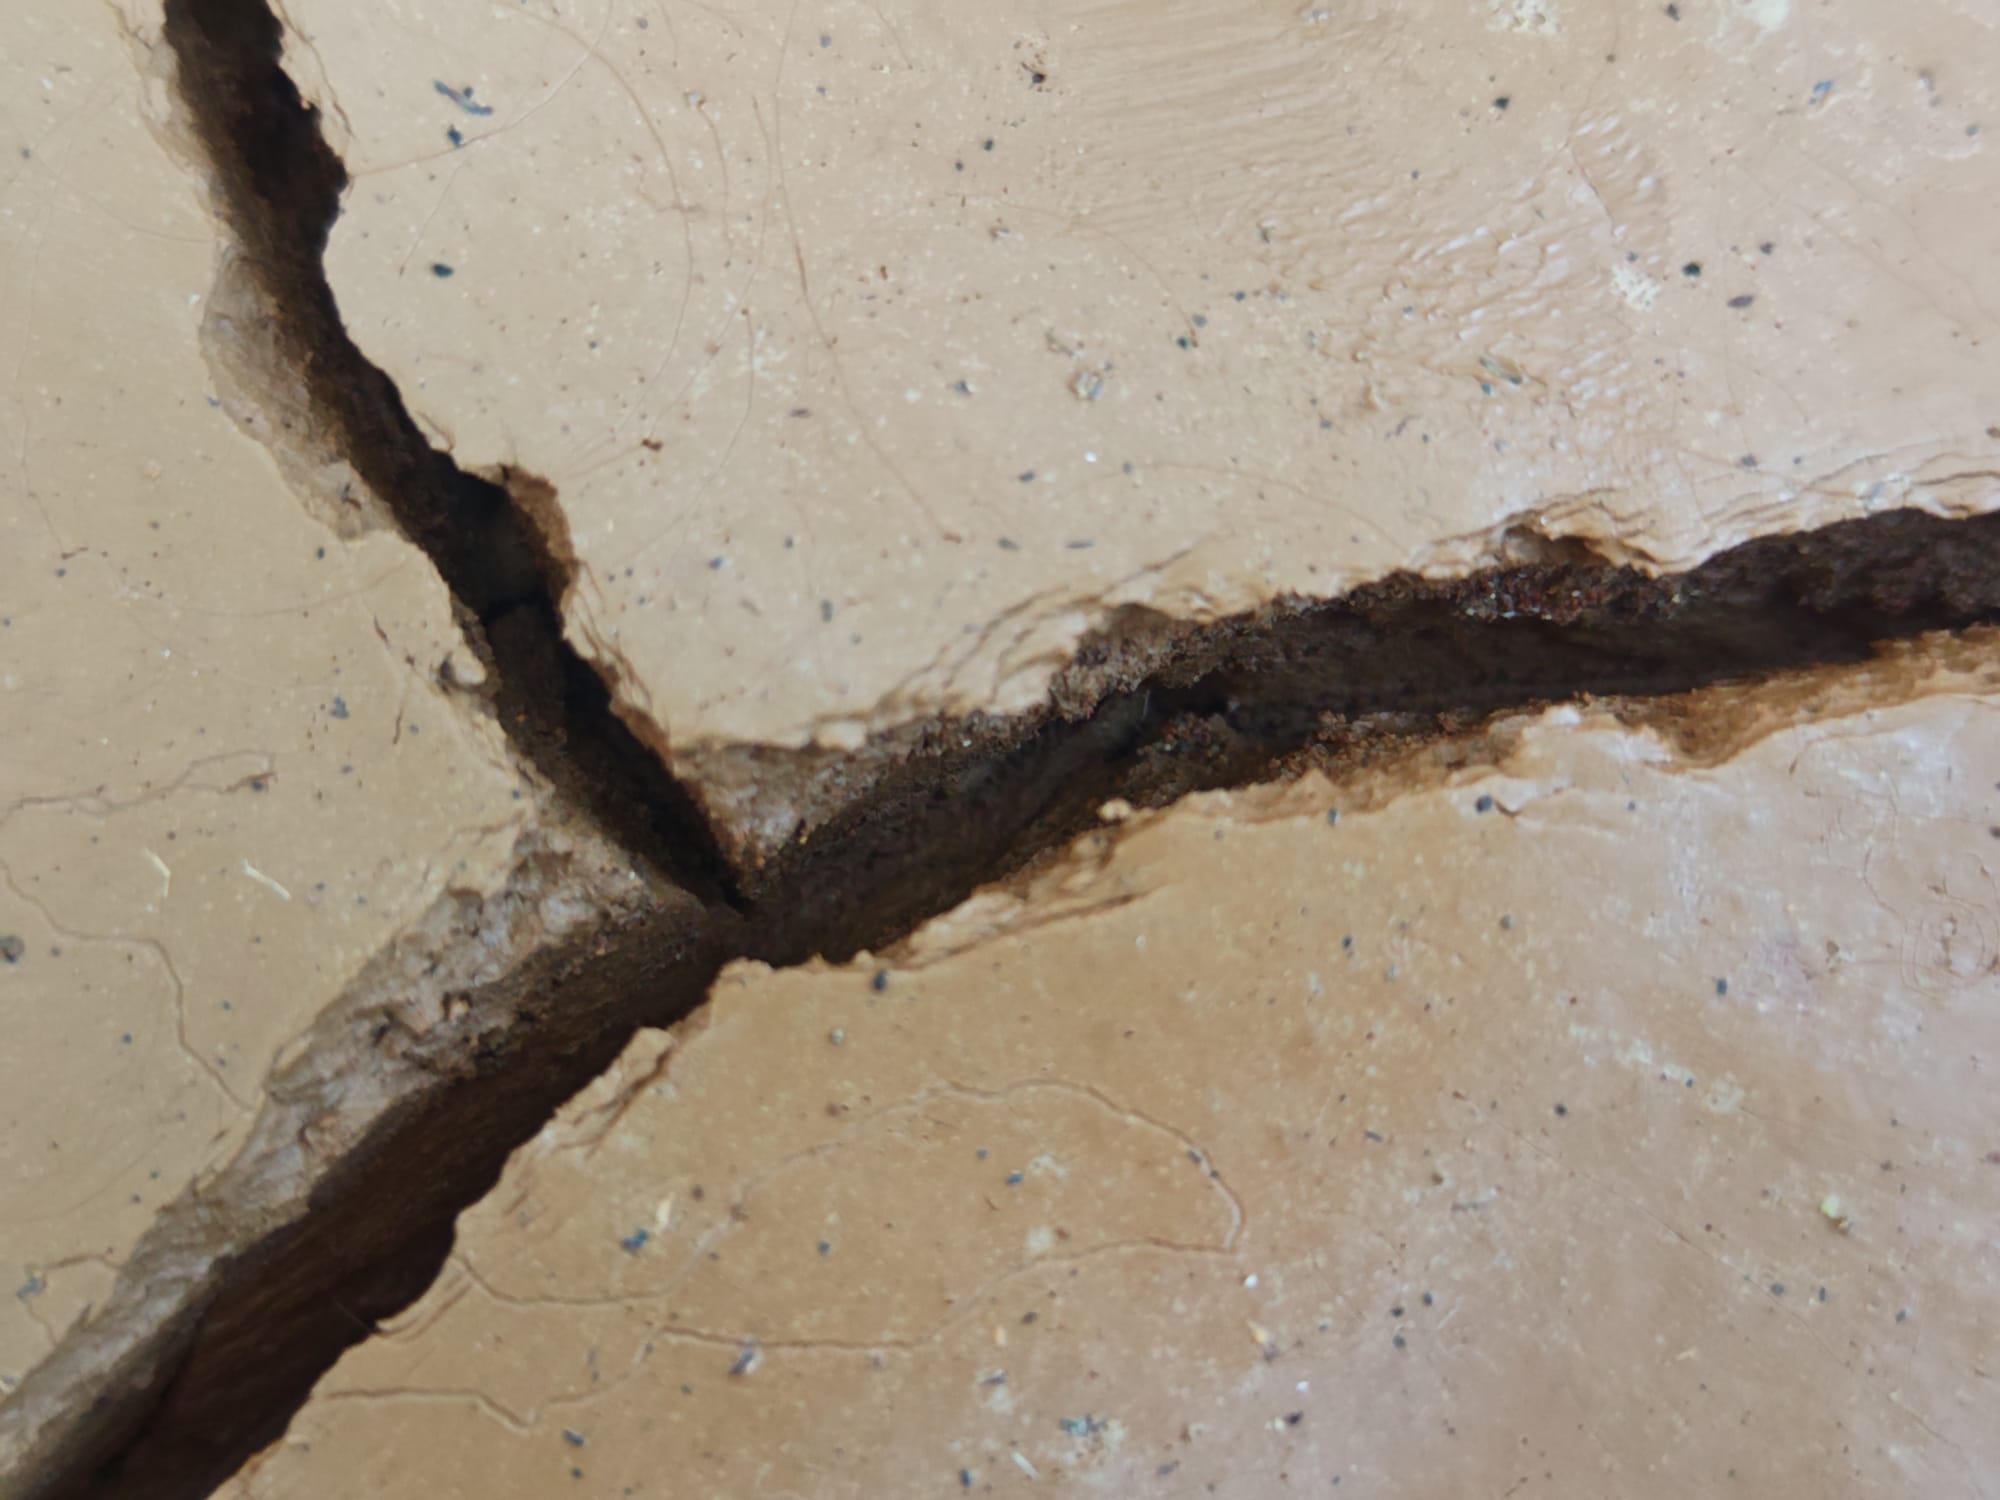
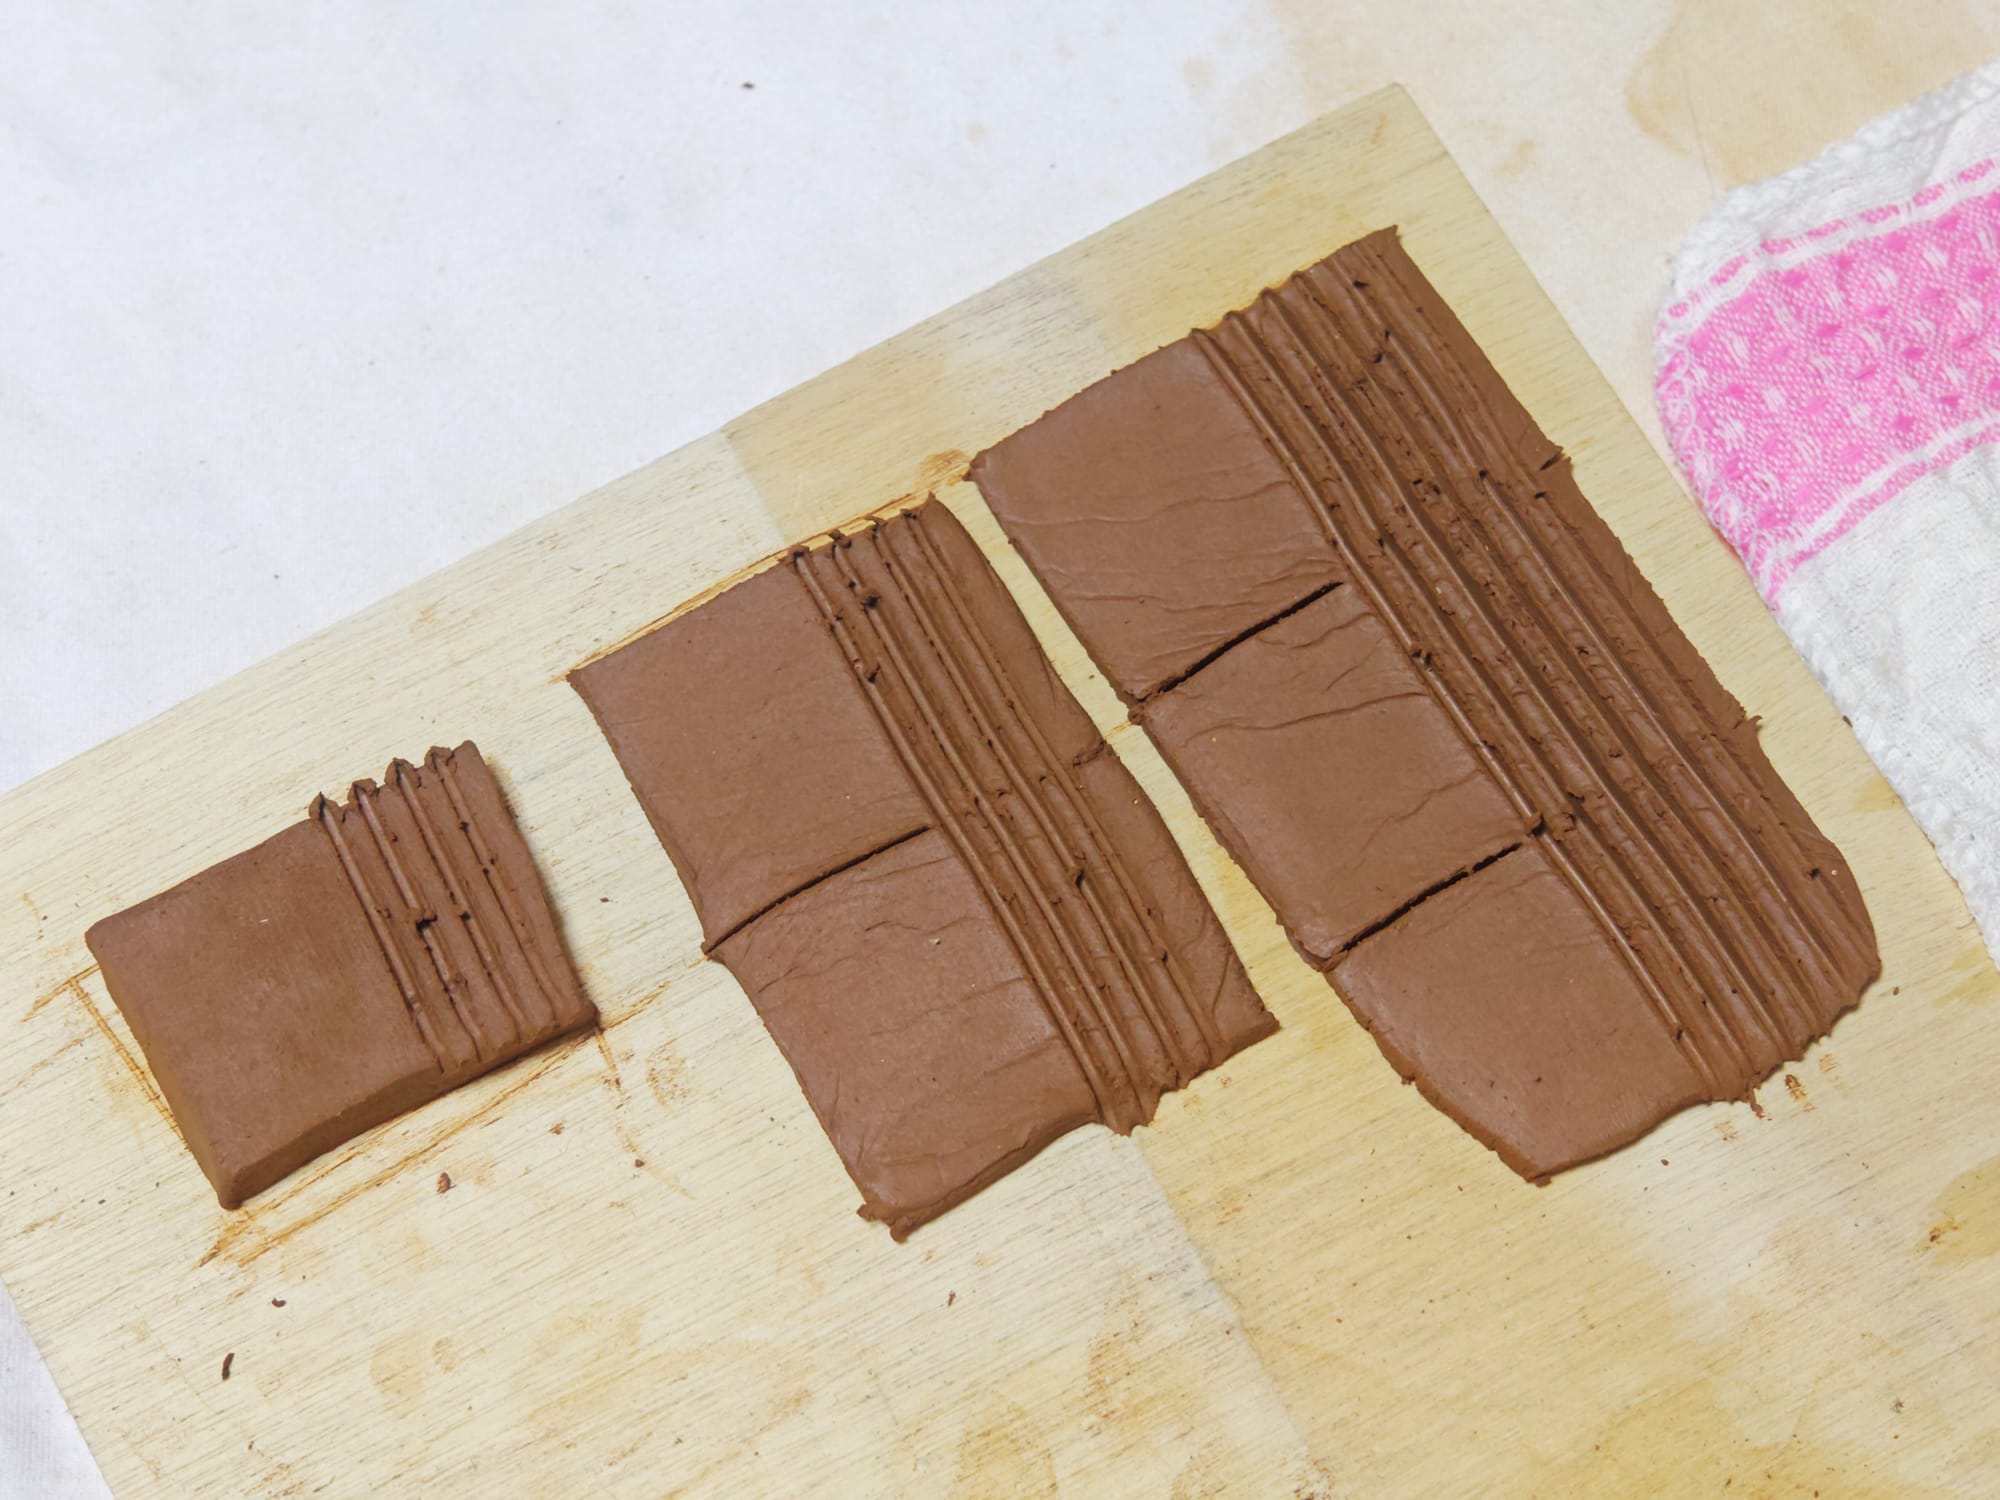
The clay shrank as it dried further, causing significant cracks to form (a good sign). Once it stopped being too sticky to handle, I scraped off the contaminants that fell on the surface during drying and thoroughly kneaded everything together. This kneading improves consistency, homogeneity, plasticity, and expresses trapped air bubbles in processed clay. At this point, grog or another temper material may be introduced to the raw clay to make modeling clay, so I added some of the sand I collected beforehand. Clay from other batches or recycled clay may also be worked in, at this stage. Working the clay in this way is known as wedging; it is a critical step in processing natural clay to achieve consistency.
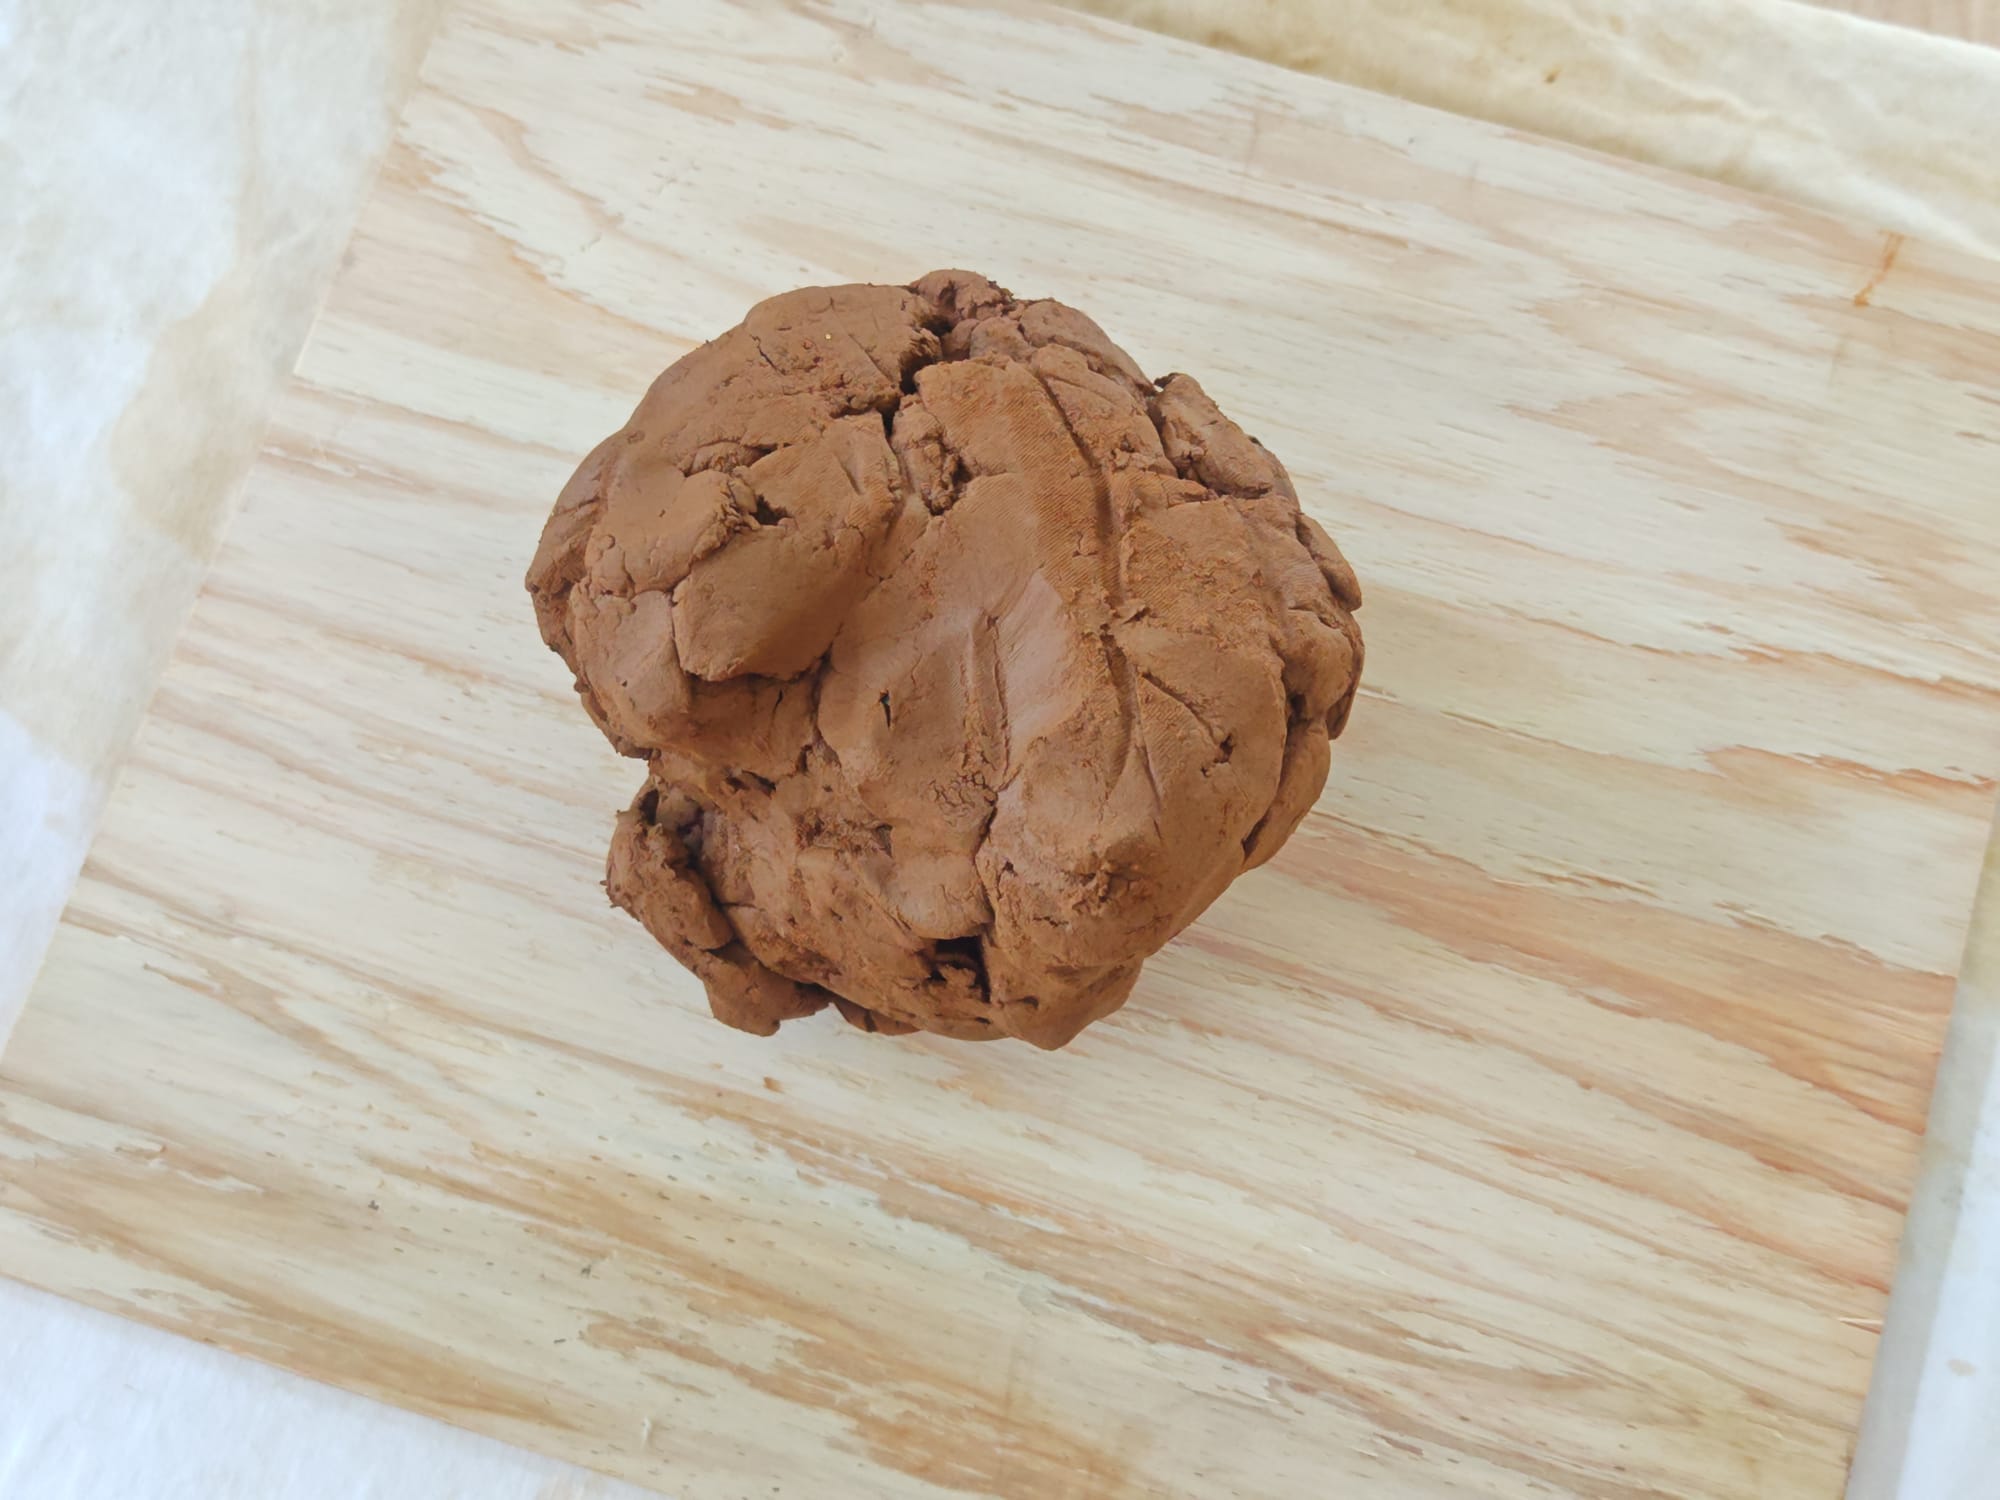
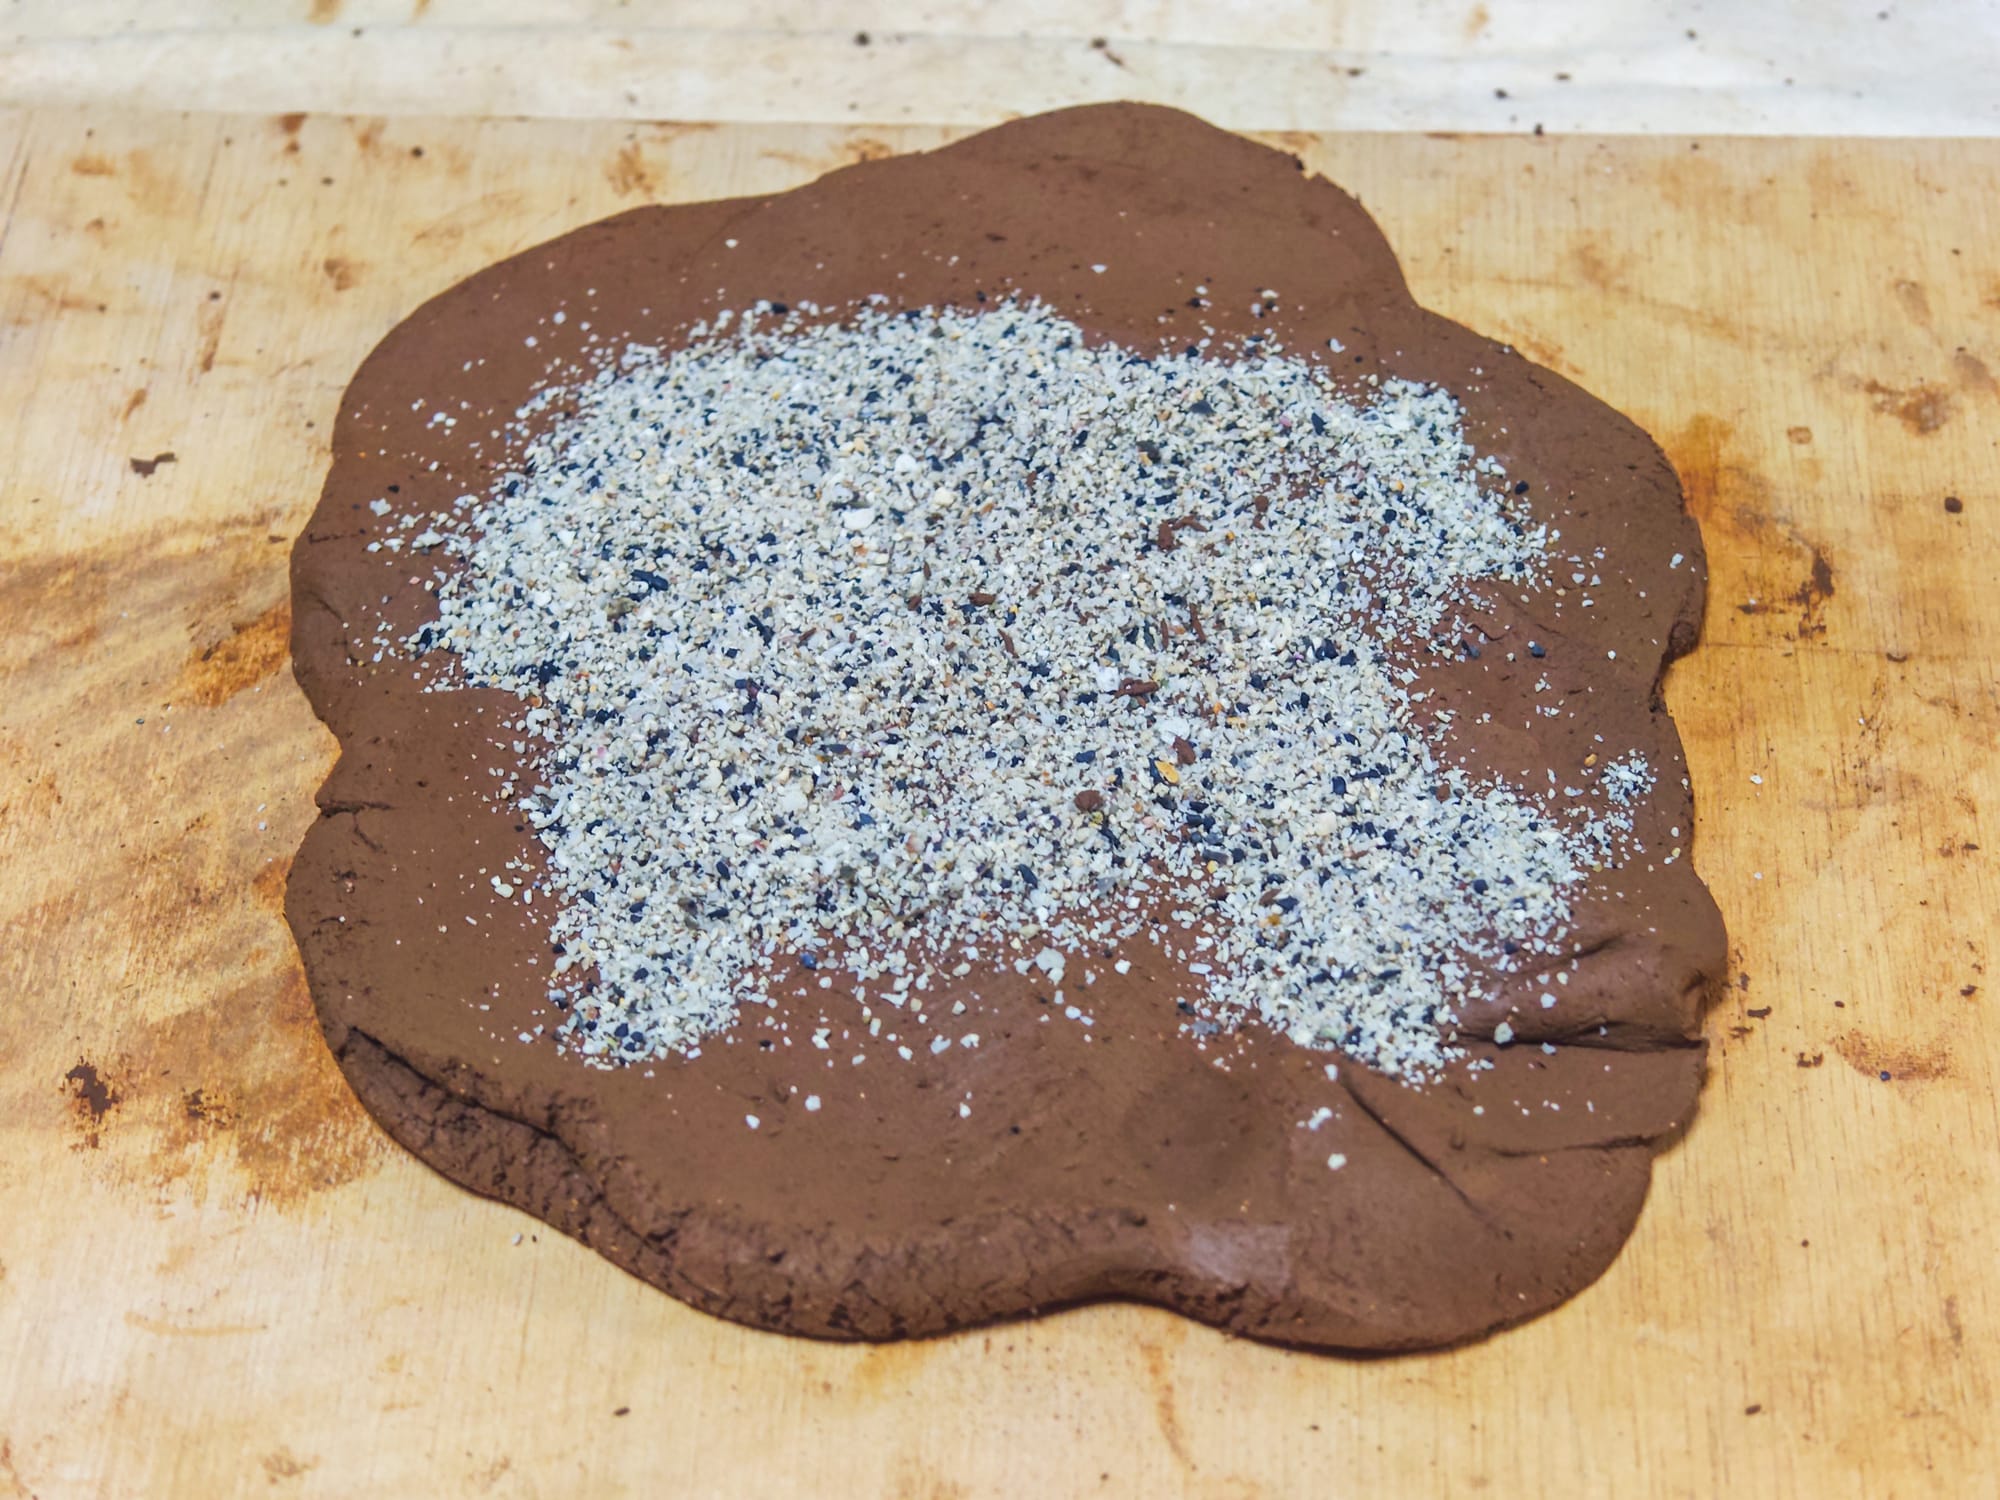
Clay before and after wedging.
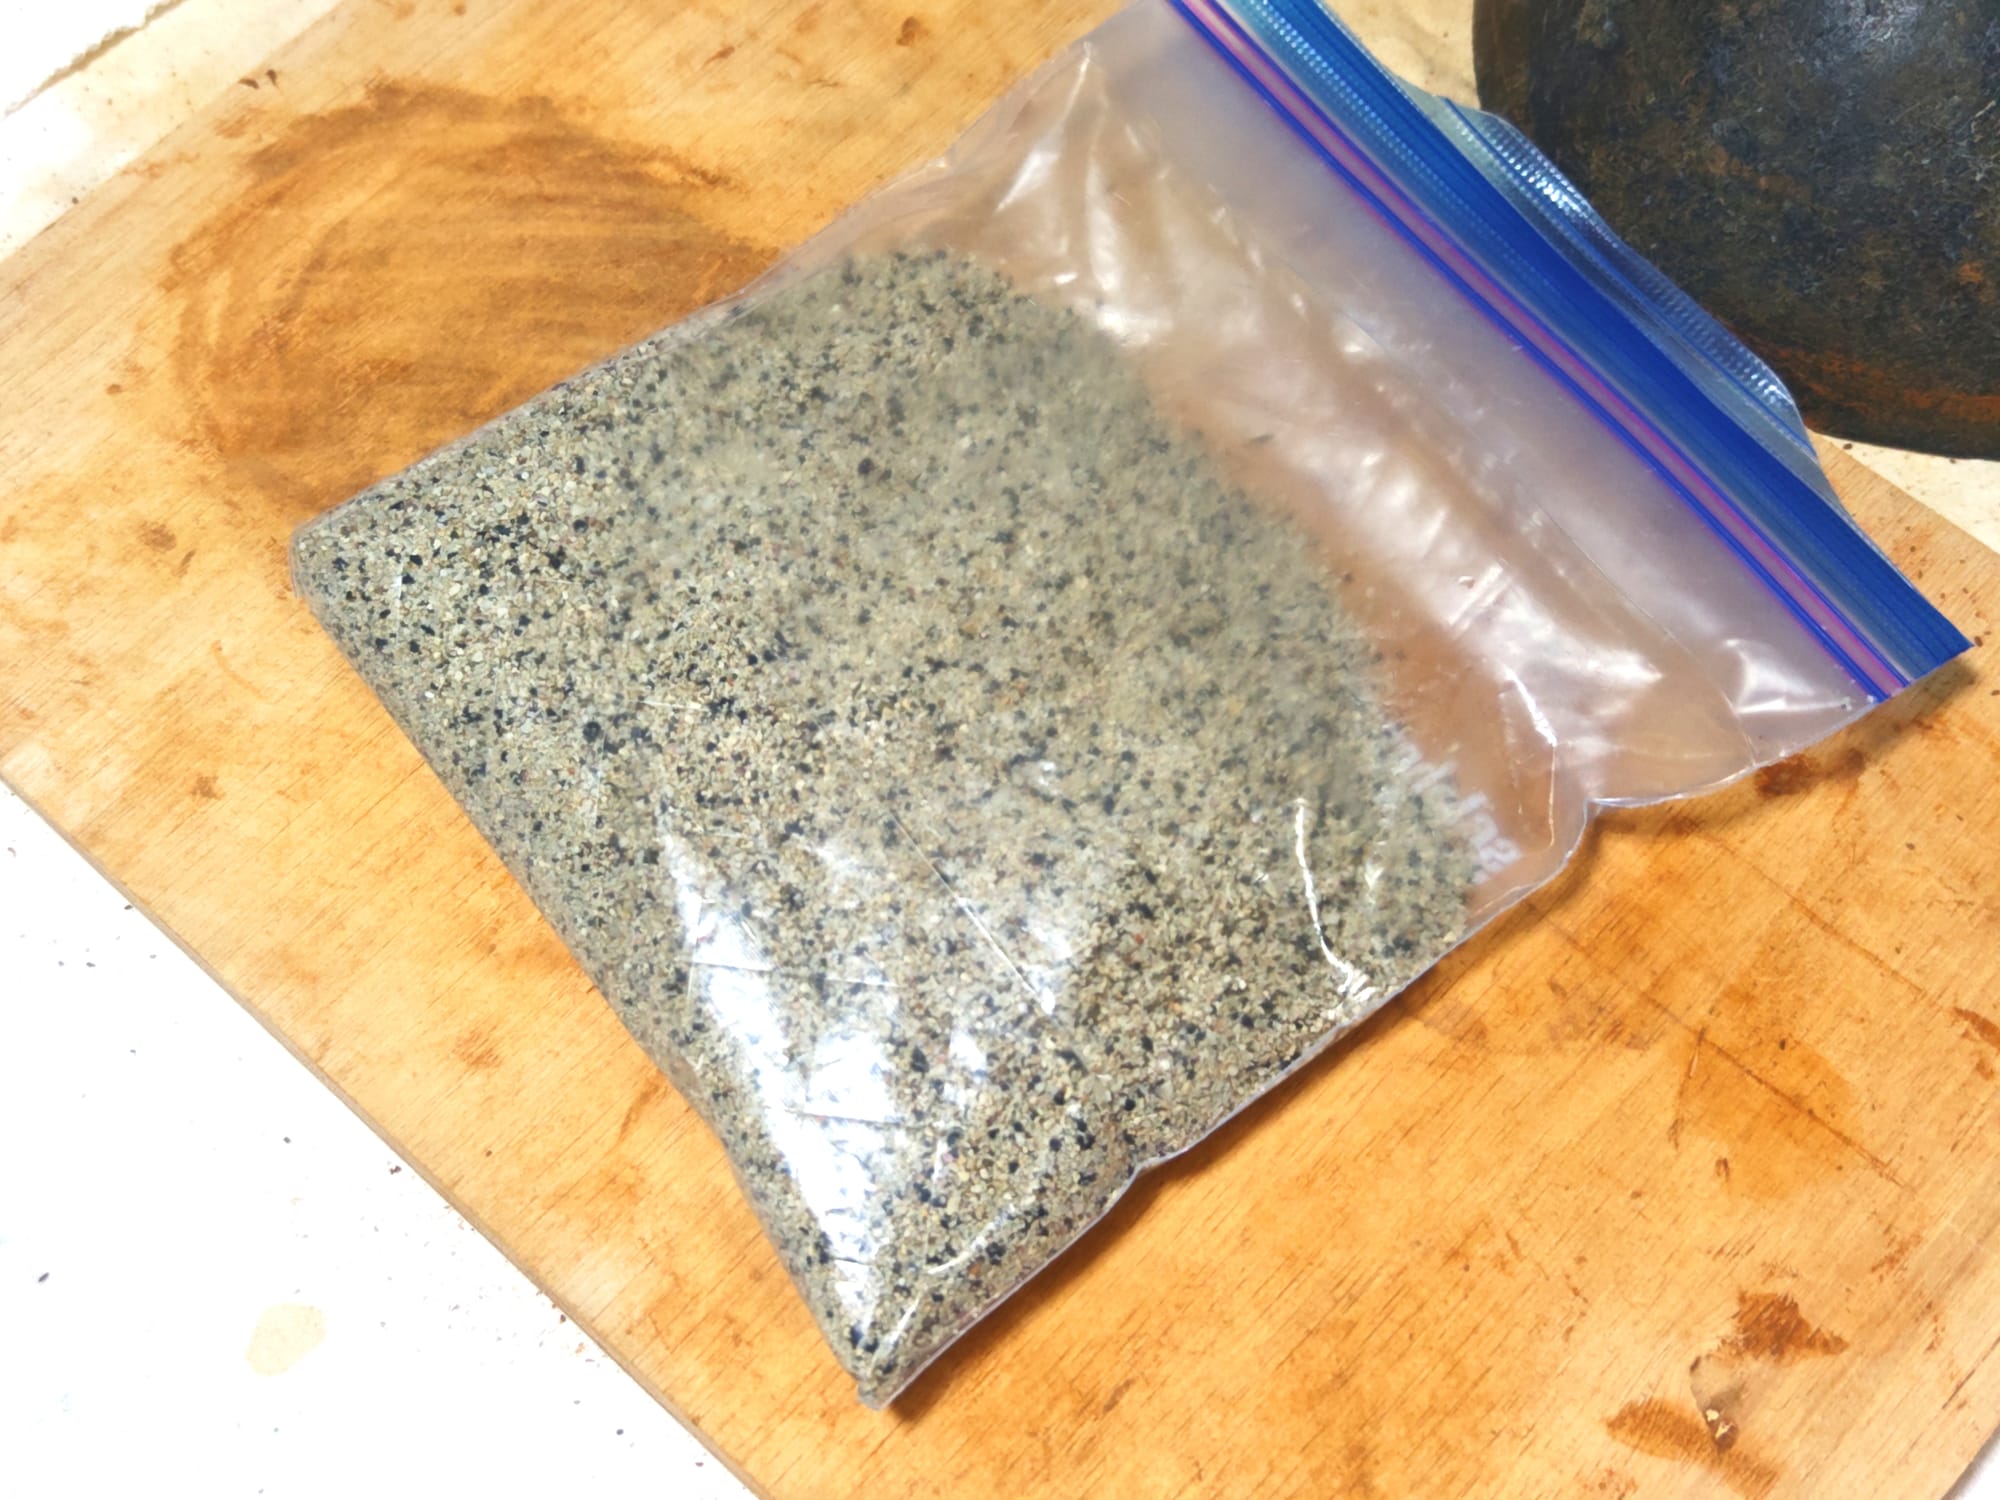
Storage
Once wedged, the modeling clay can be stored in any moisture-tight container until use. Resealable containers work well, but I simply layered multiple plastic shopping bags. It doesn't matter if they get dirty and they are practically free. (I still sometimes forget my reusable shopping bags, unfortunately.) Stored like this, clay can last practically indefinitely, though moisture levels should be managed. I had to re-wedge some of it before use after waiting several weeks.
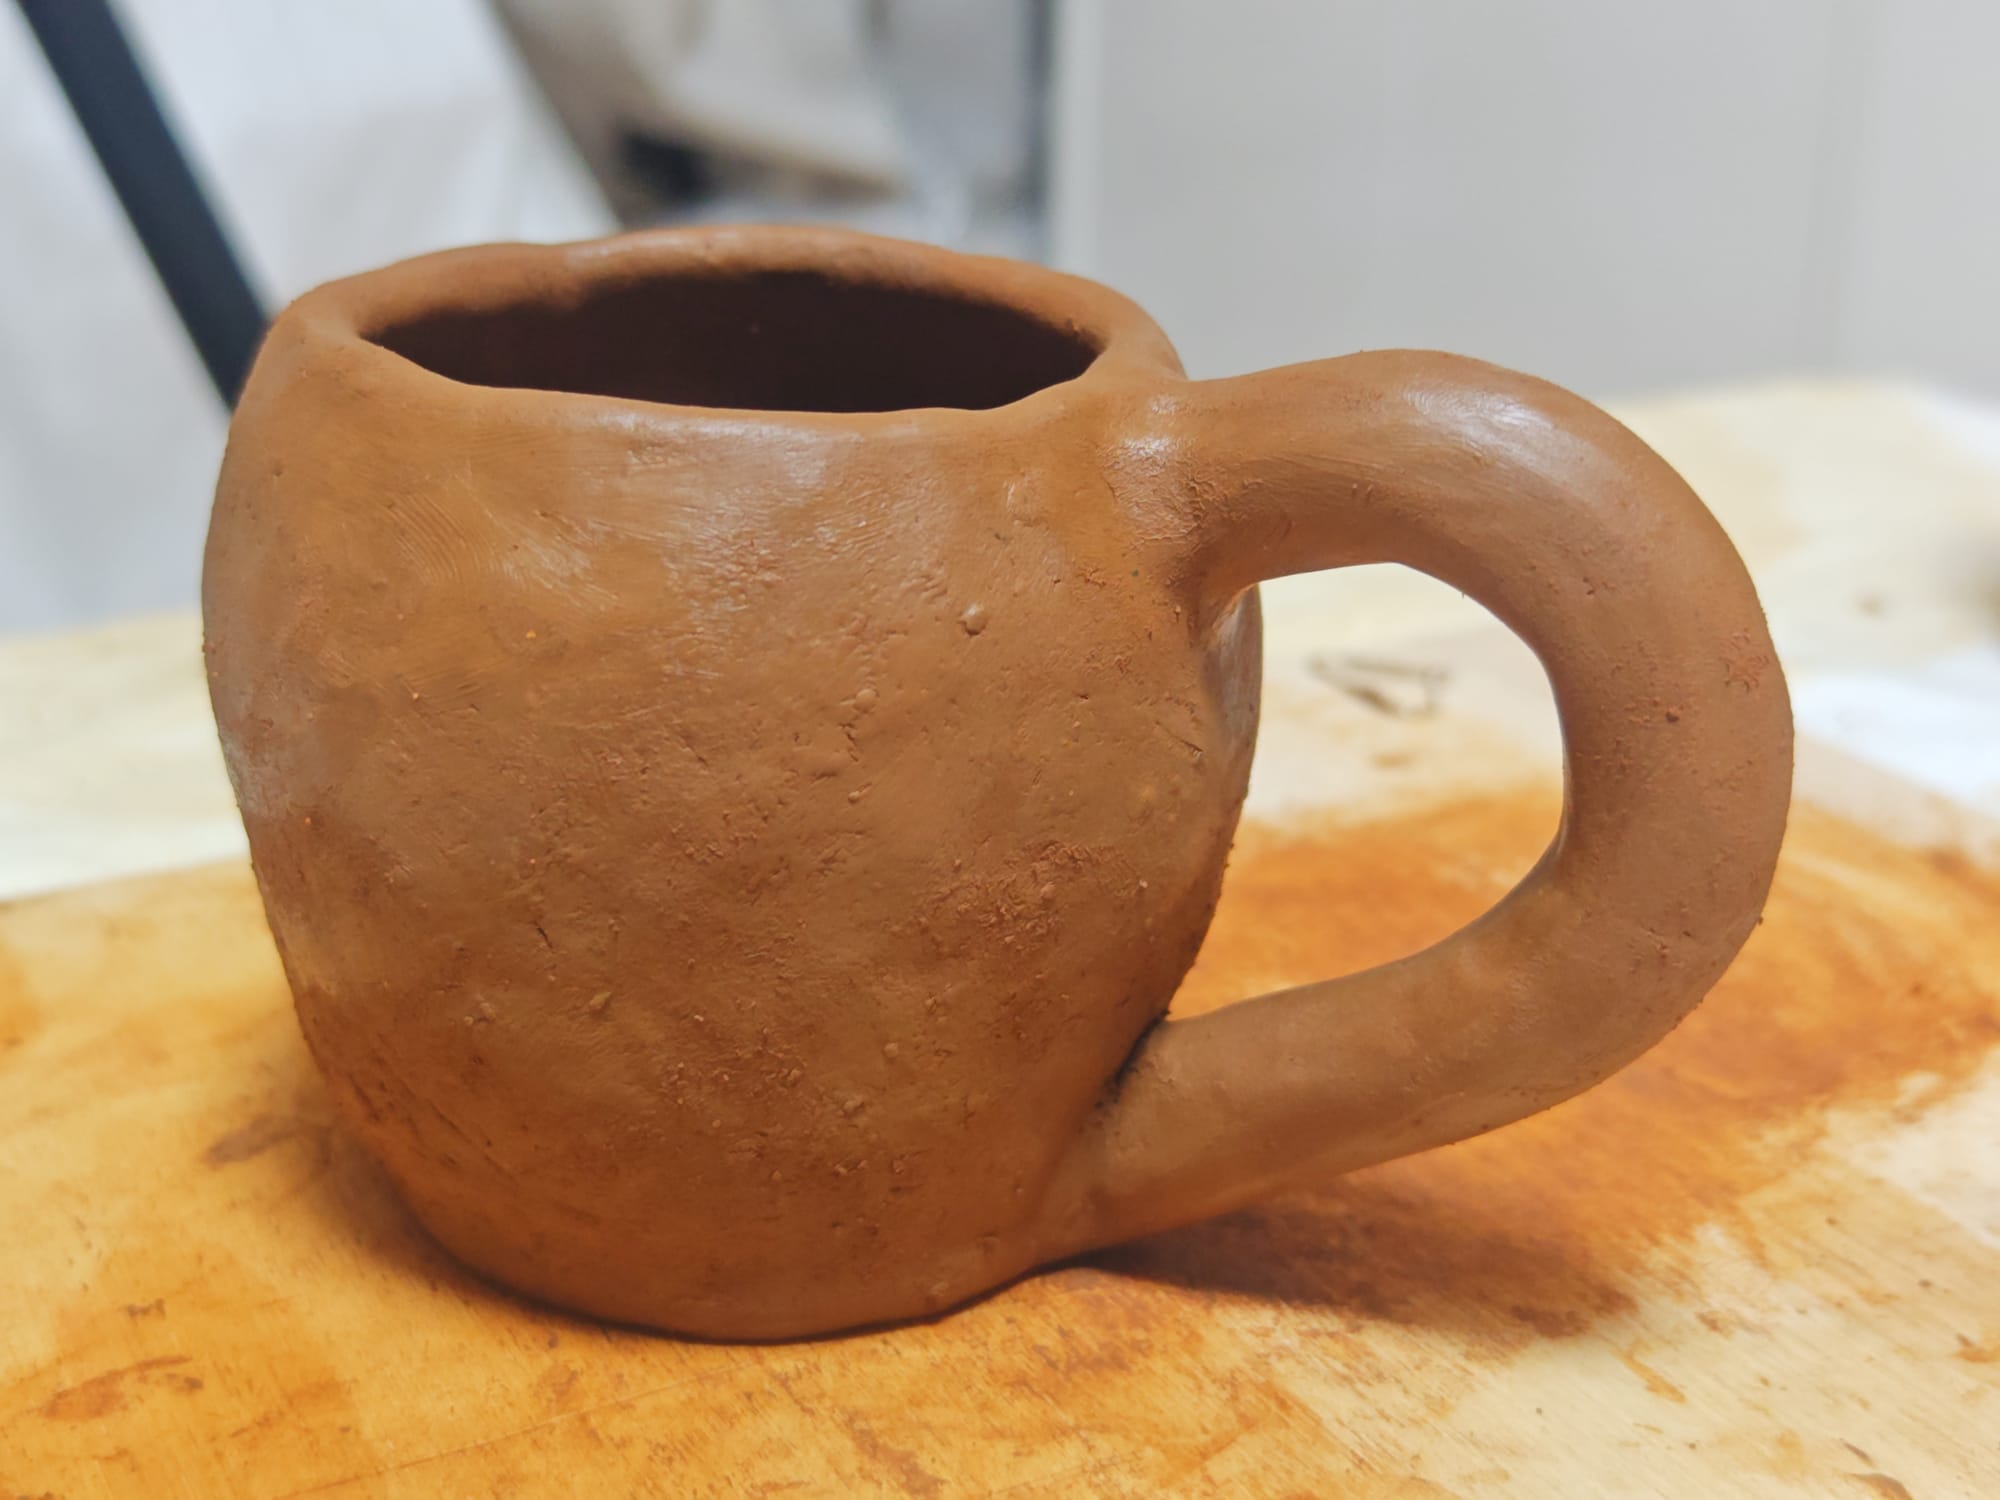
Pinch Pottery
Since I lack a proper pottery wheel, I ended up making my first piece using the pinch-pot technique. By rolling coils of clay, layering, pinching, and scraping, I was able to make a rudimentary mug, some jars, and a bowl.
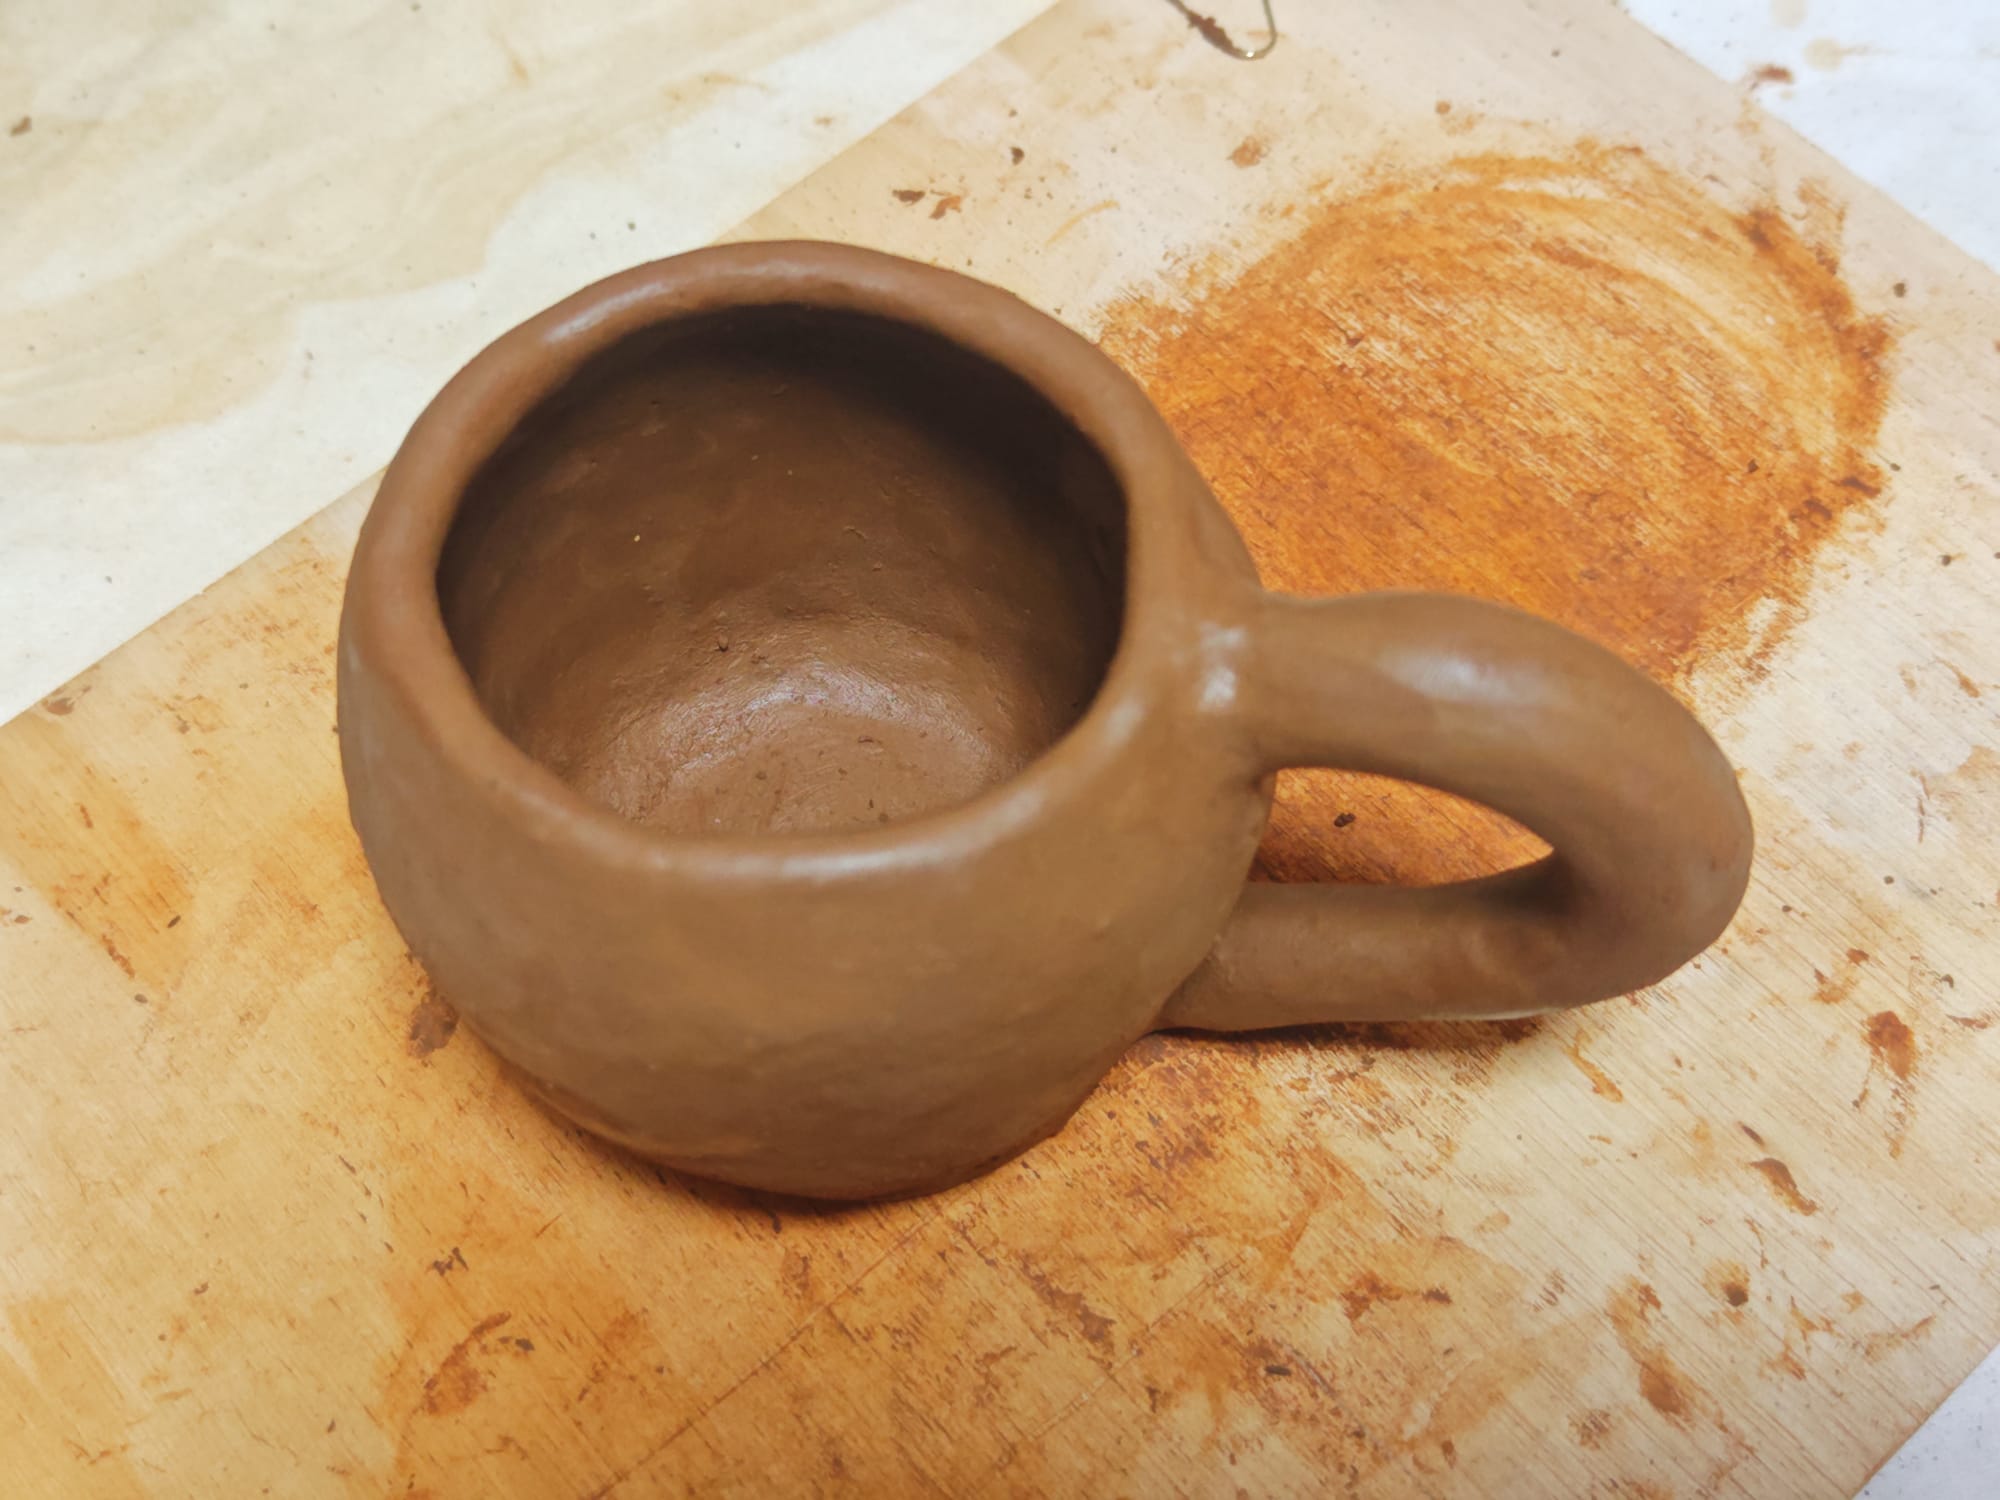
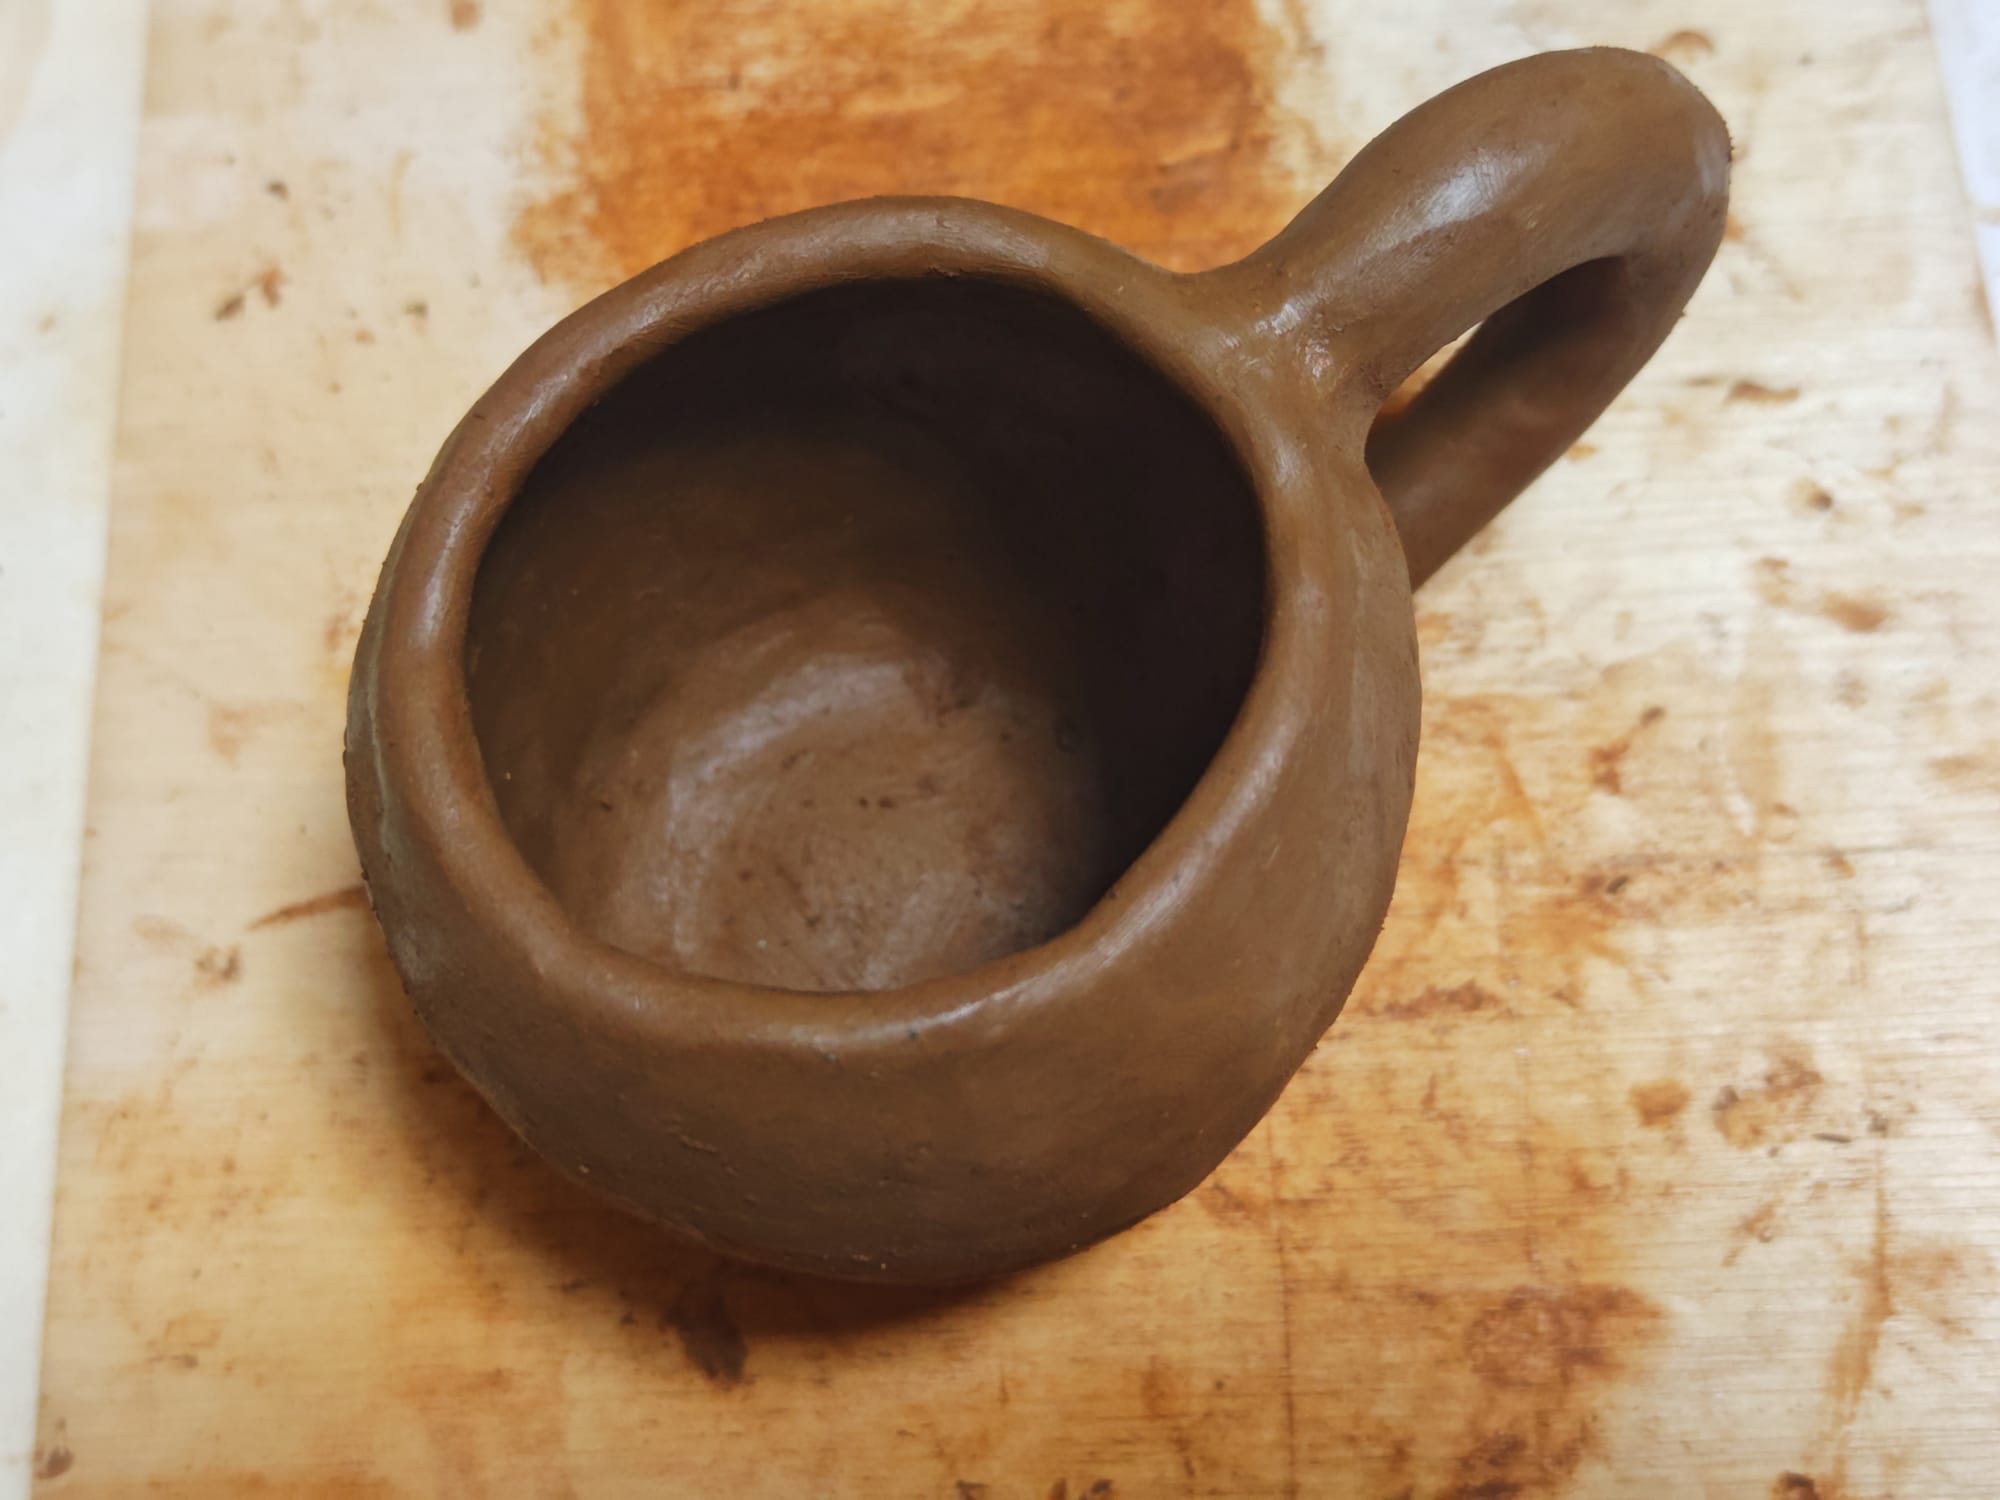
Some of the first things I made include a teacup, among other bowls and handle-less cups. The little tablets are for testing firing techniques (and possibly glazes, in the future).
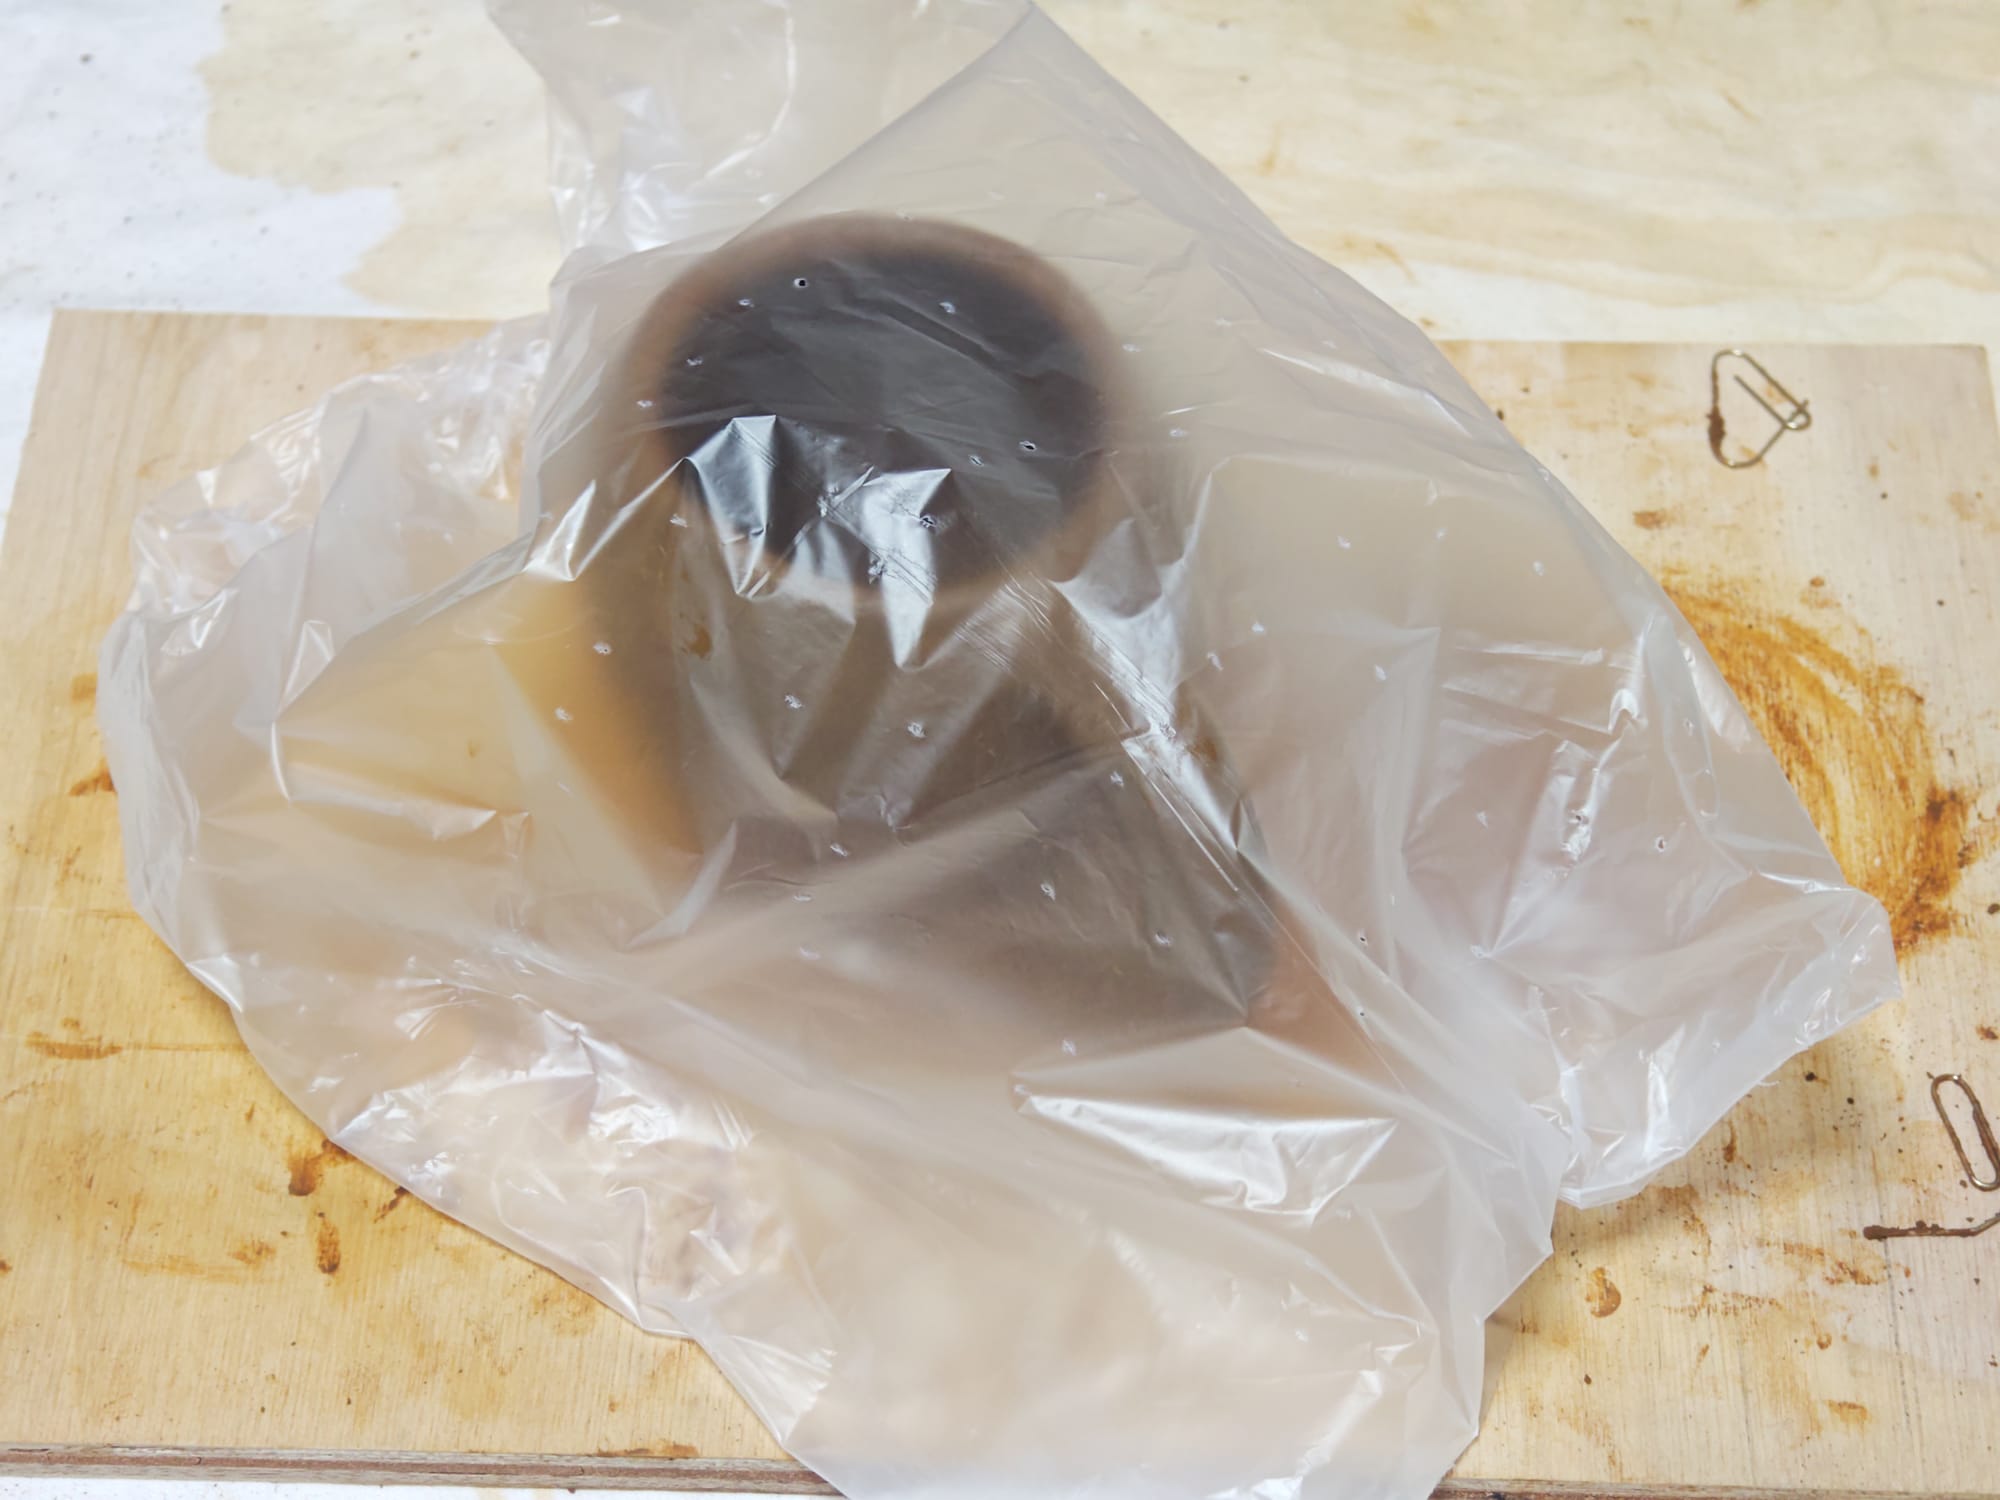
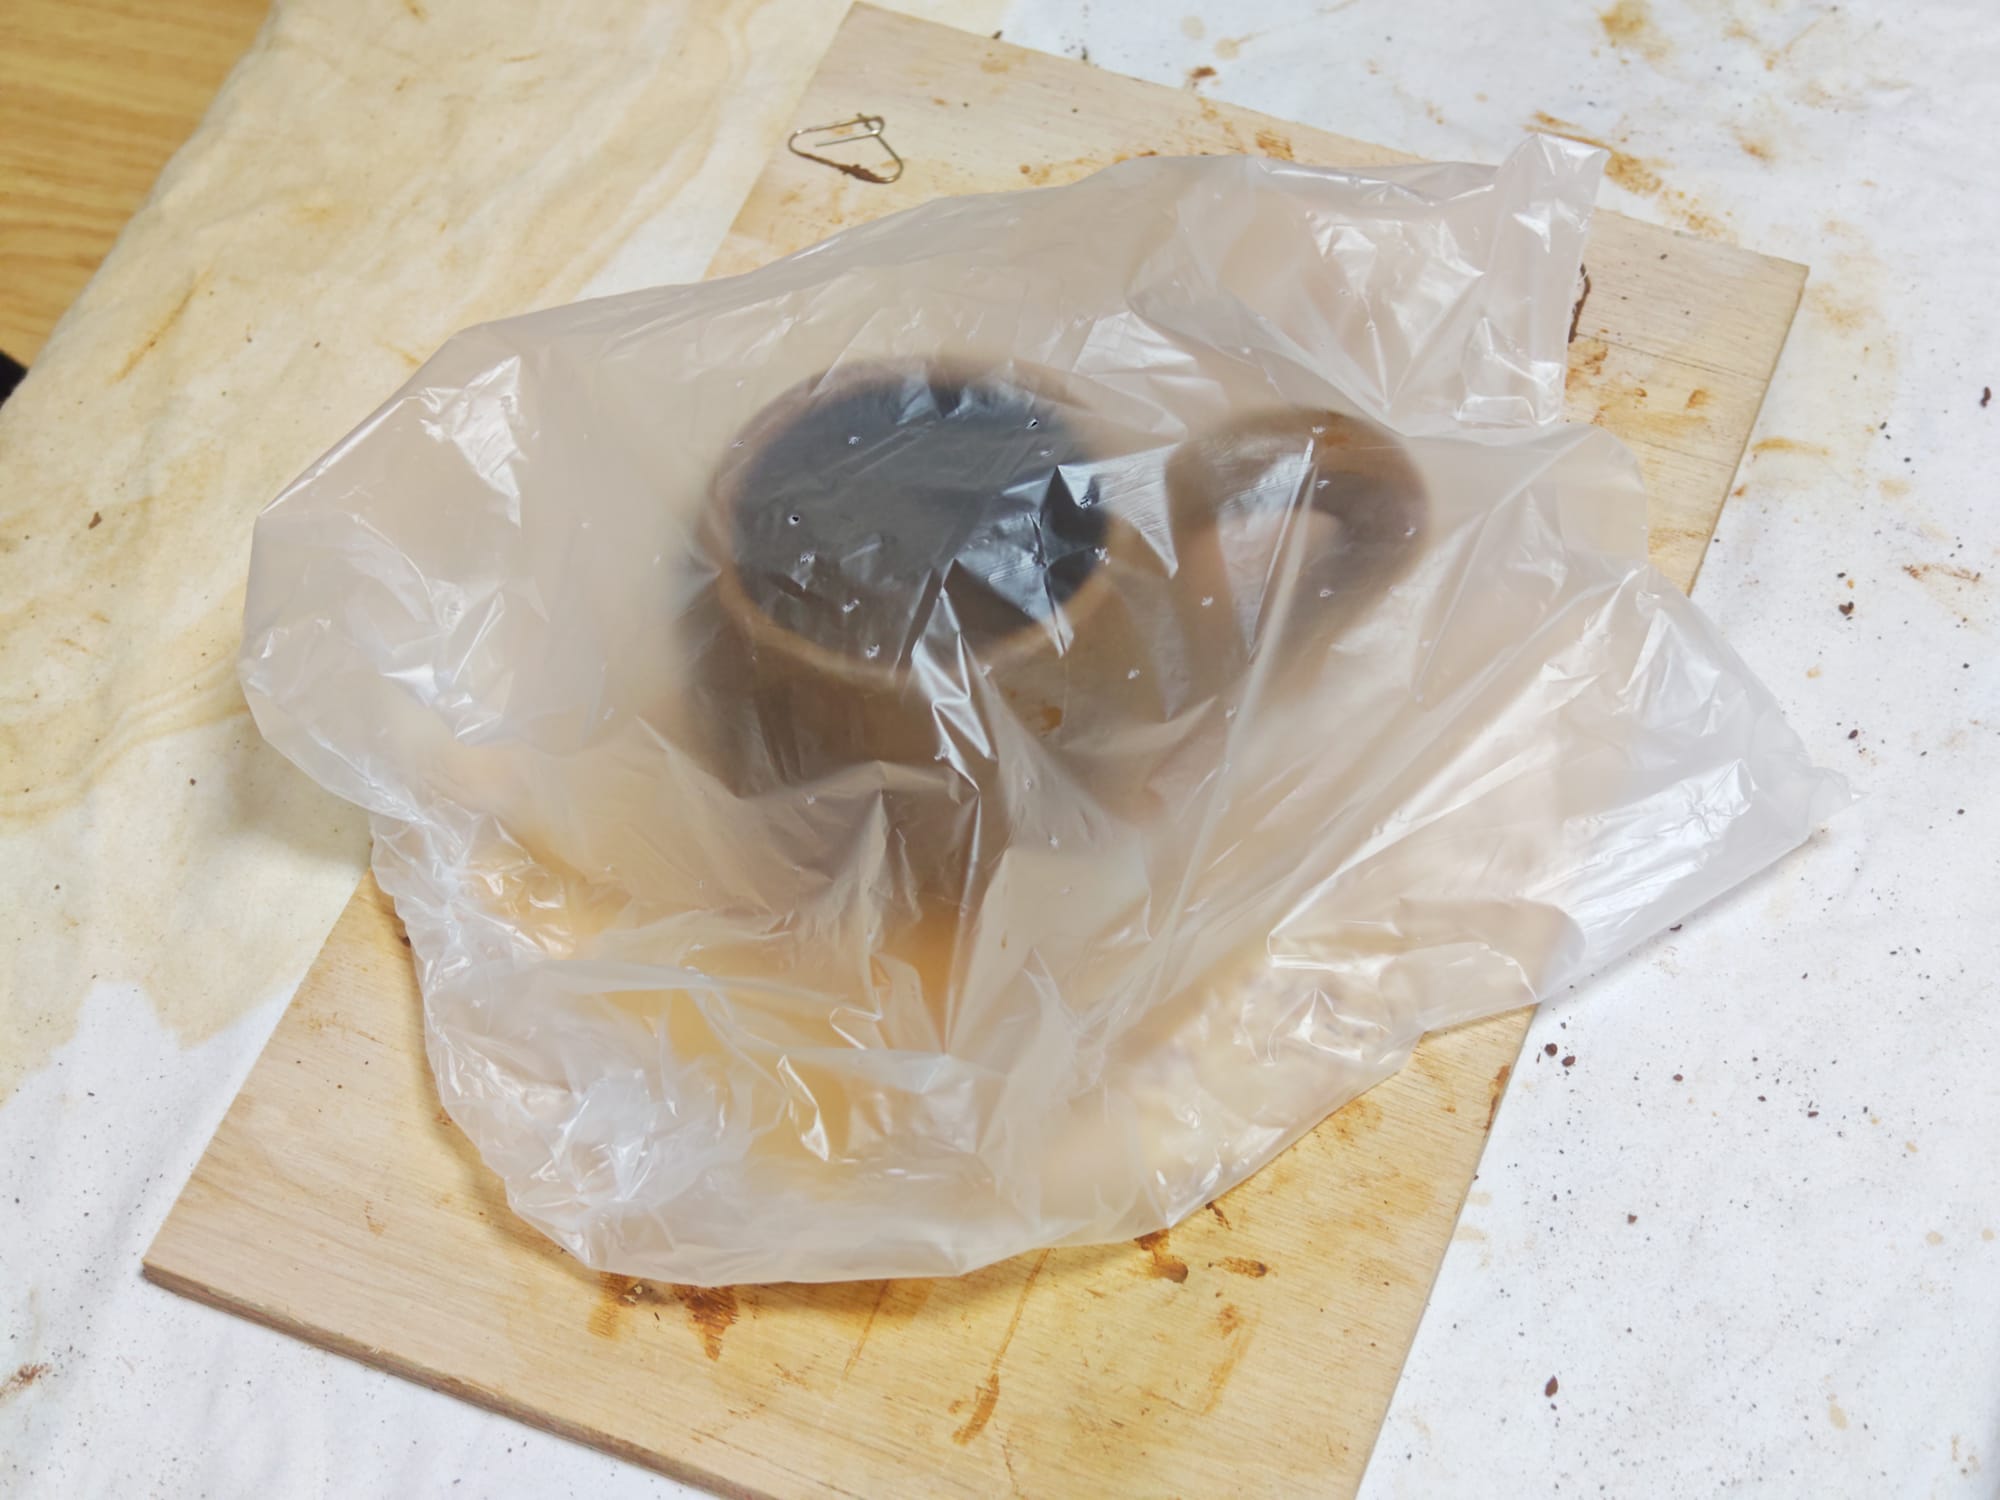
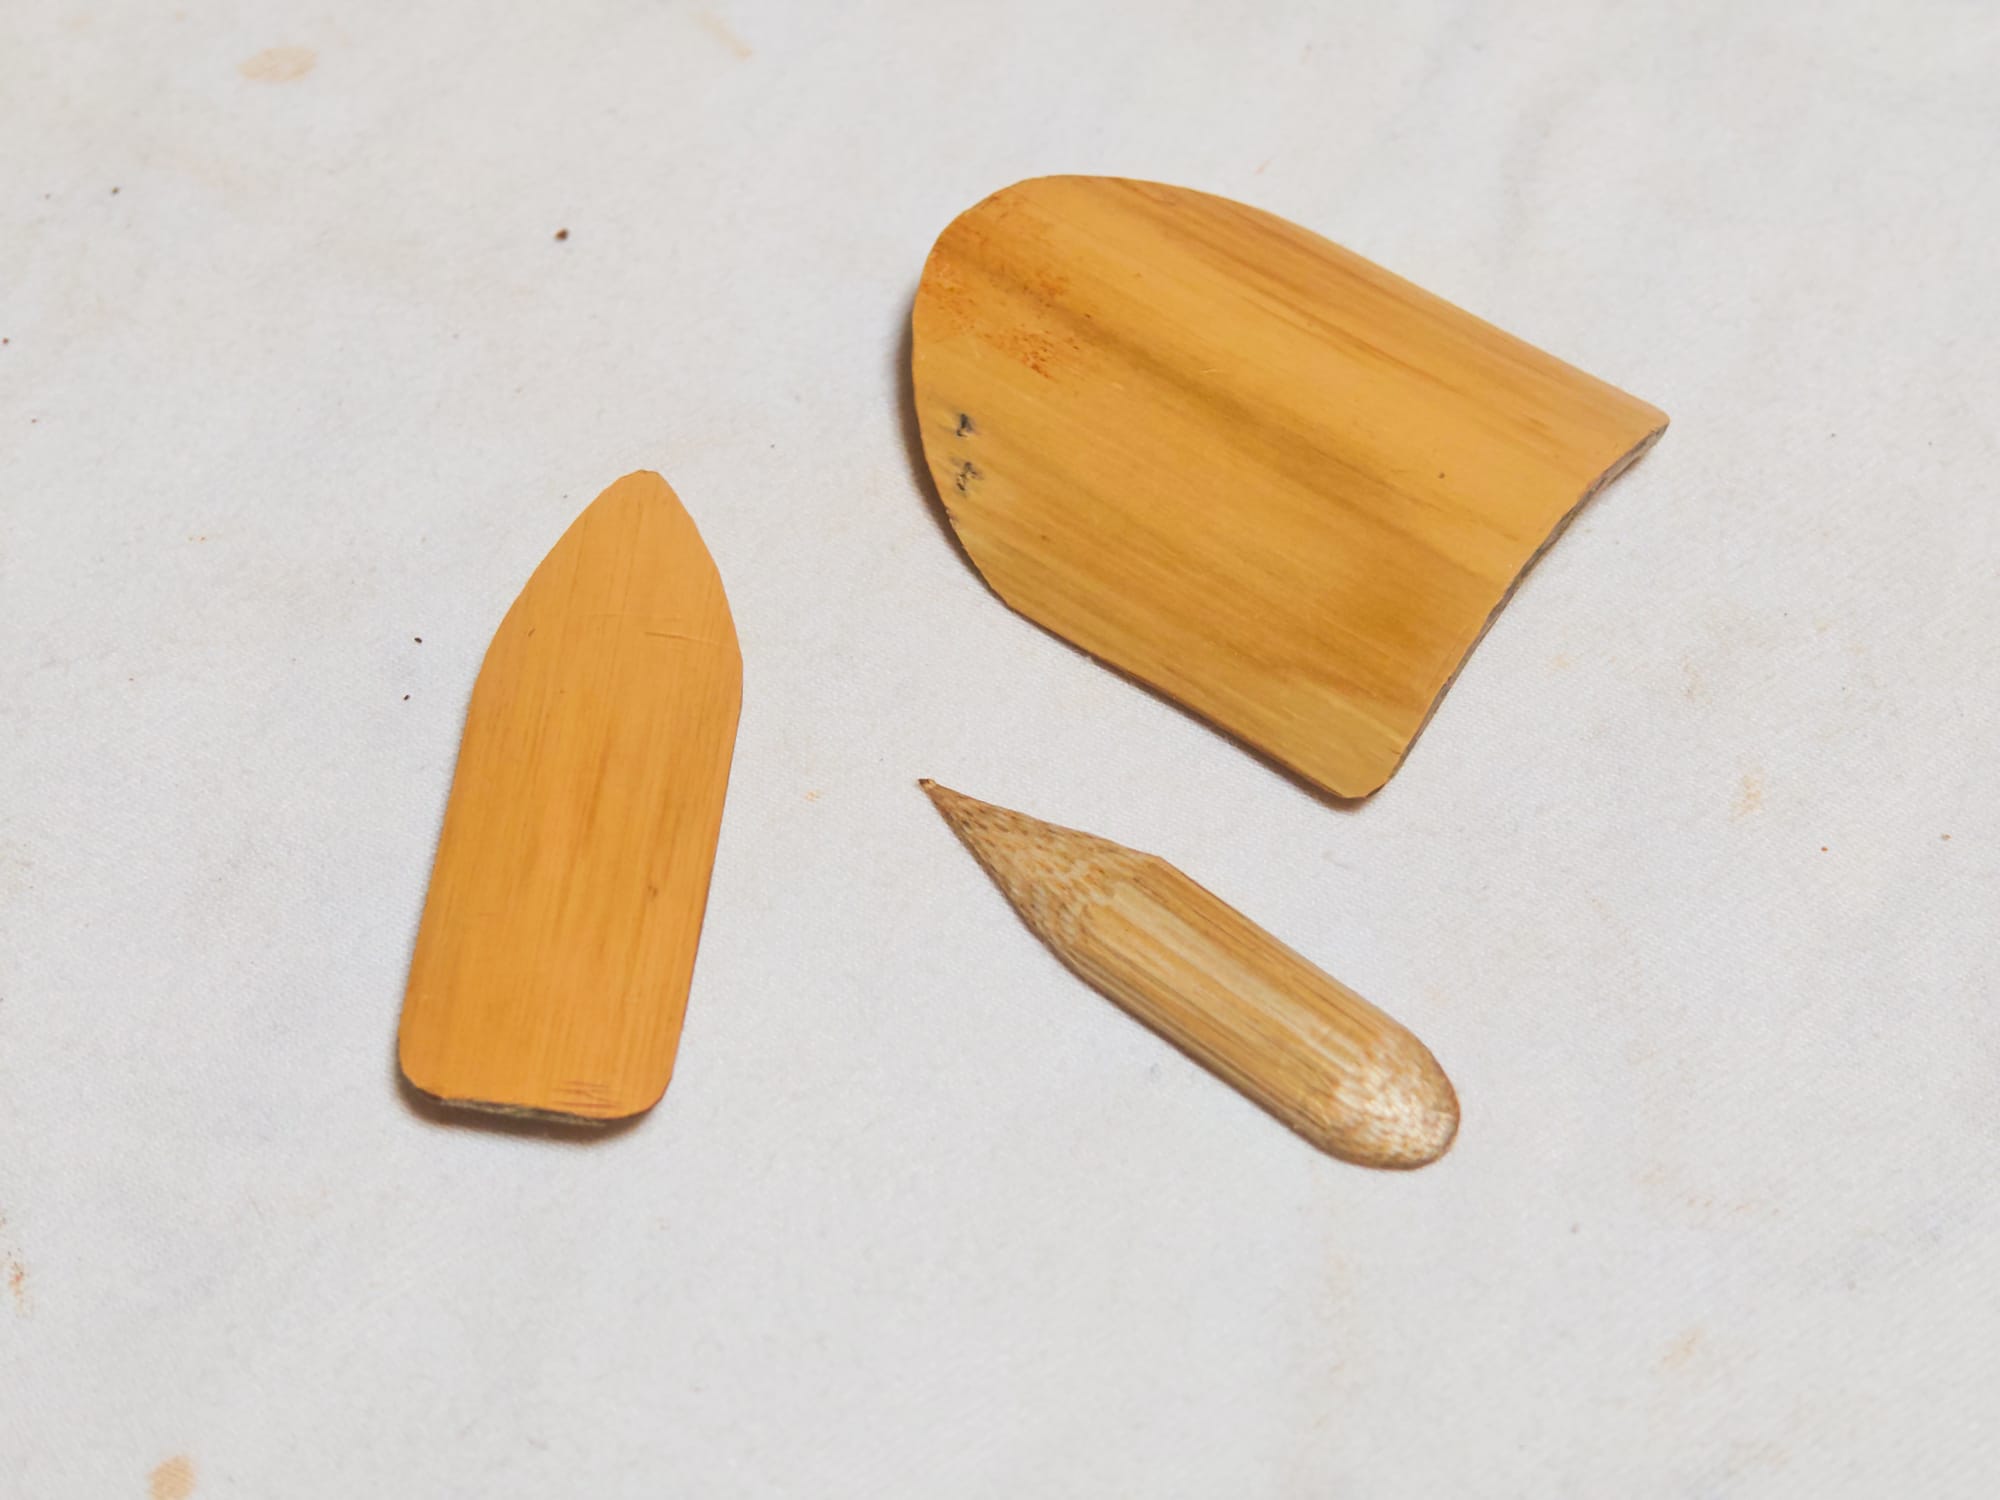
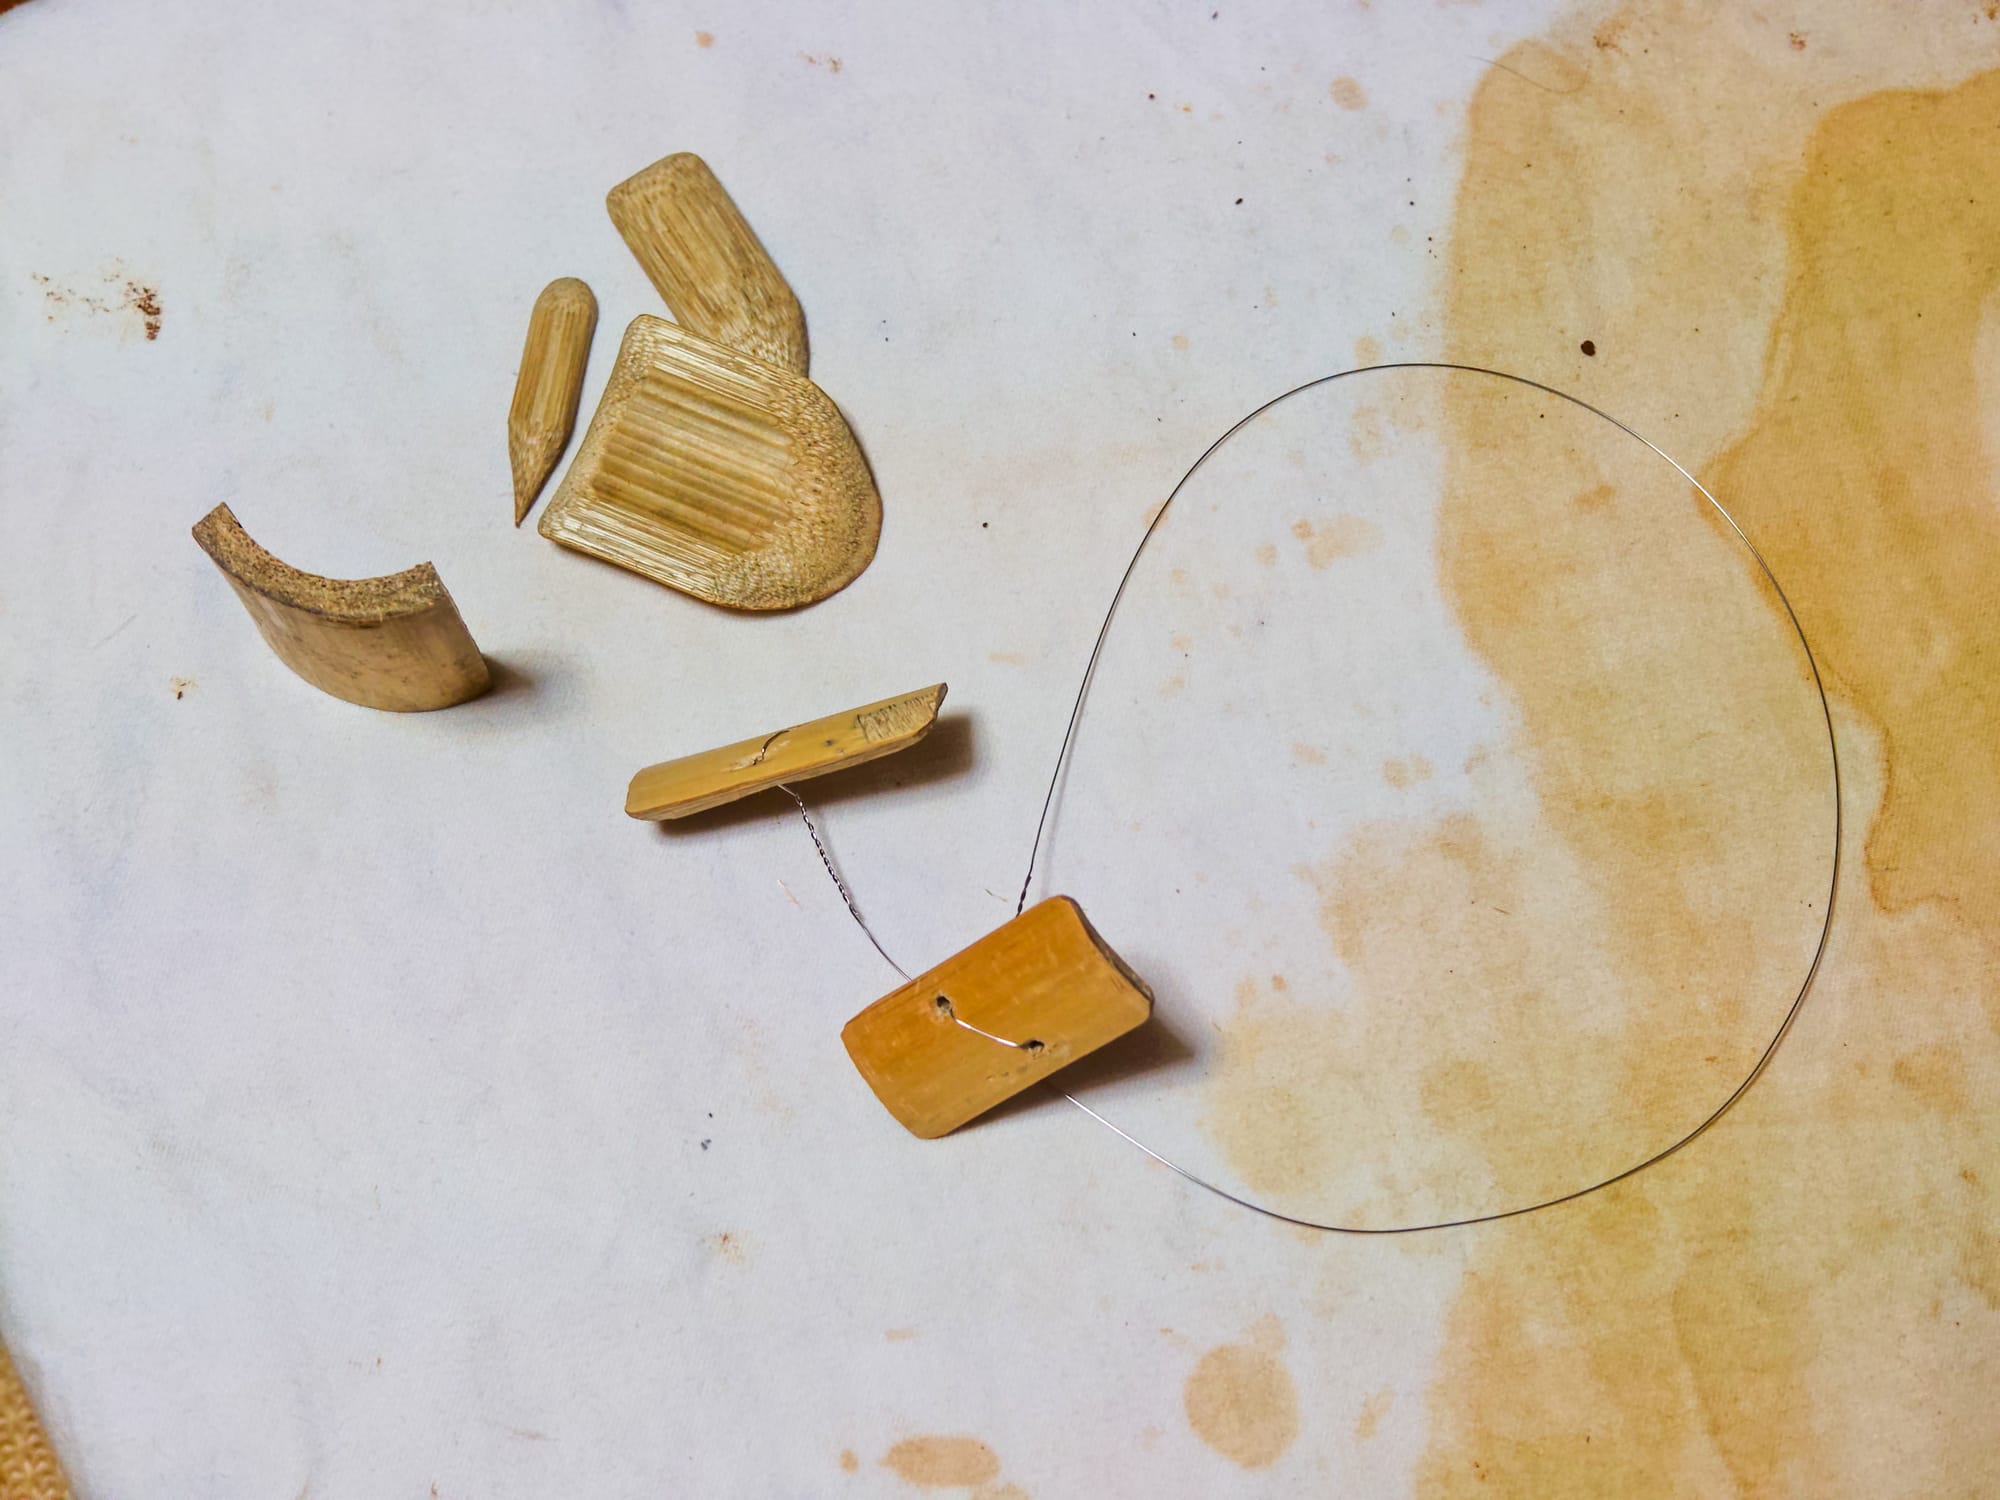
Covering the pieces with perforated plastic bags allowed them to dry slowly enough to minimize cracking due to shrinkage without stalling drying completely. I made several small sample tablets for testing different firing methods. I also made a set of rudimentary tools by carving some bamboo and cutting up buoys found on the seashore.
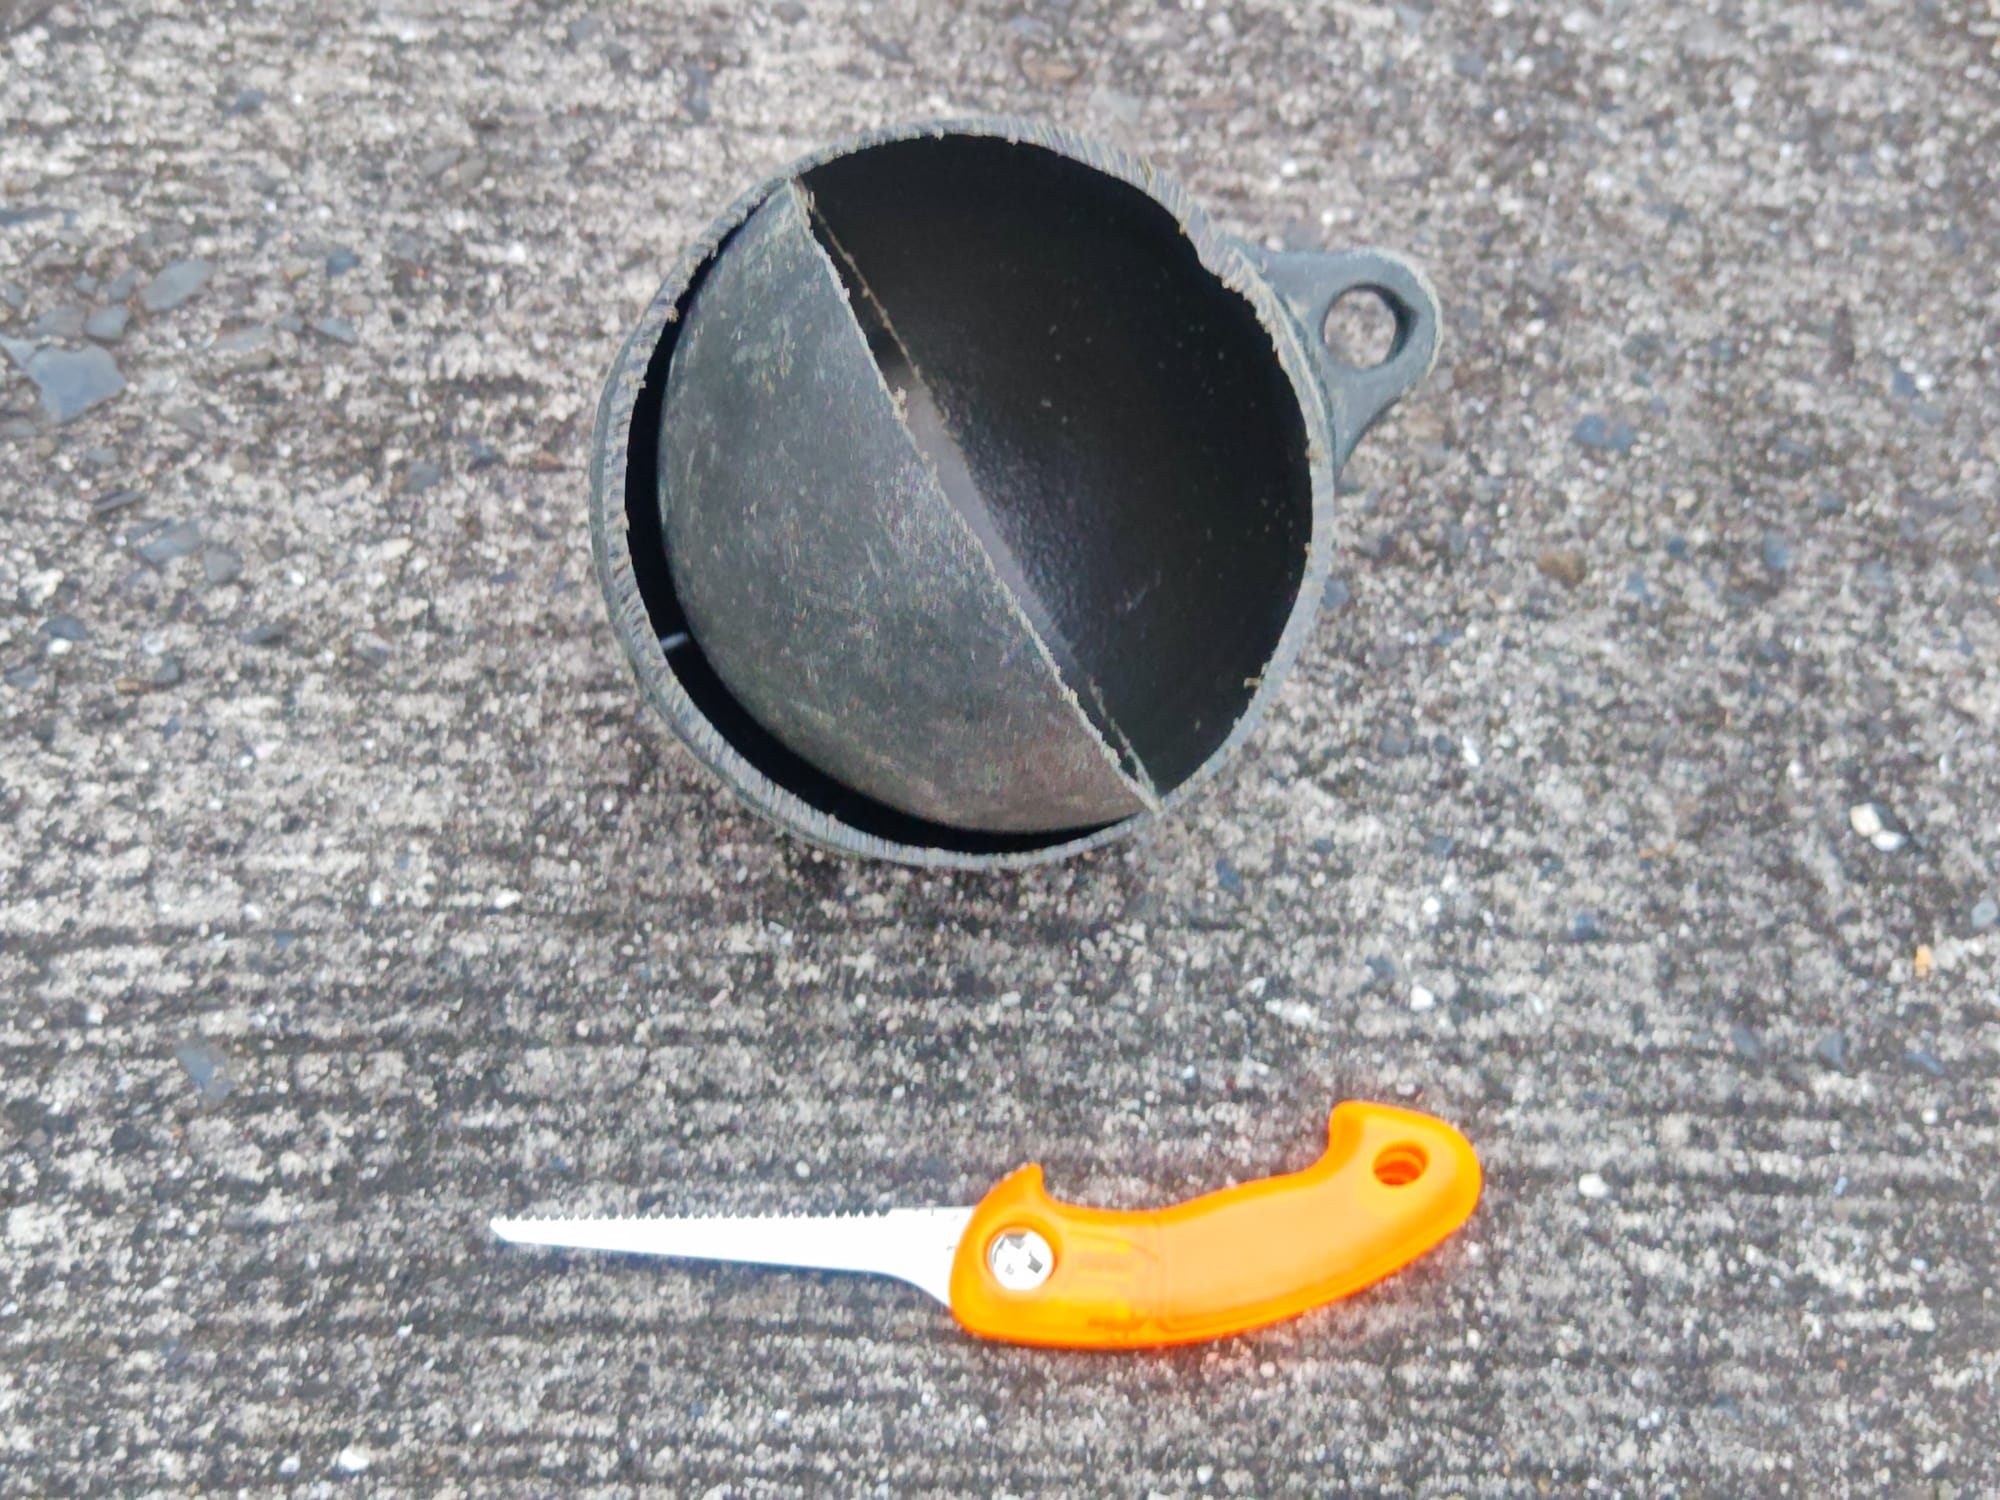
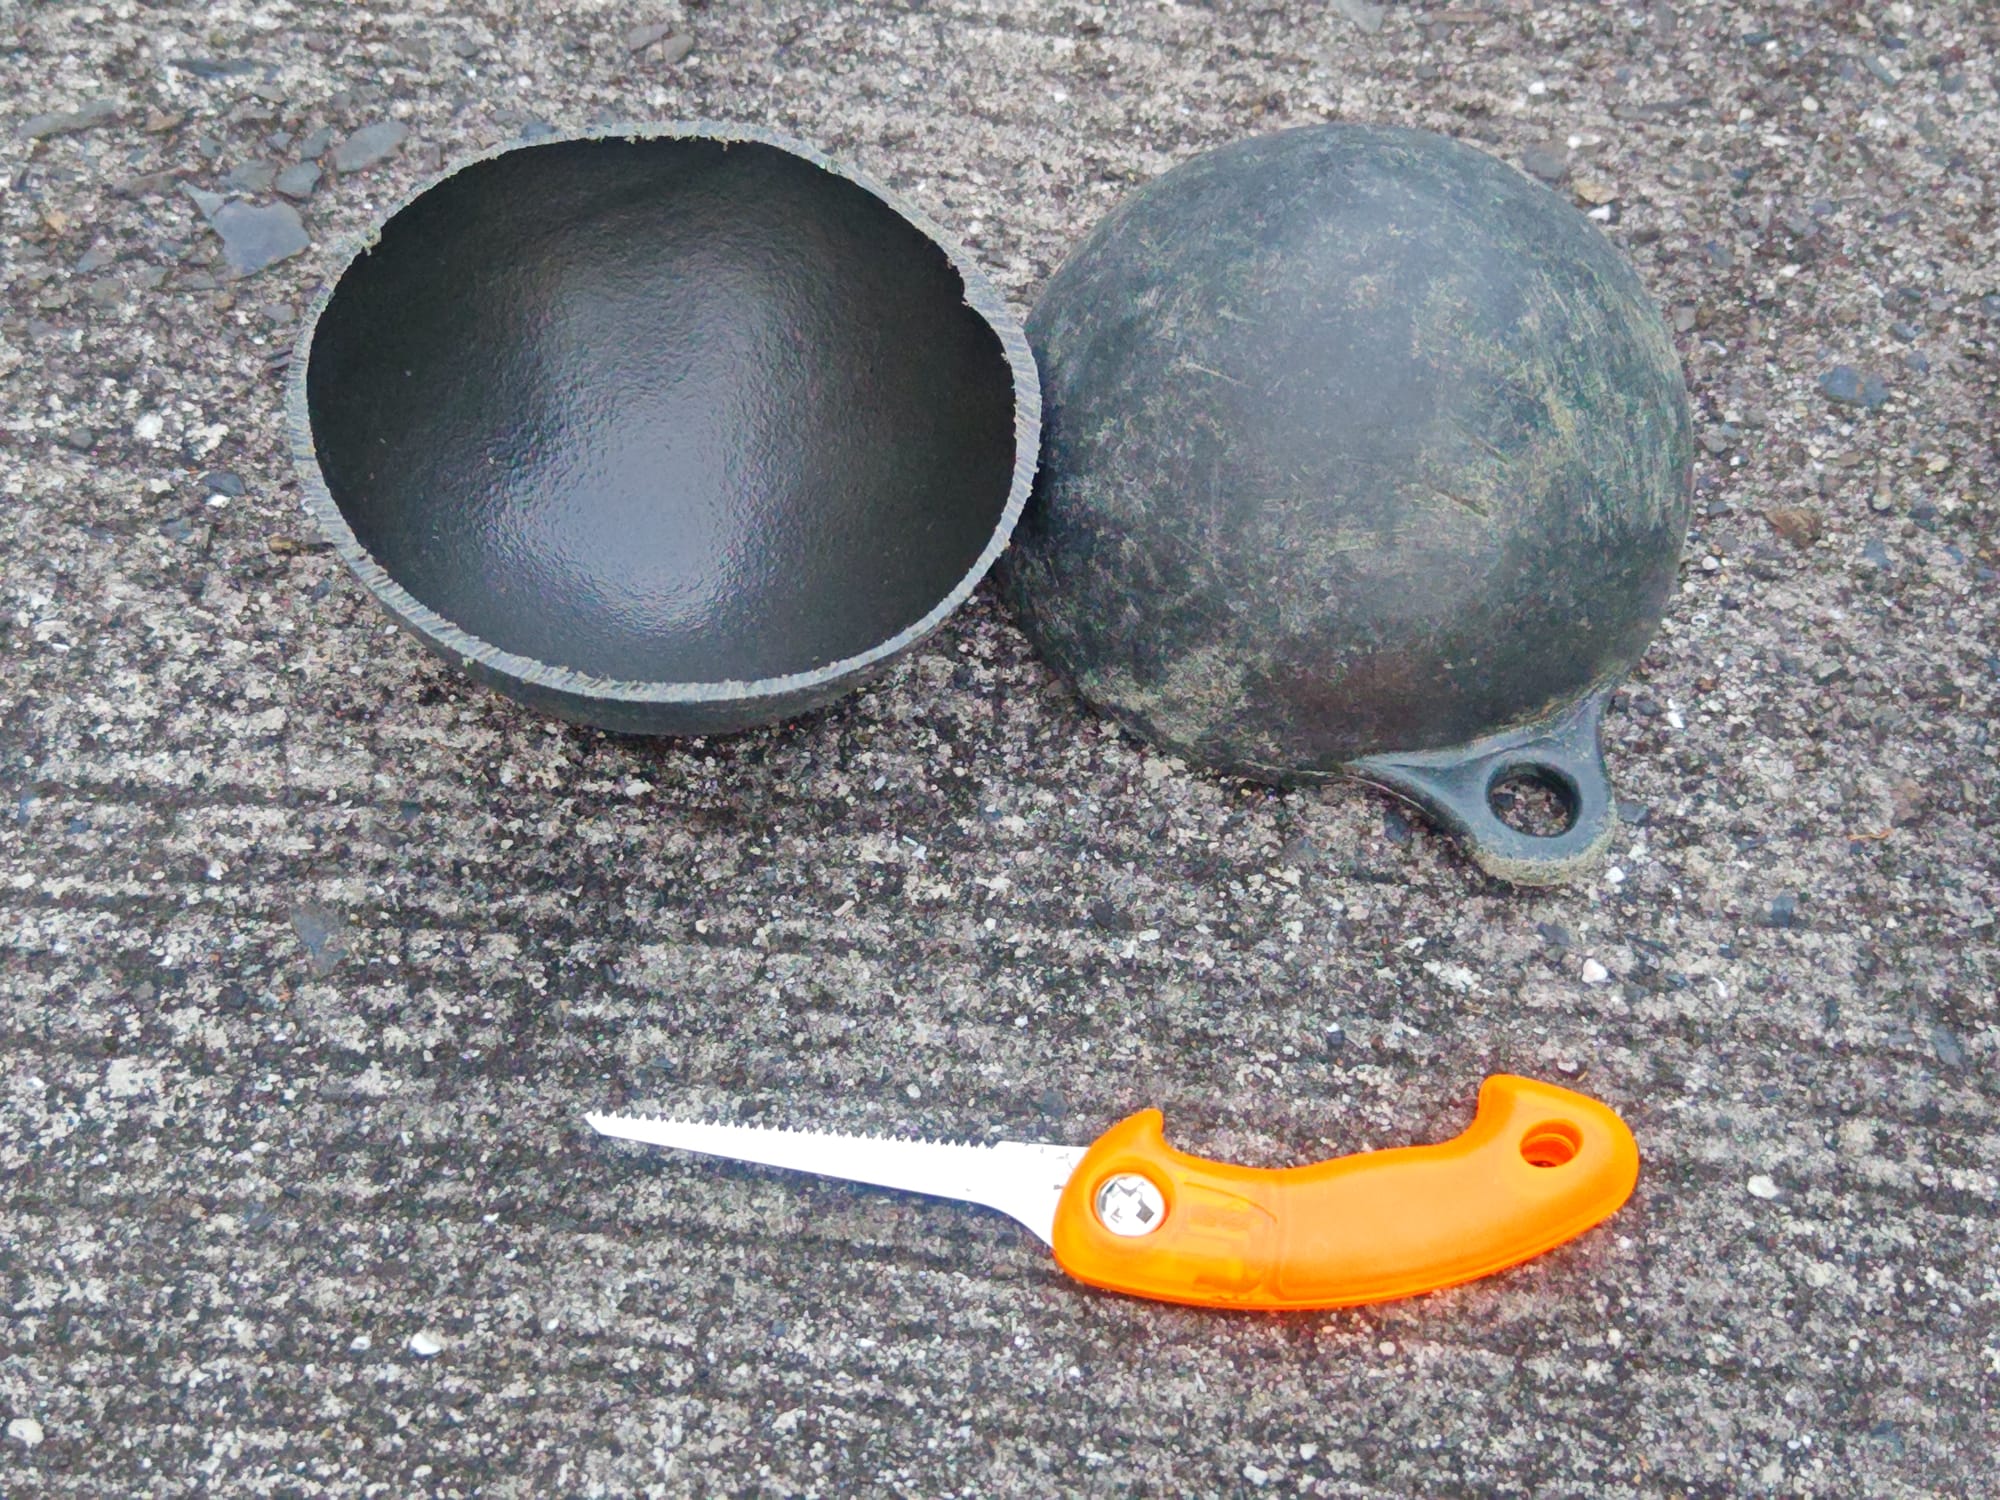
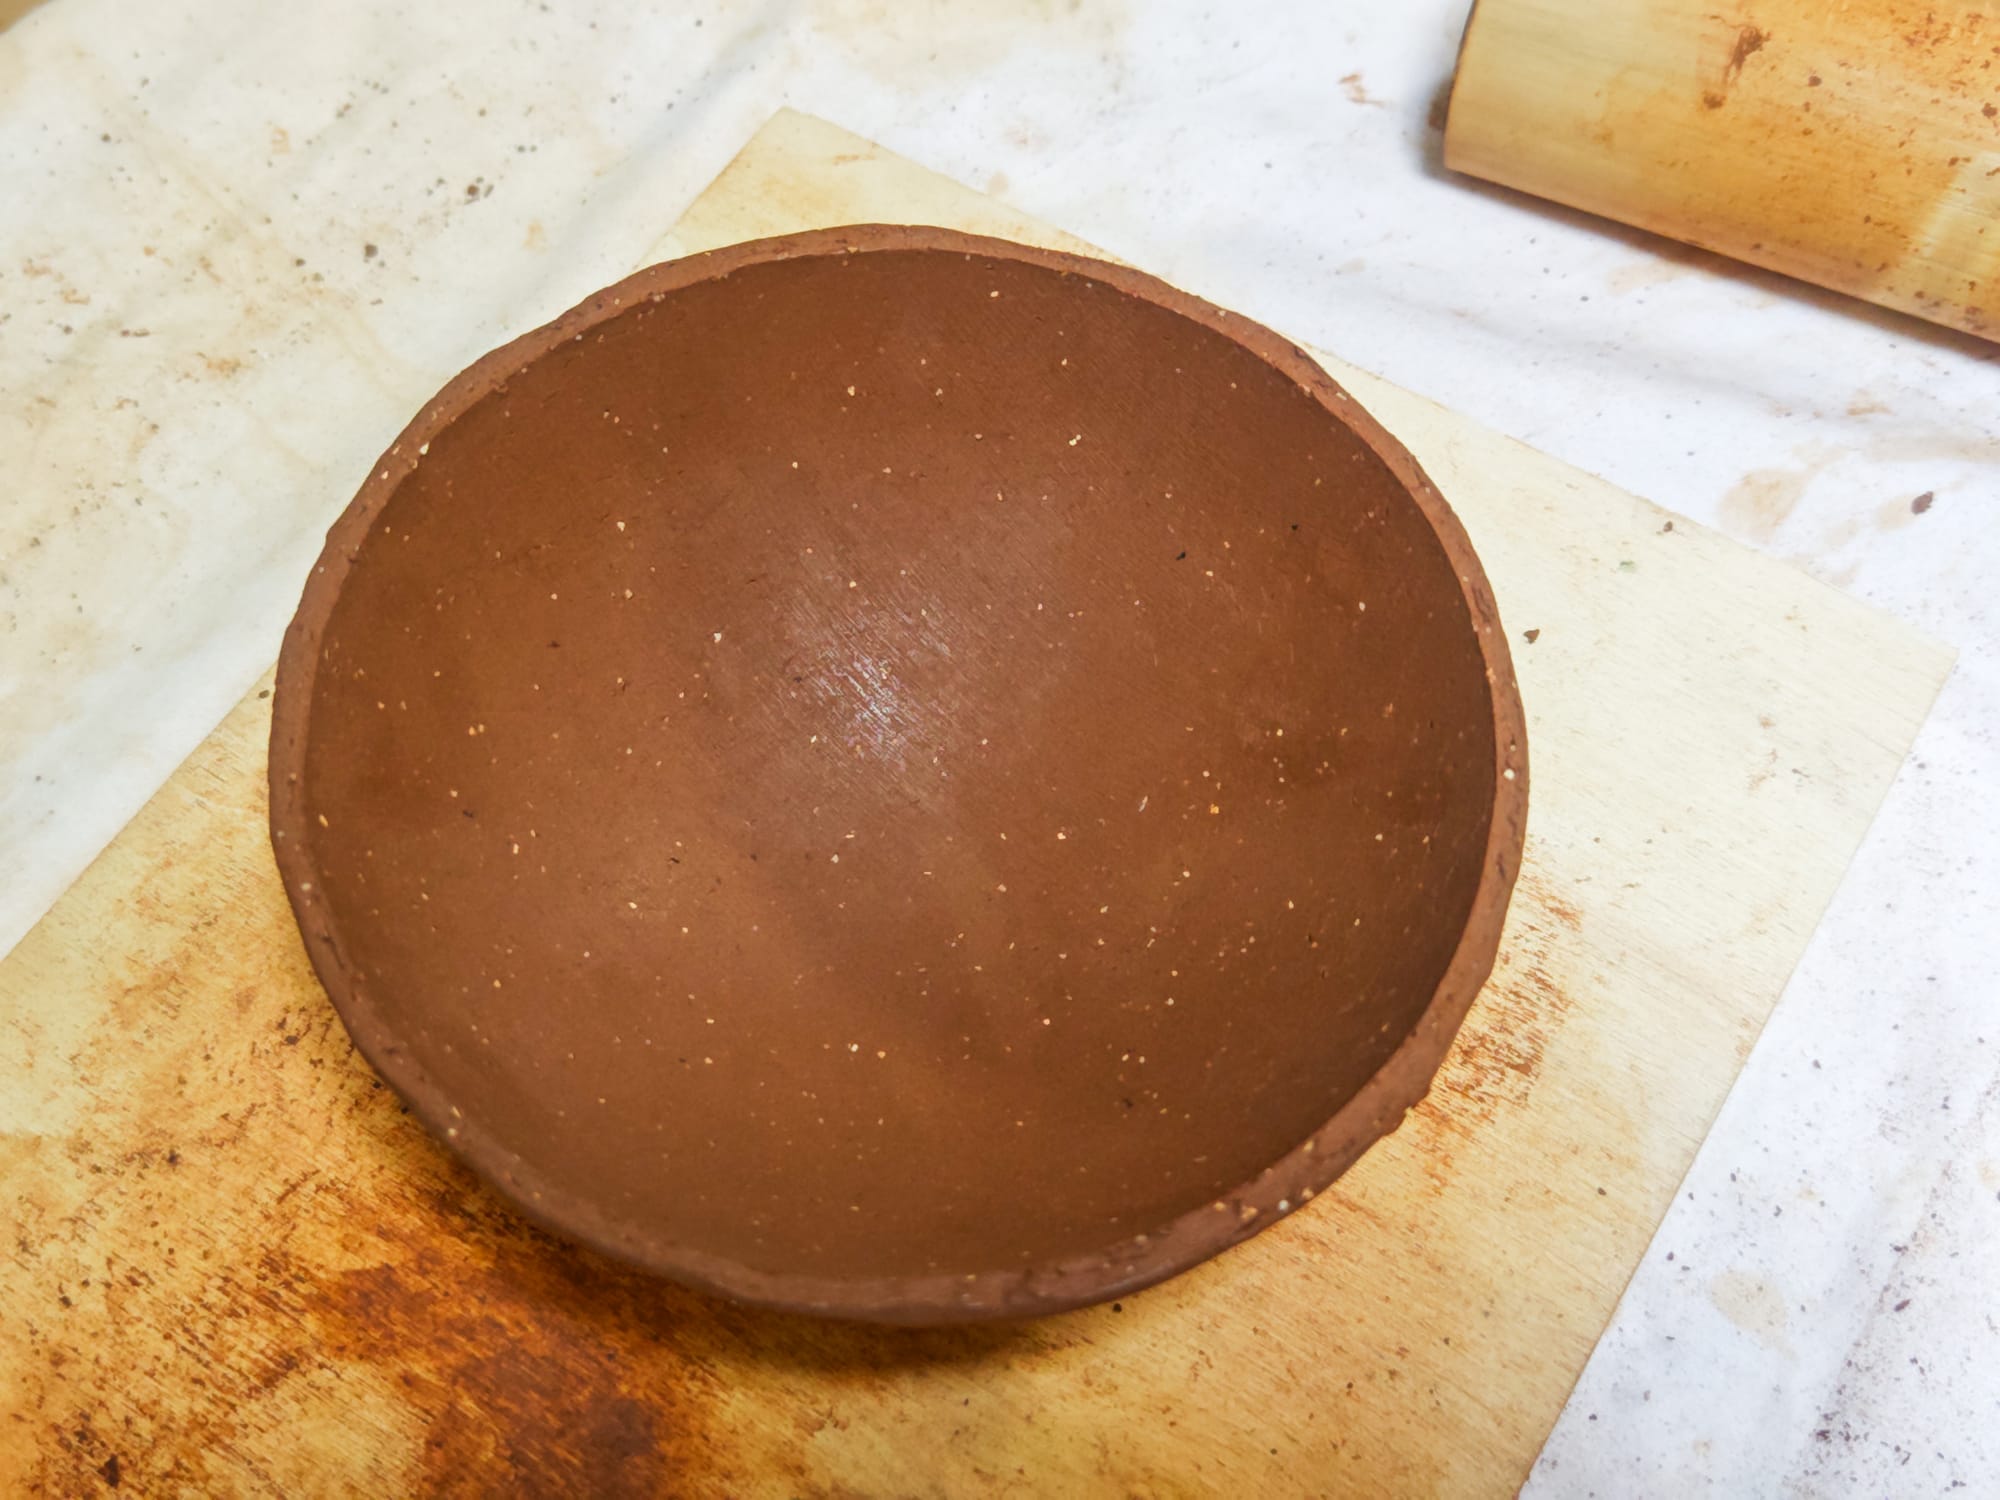
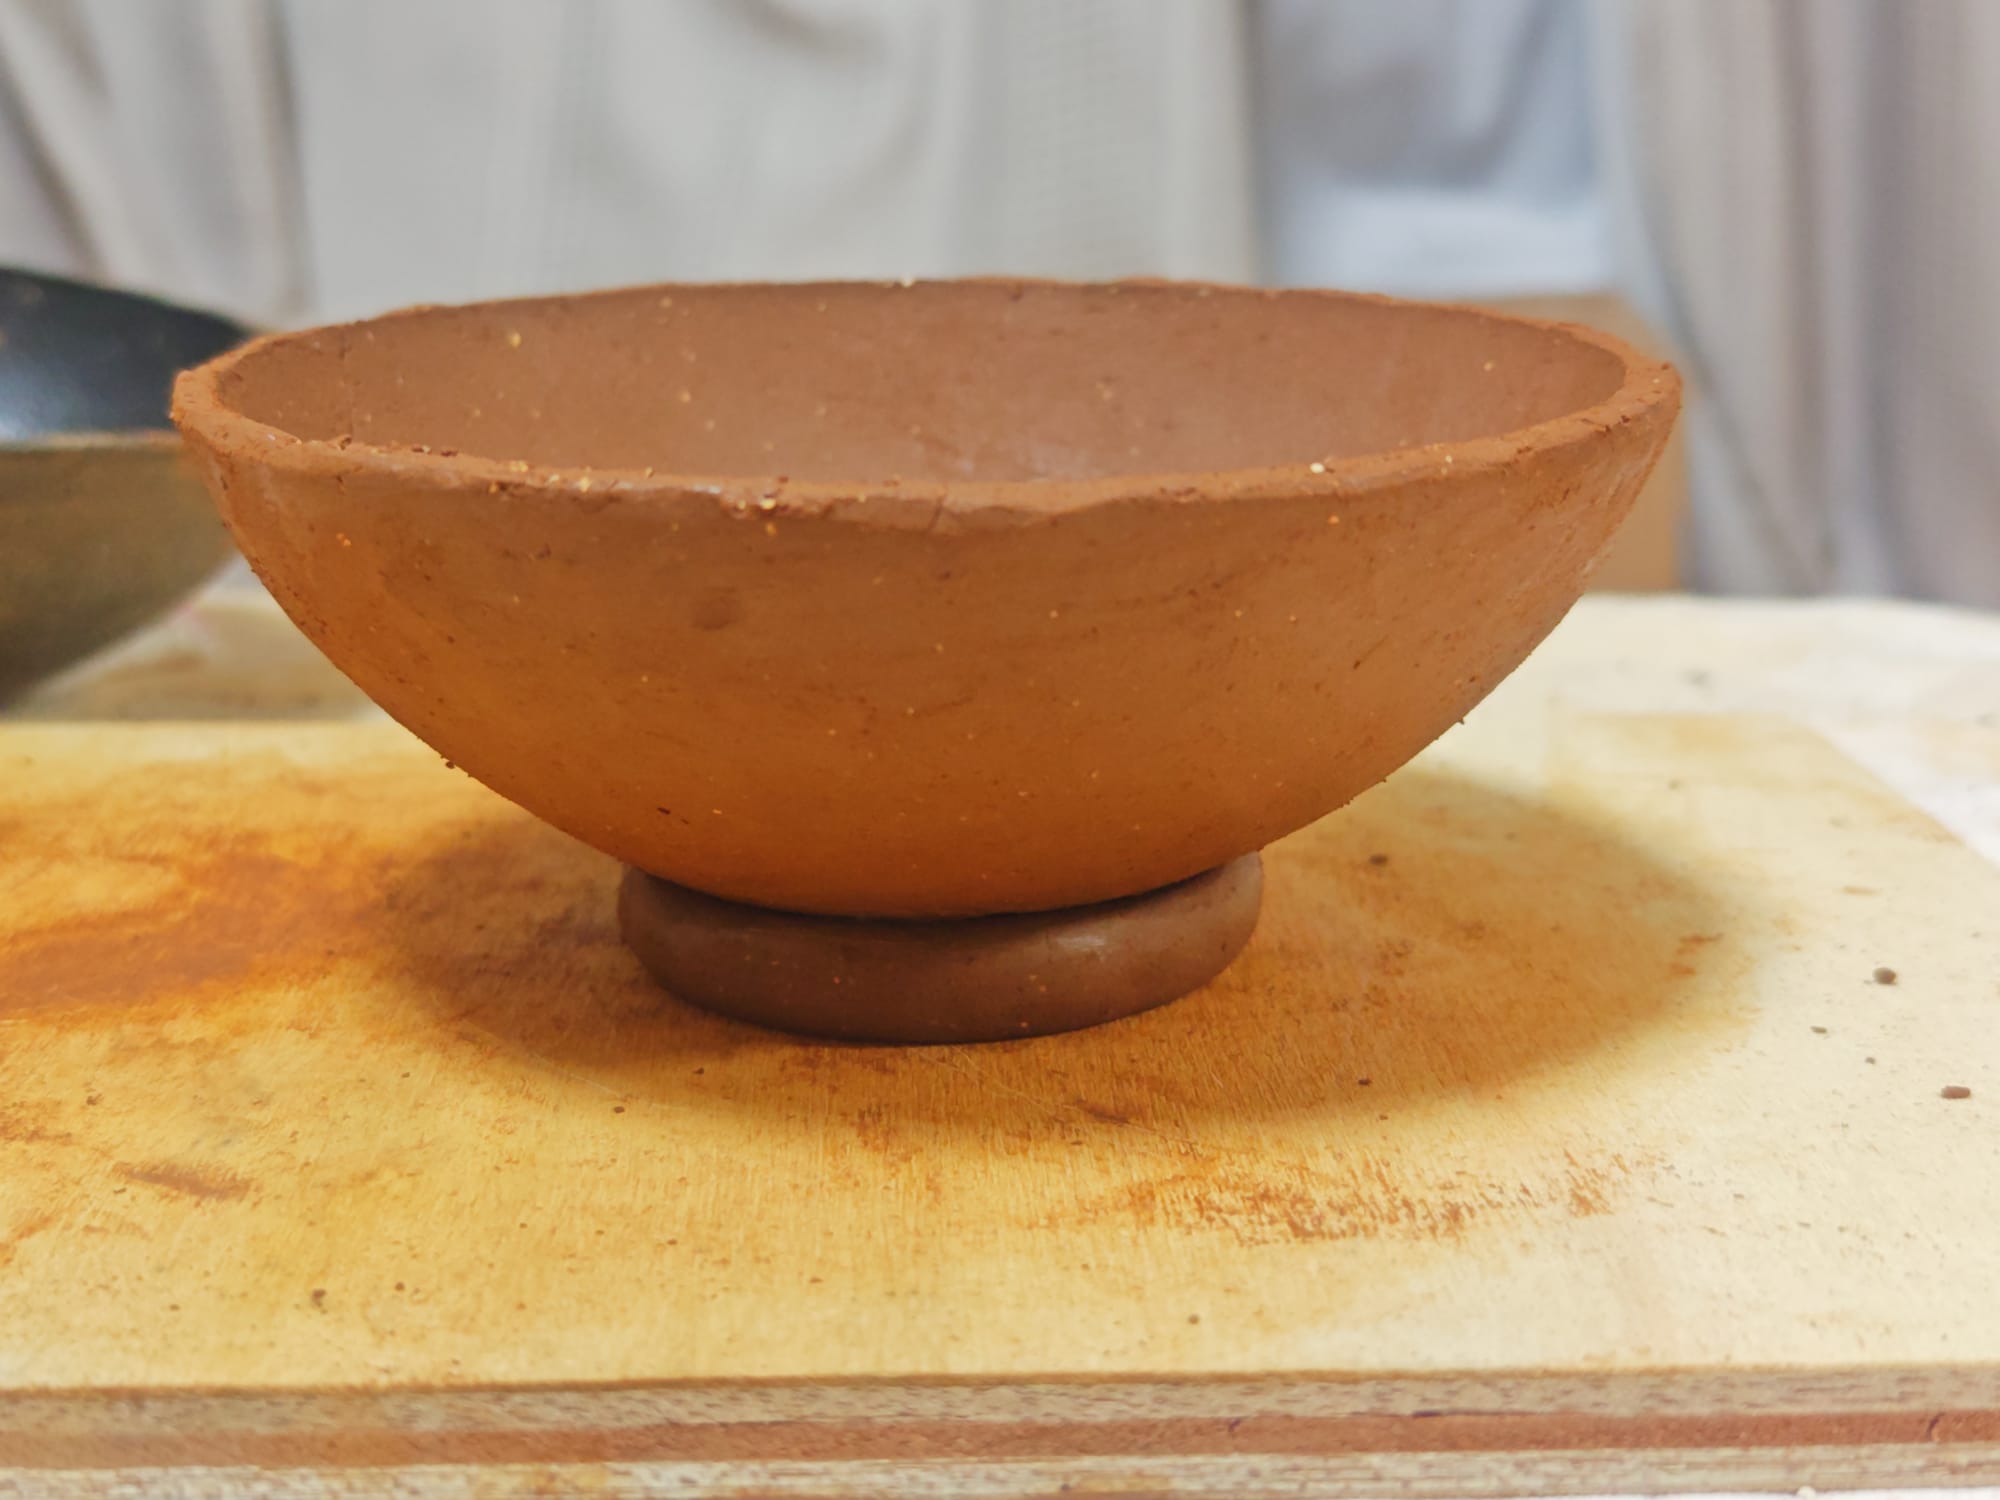
With these tools, I was able to make some fairly well-shaped bowls. Using the curvature of the outside of one of the hemispheres cut from the buoy, I made a reliably round shape without a pottery wheel for throwing.
My First Firing
Firing pottery is an art as well as a science and I somehow managed to pull it off without really achieving either. Pottery firing techniques range from the archaically rudimentary to the scientifically arcane, but given the tools at hand I was always bound to be on more of the "minimalist" side of the spectrum.
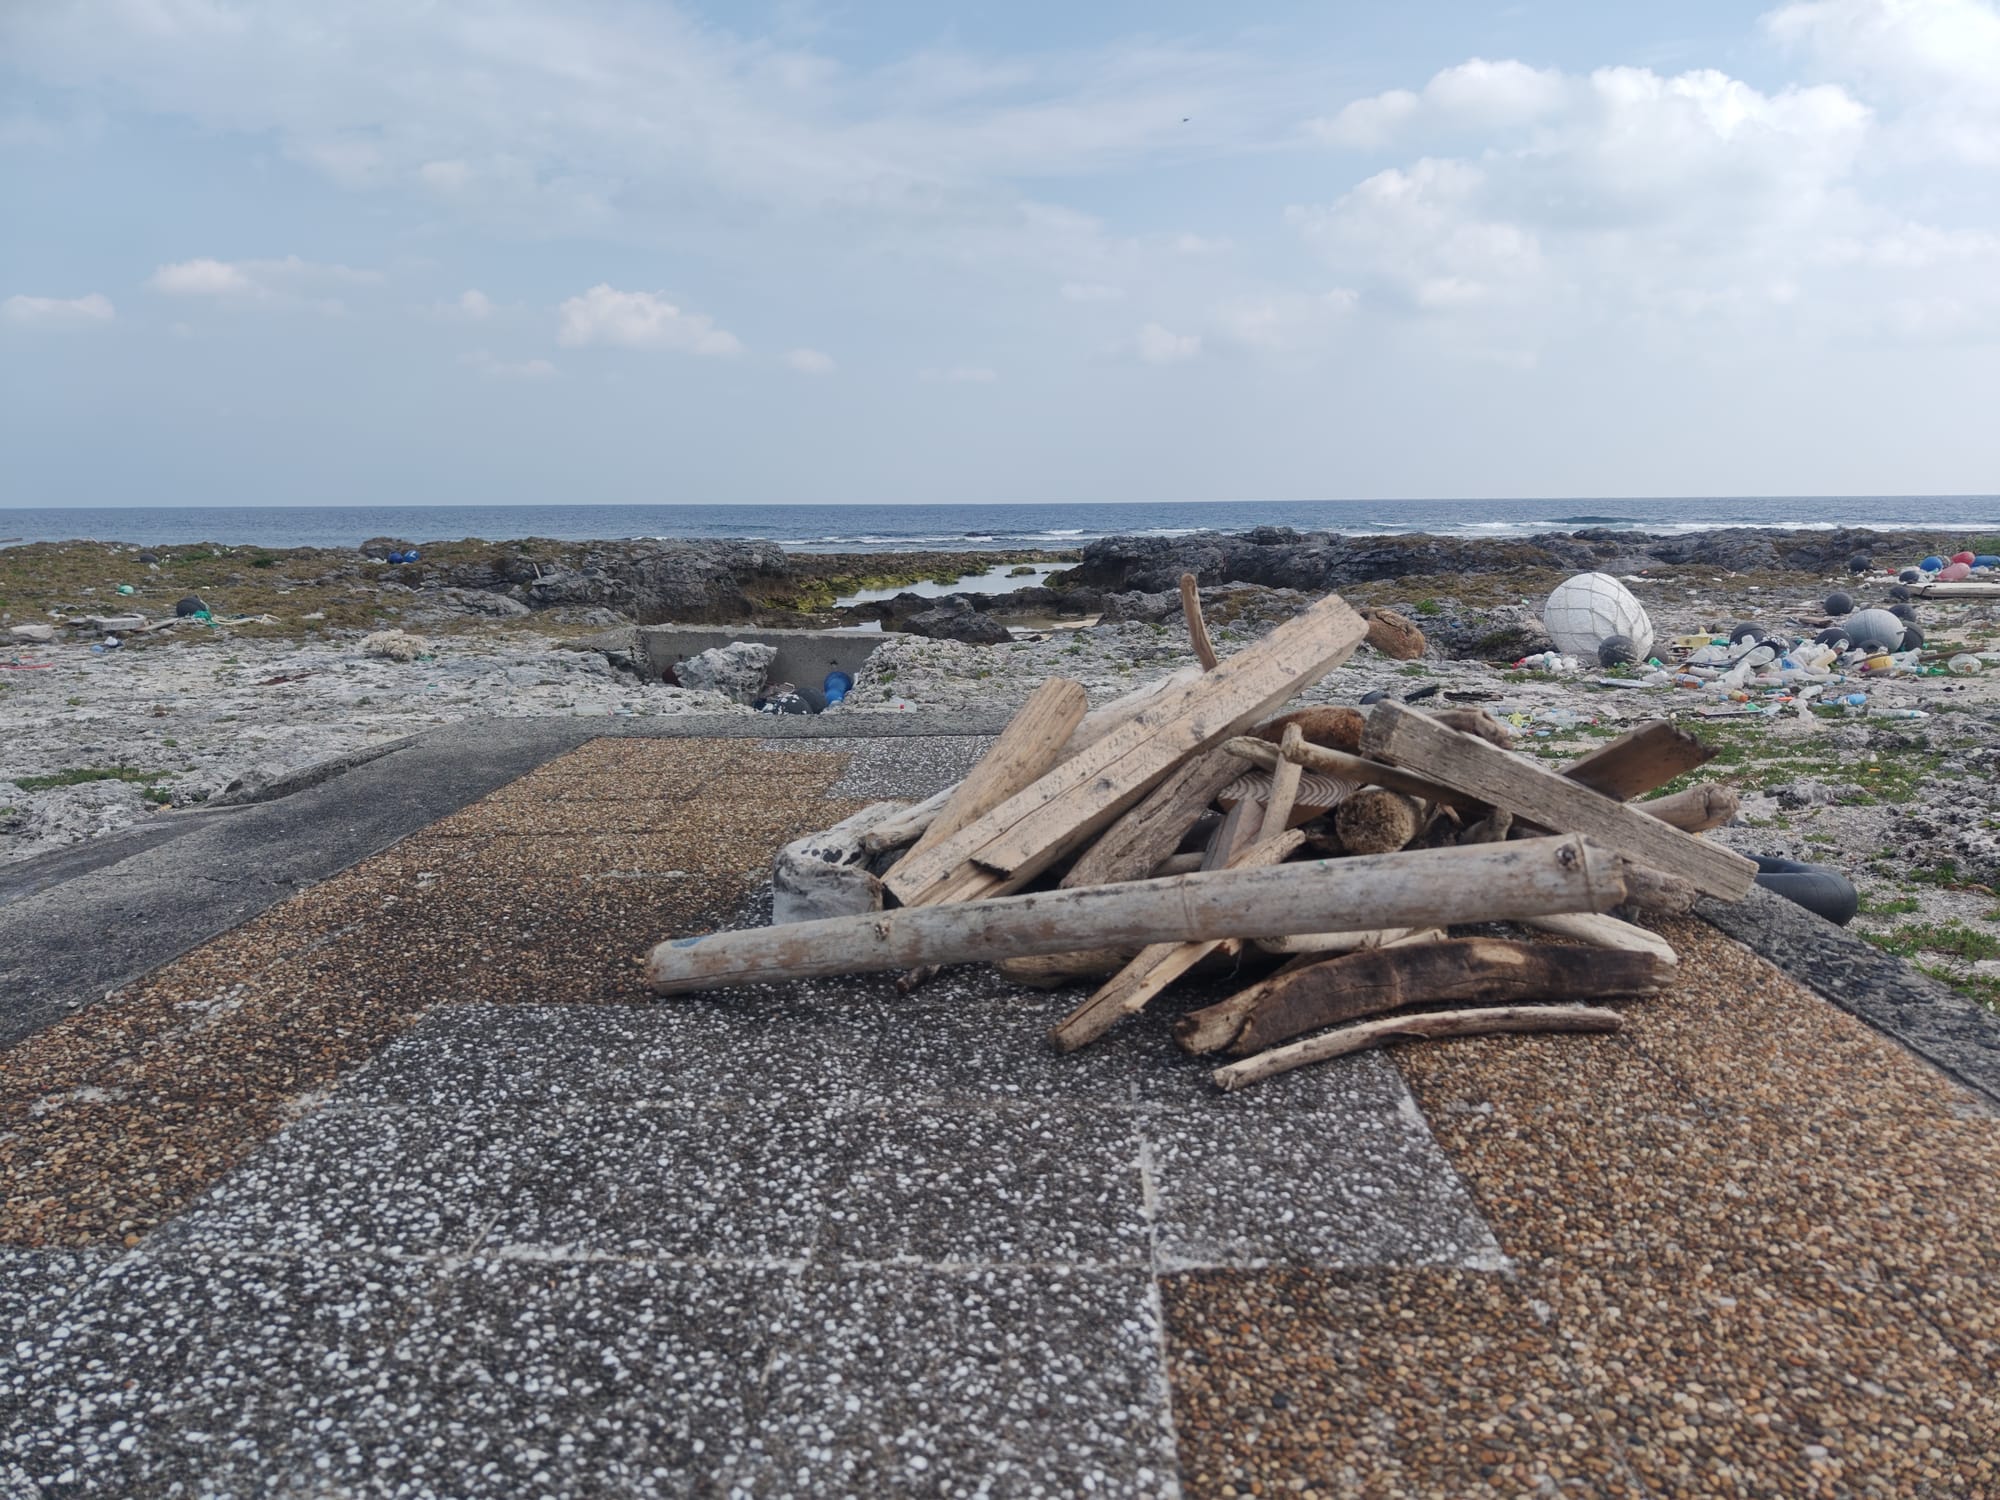
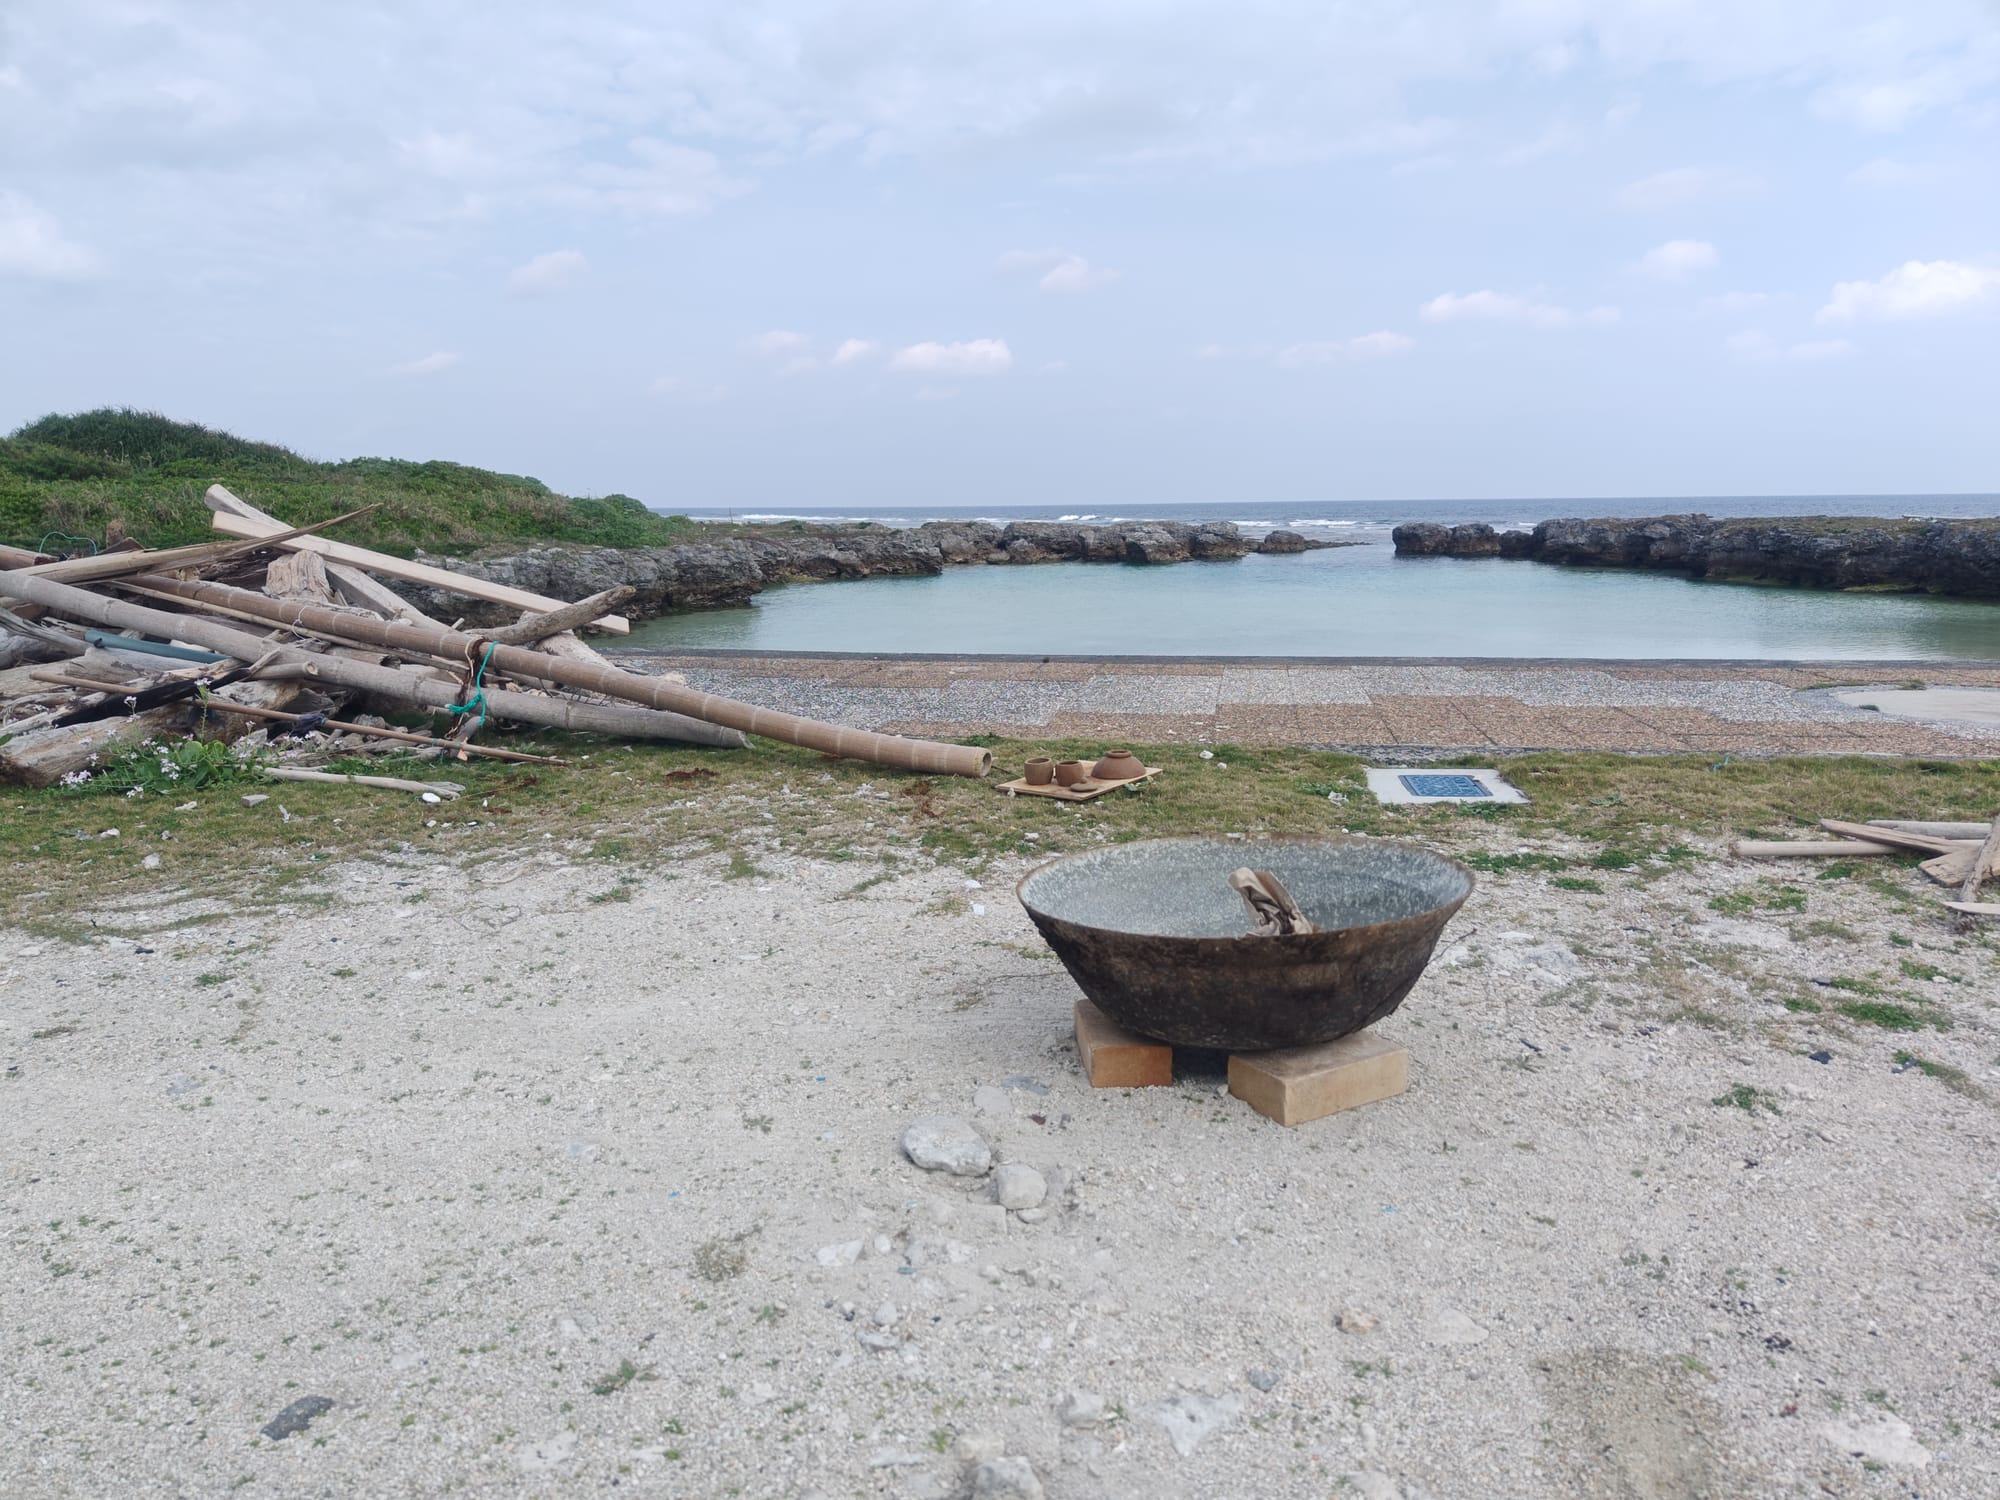
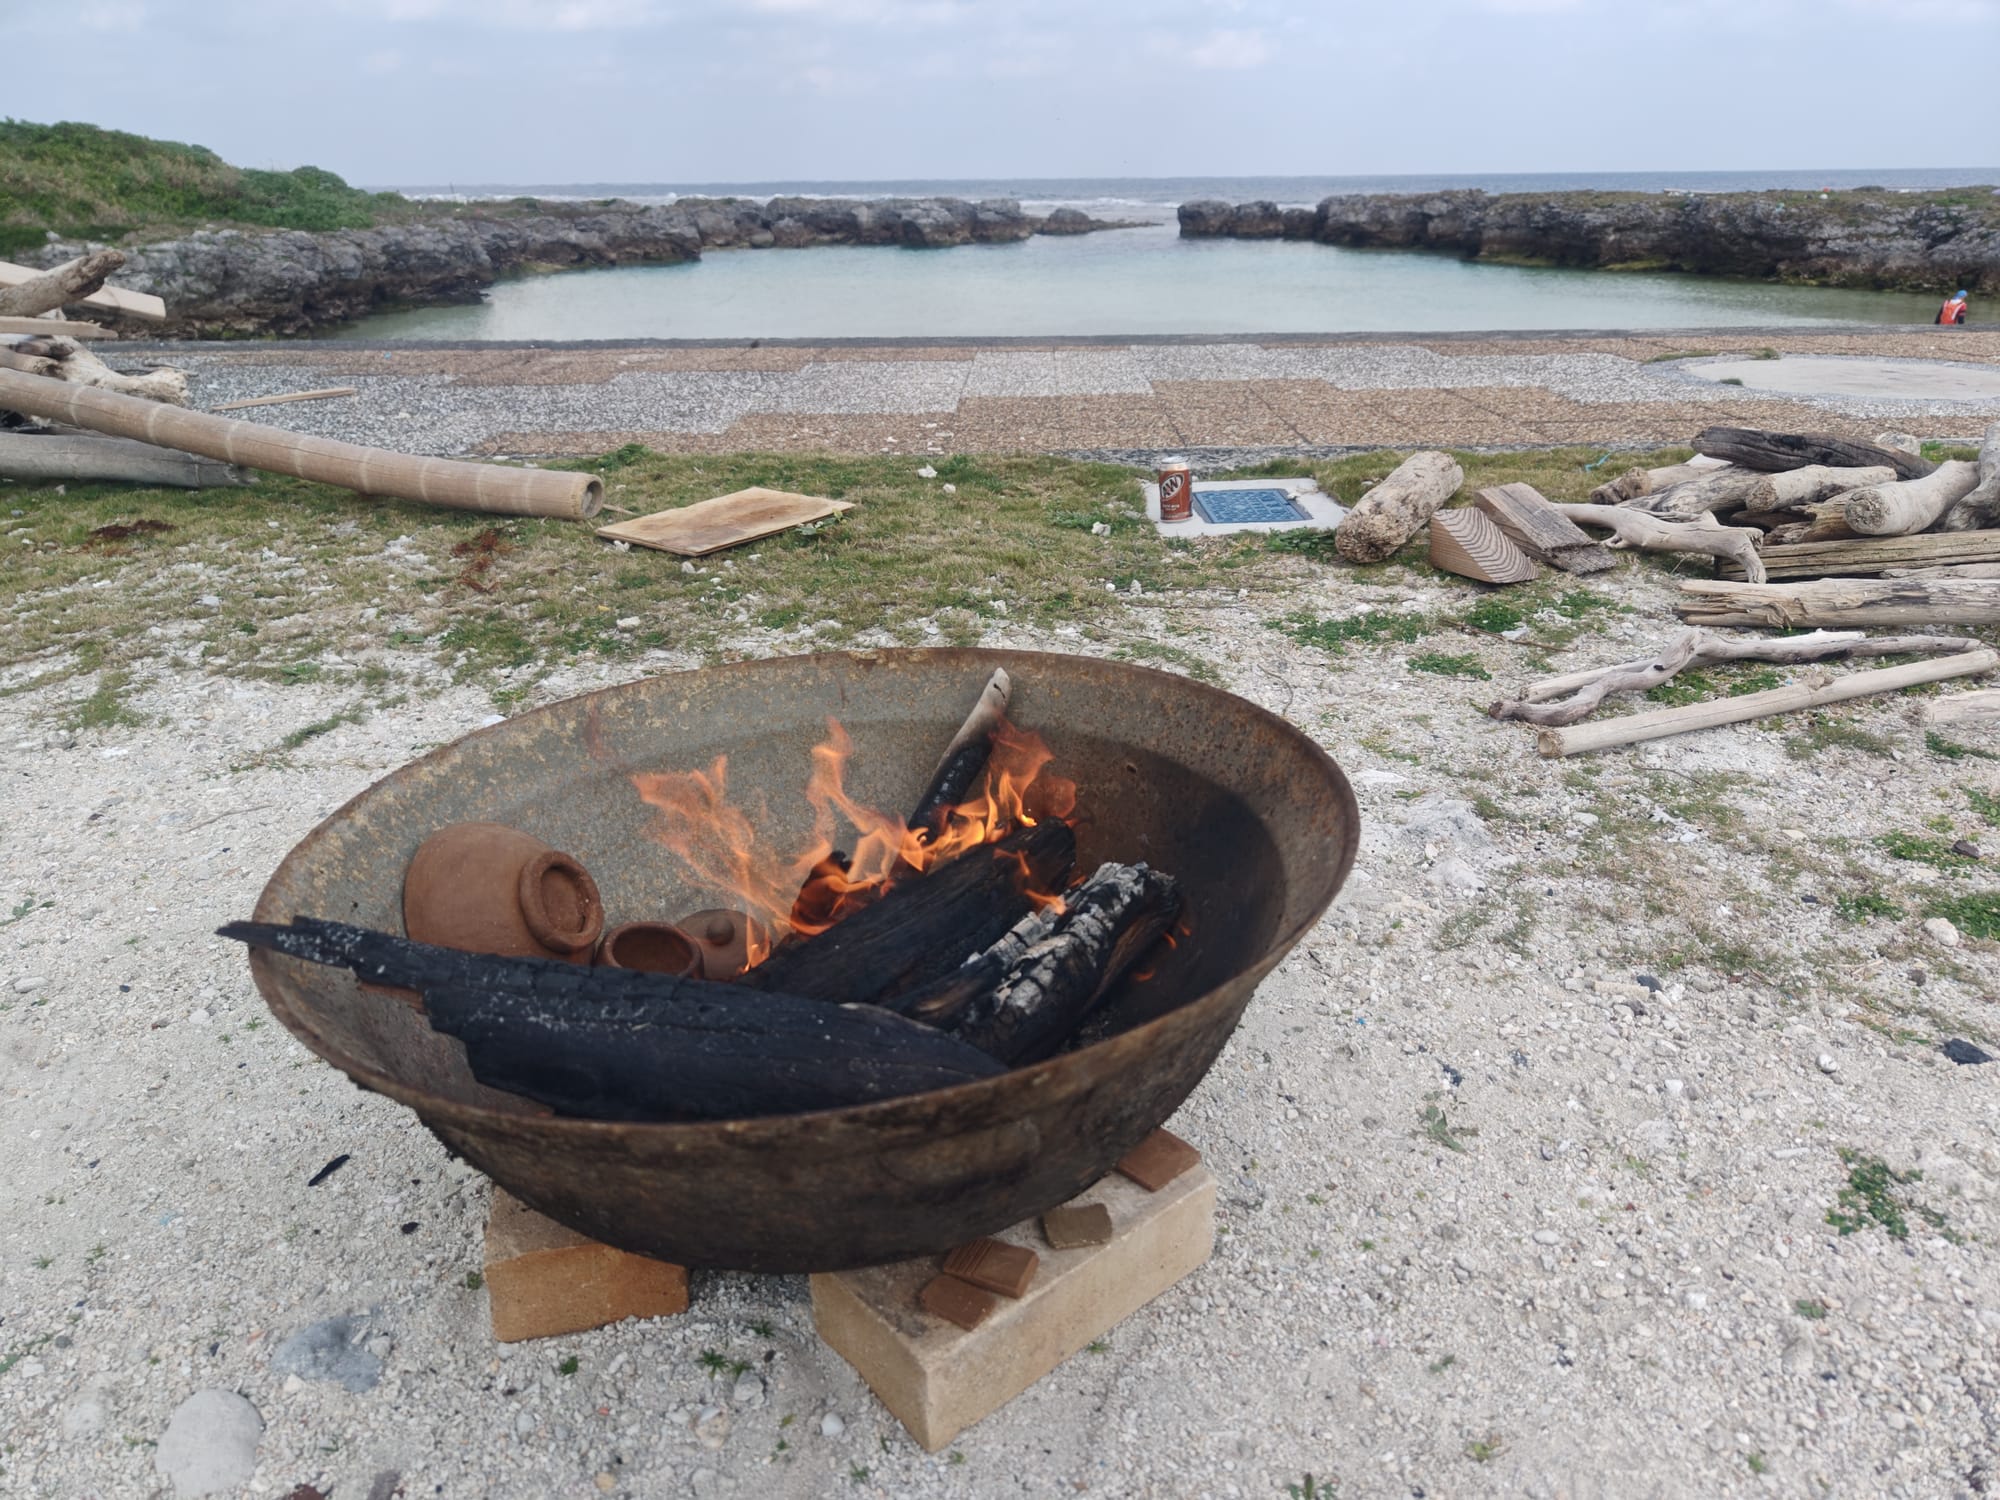
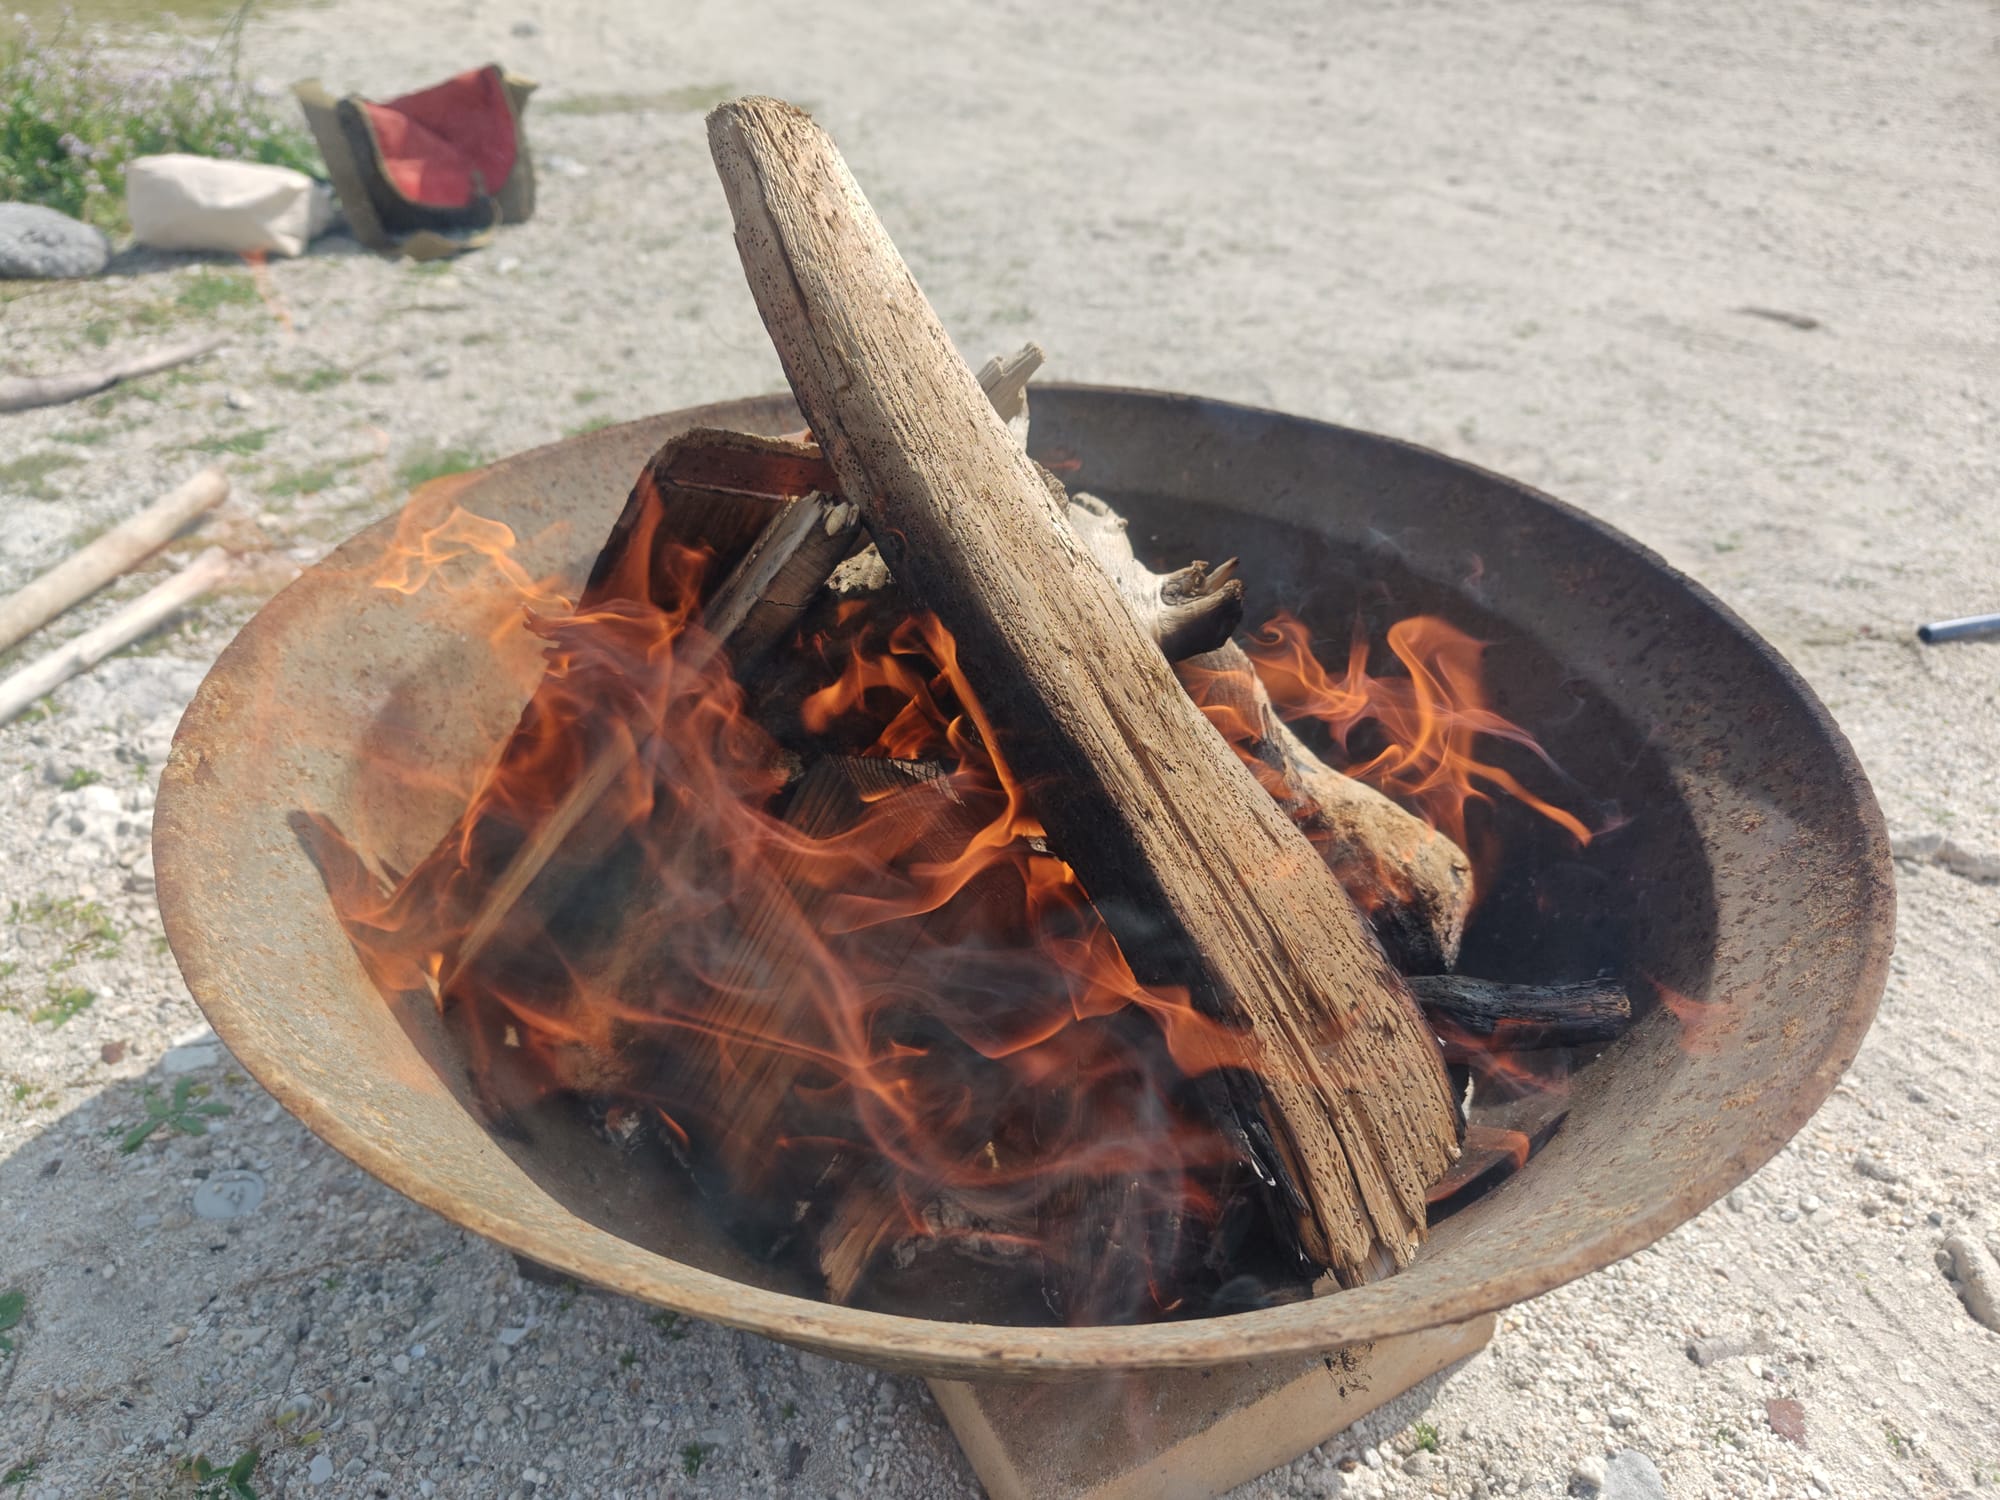
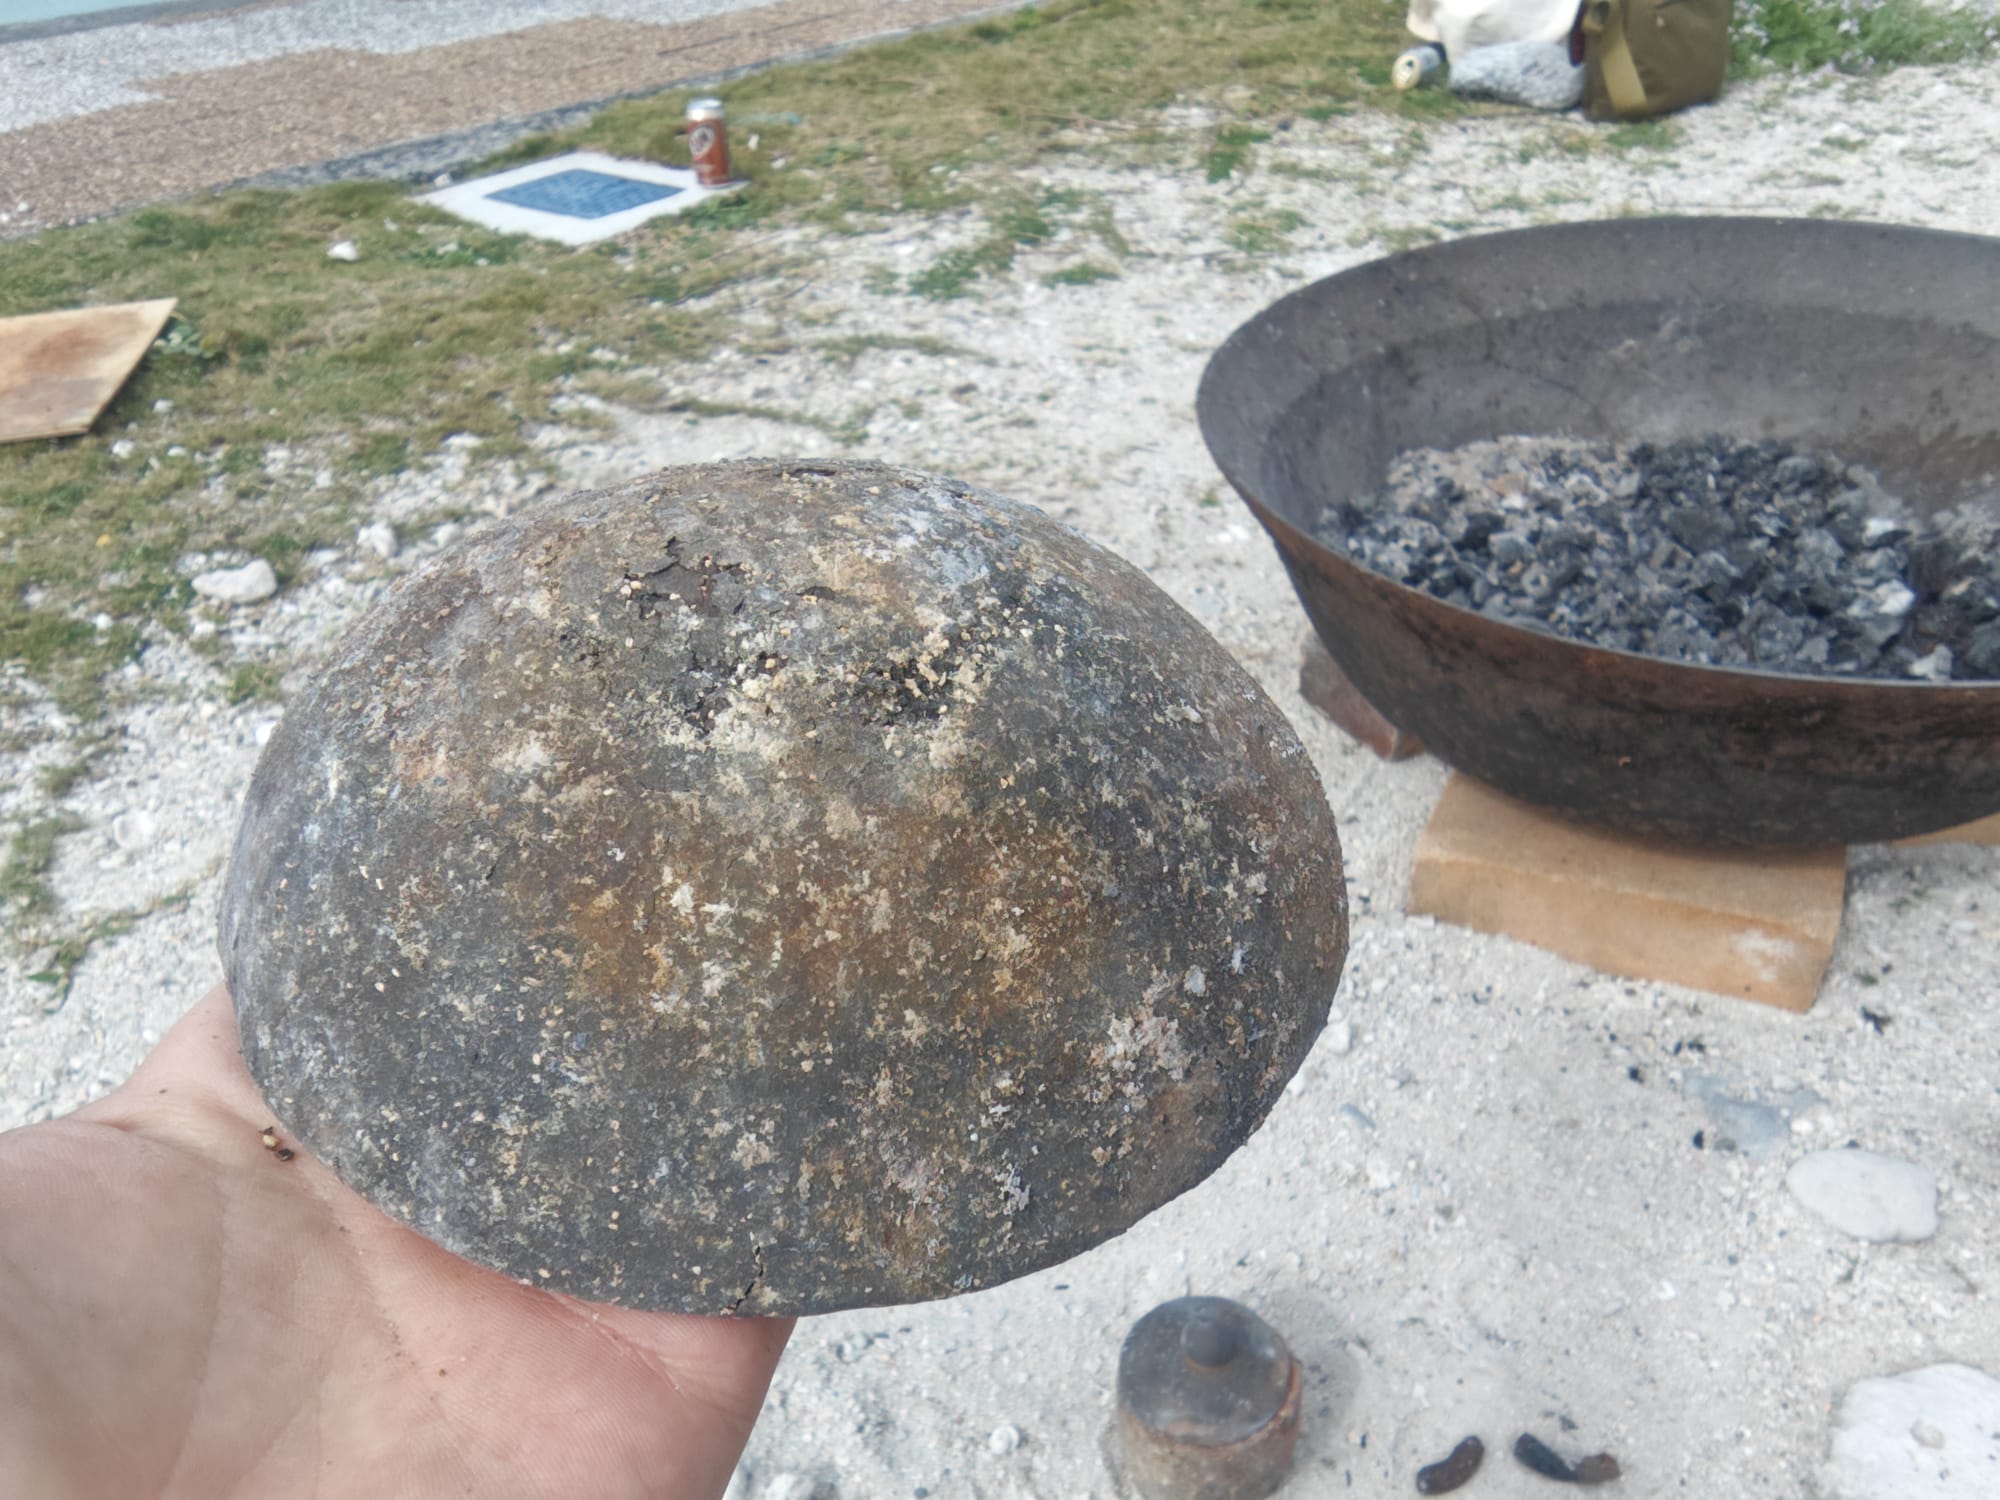
My collection of firewood (left) and the fire pit (right).
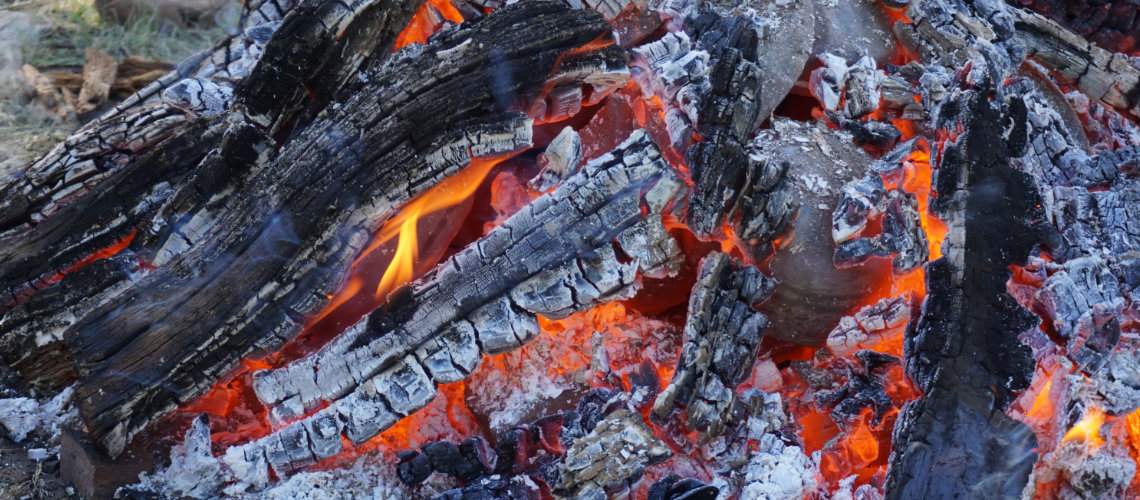
The tough part about firing on a 0¥ budget without any land of my own is that I can't even build myself a mud furnace. Thus, my first attempt was a pit-firing with no kiln. Pit-firing is dead simple: build up a bed of hot coals, layer on pre-dried pieces, then cover everything in another layer of fuel. For this type of firing, charcoal is best, but in my case, plain firewood came for free.
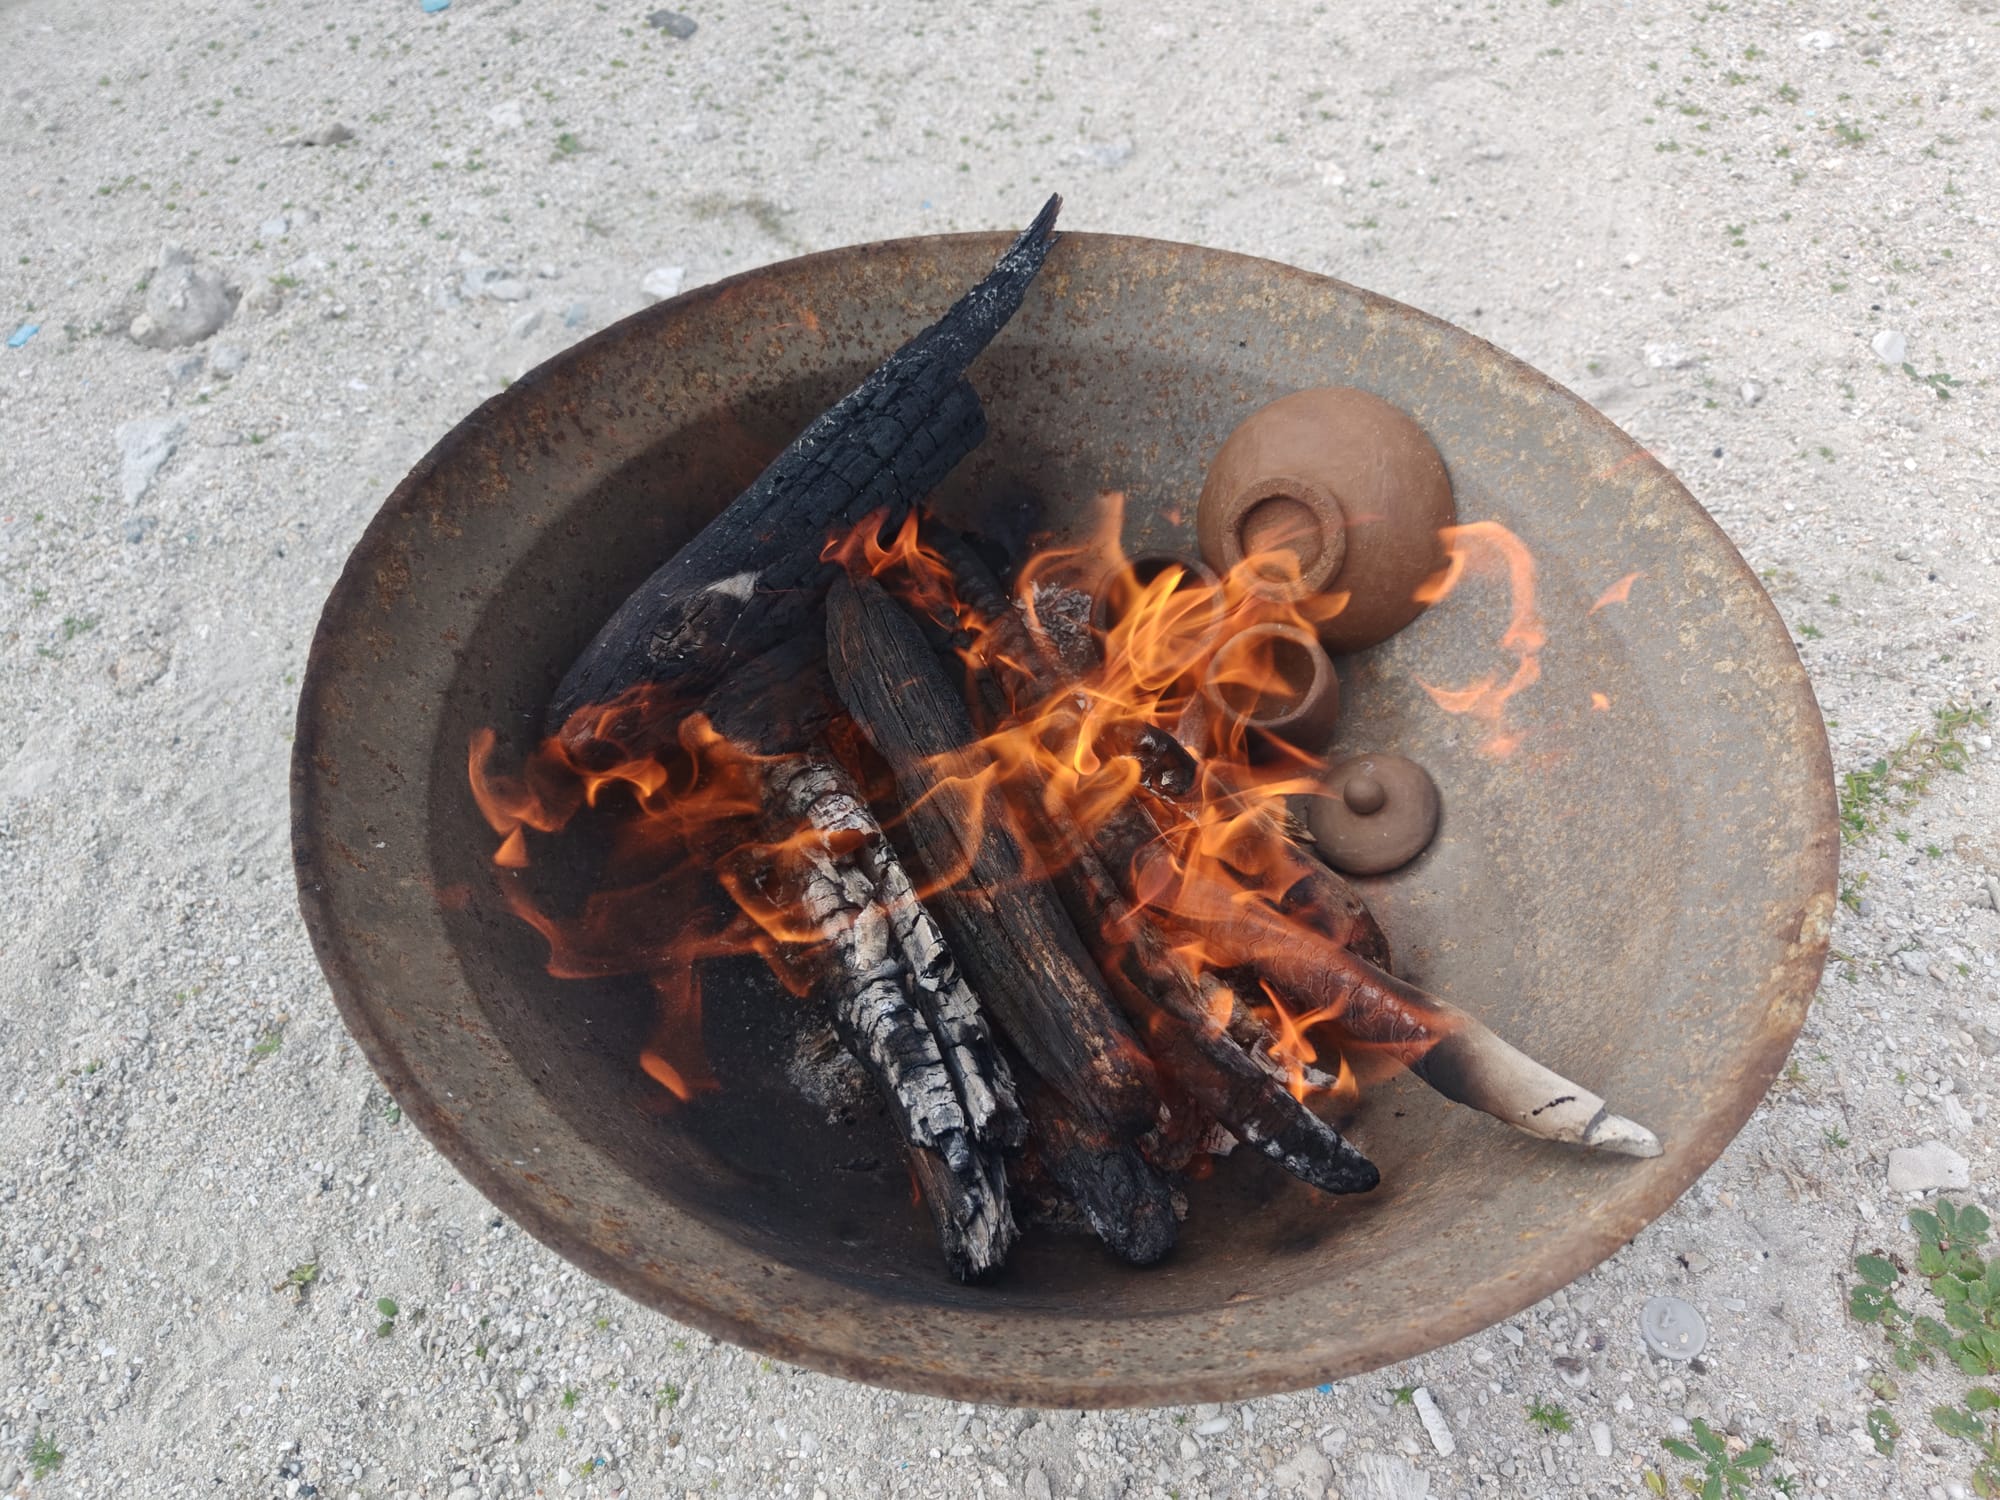
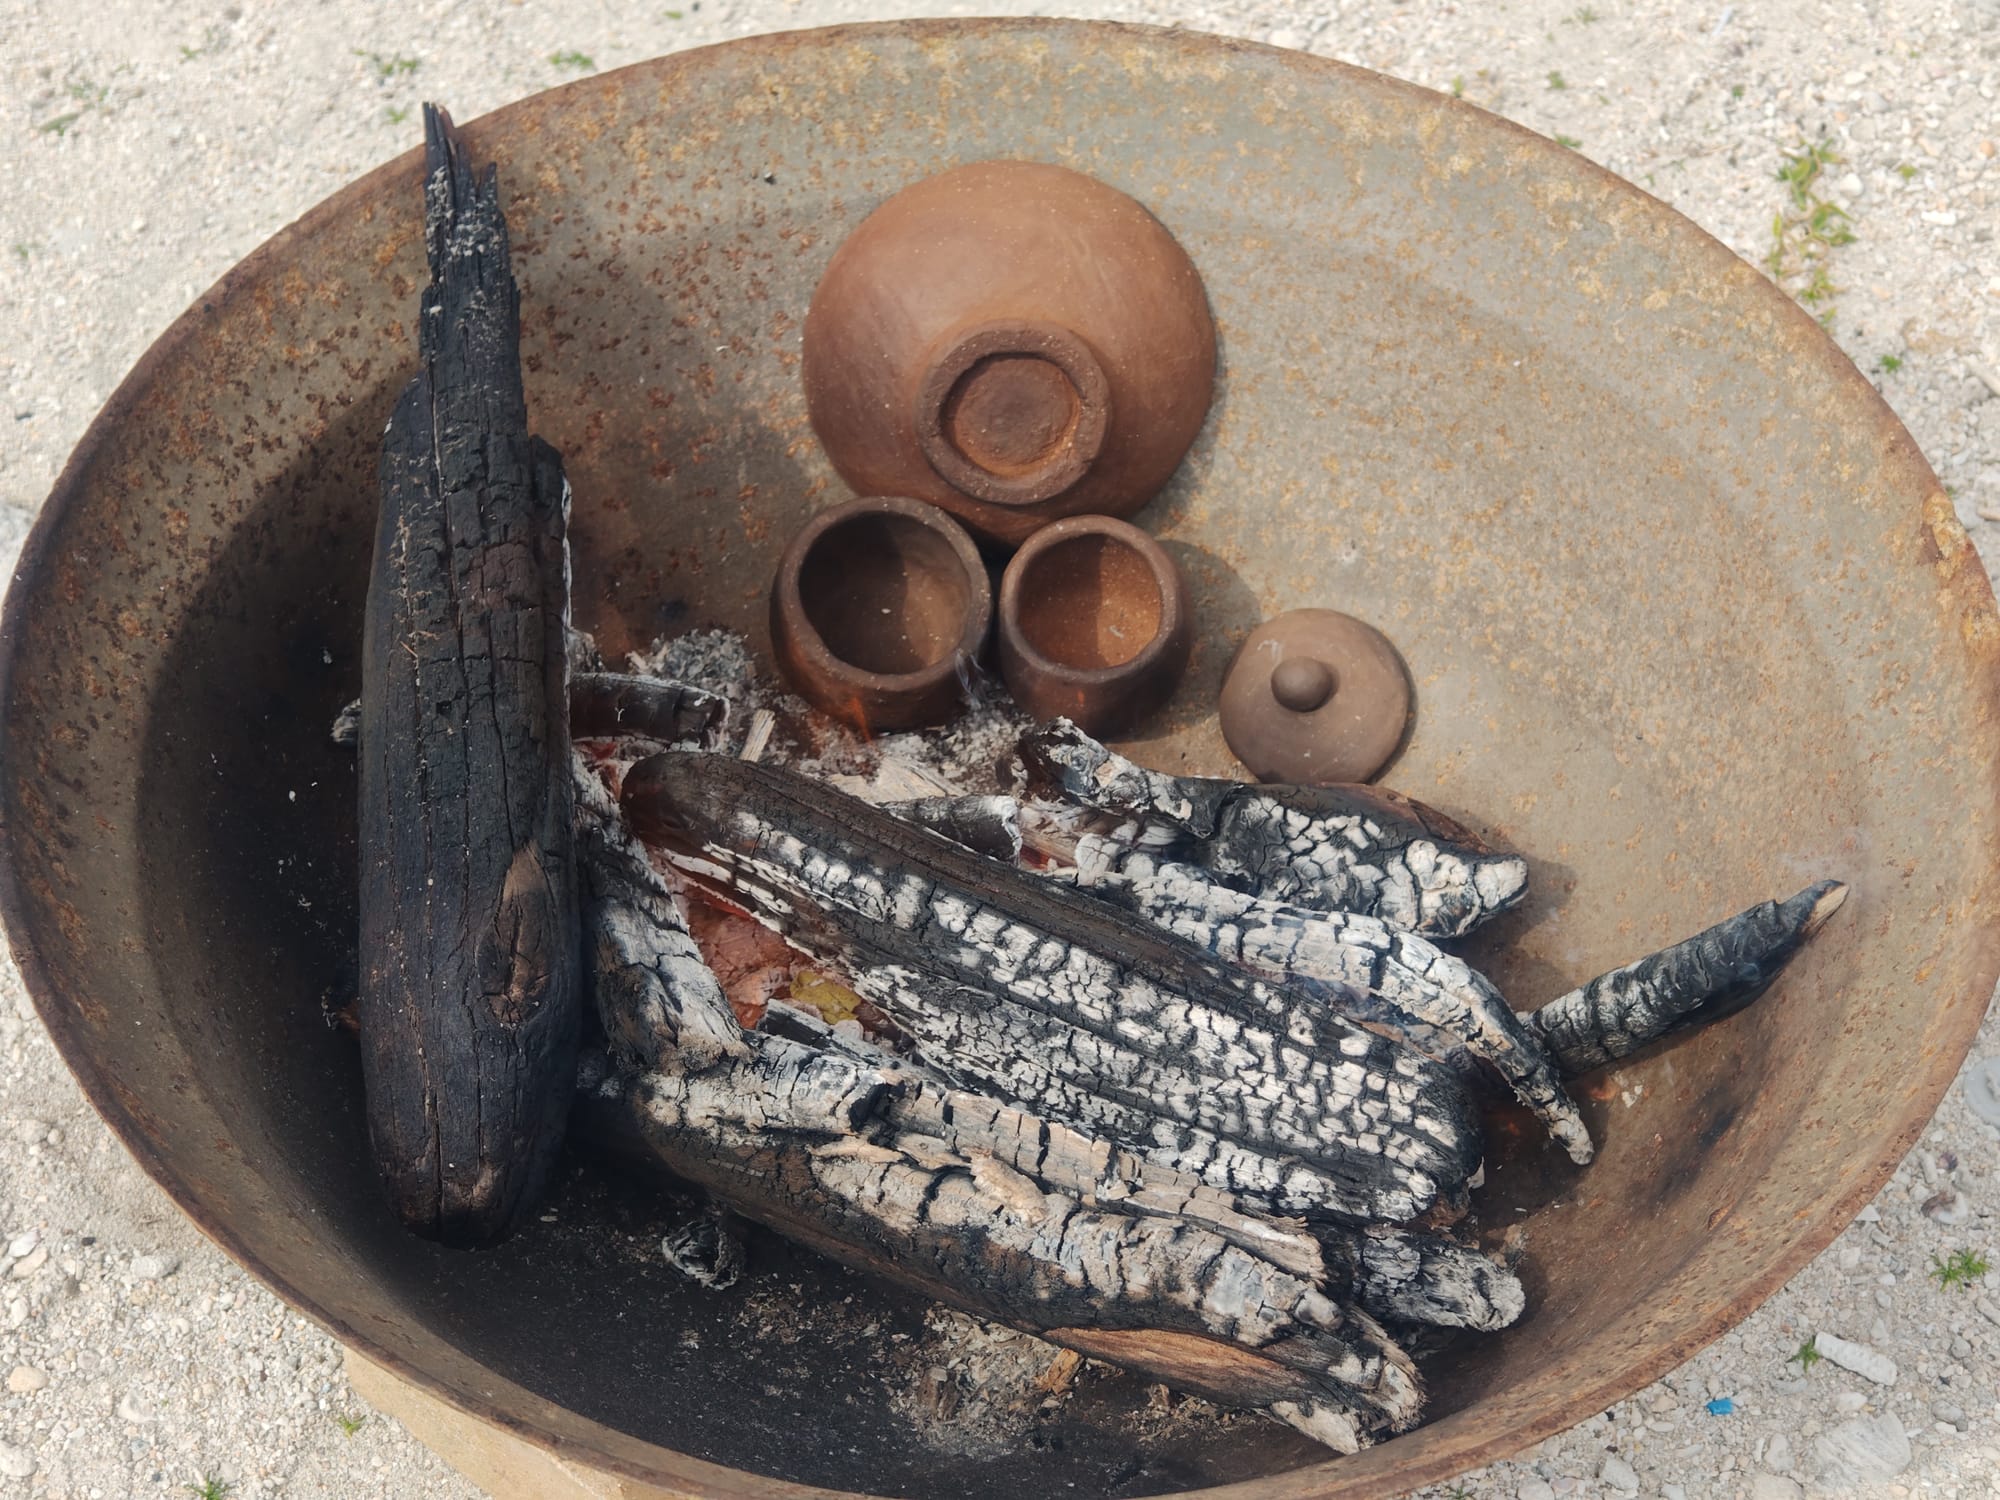
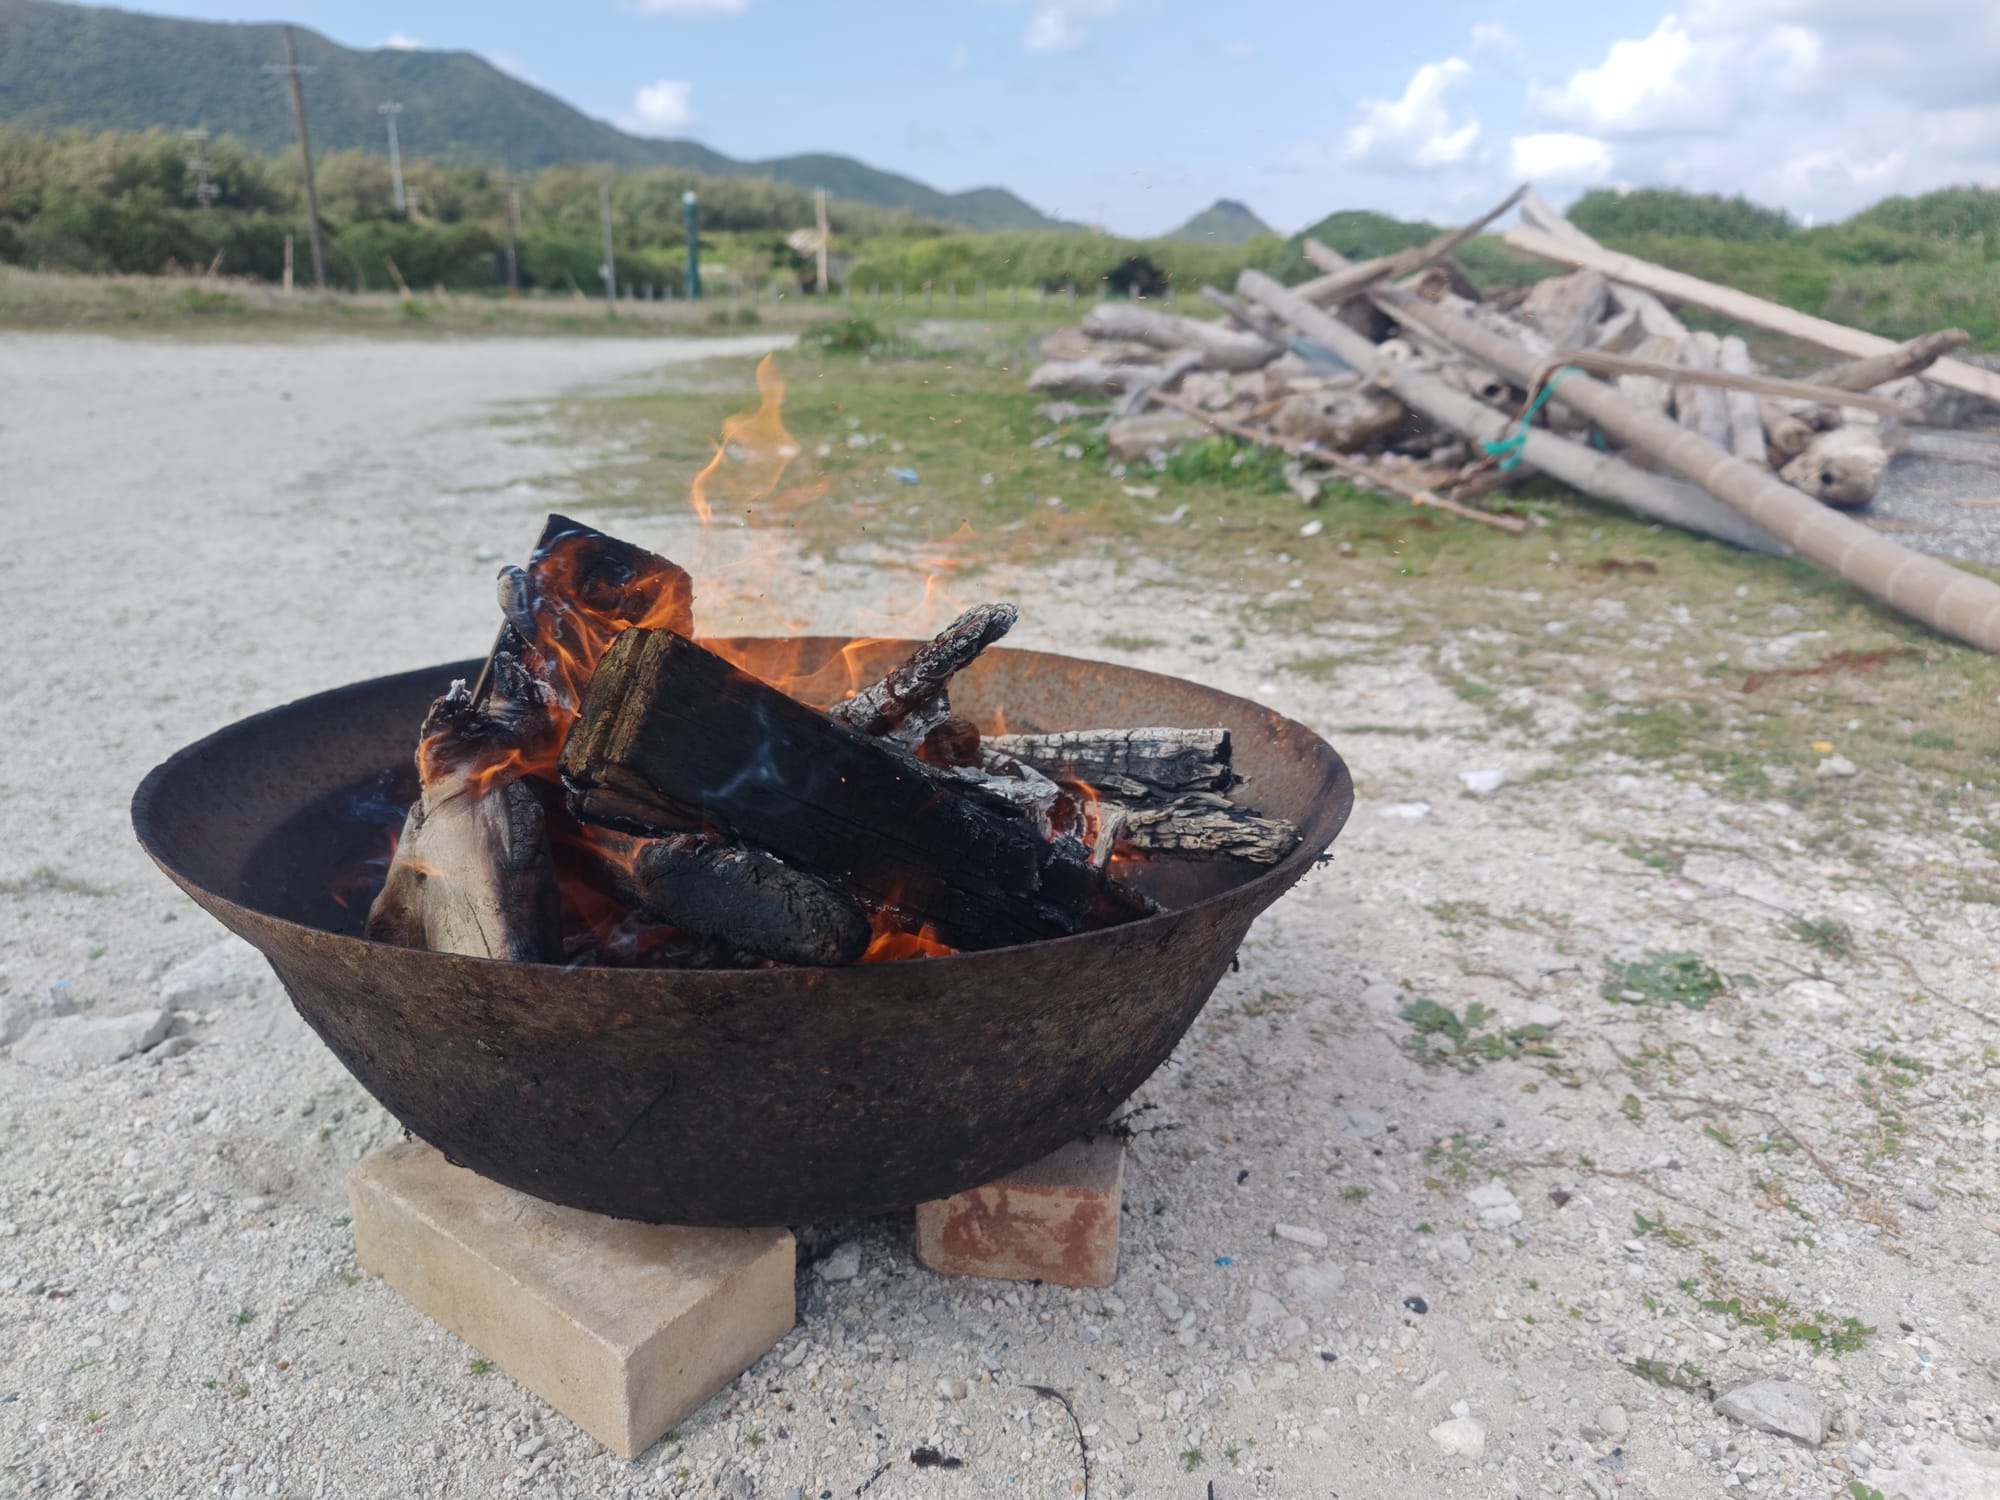
Unfired pieces pre-heating beside the fire as the initial wood burns down to coals (top) and then everything piled up and burning down during firing (bottom).
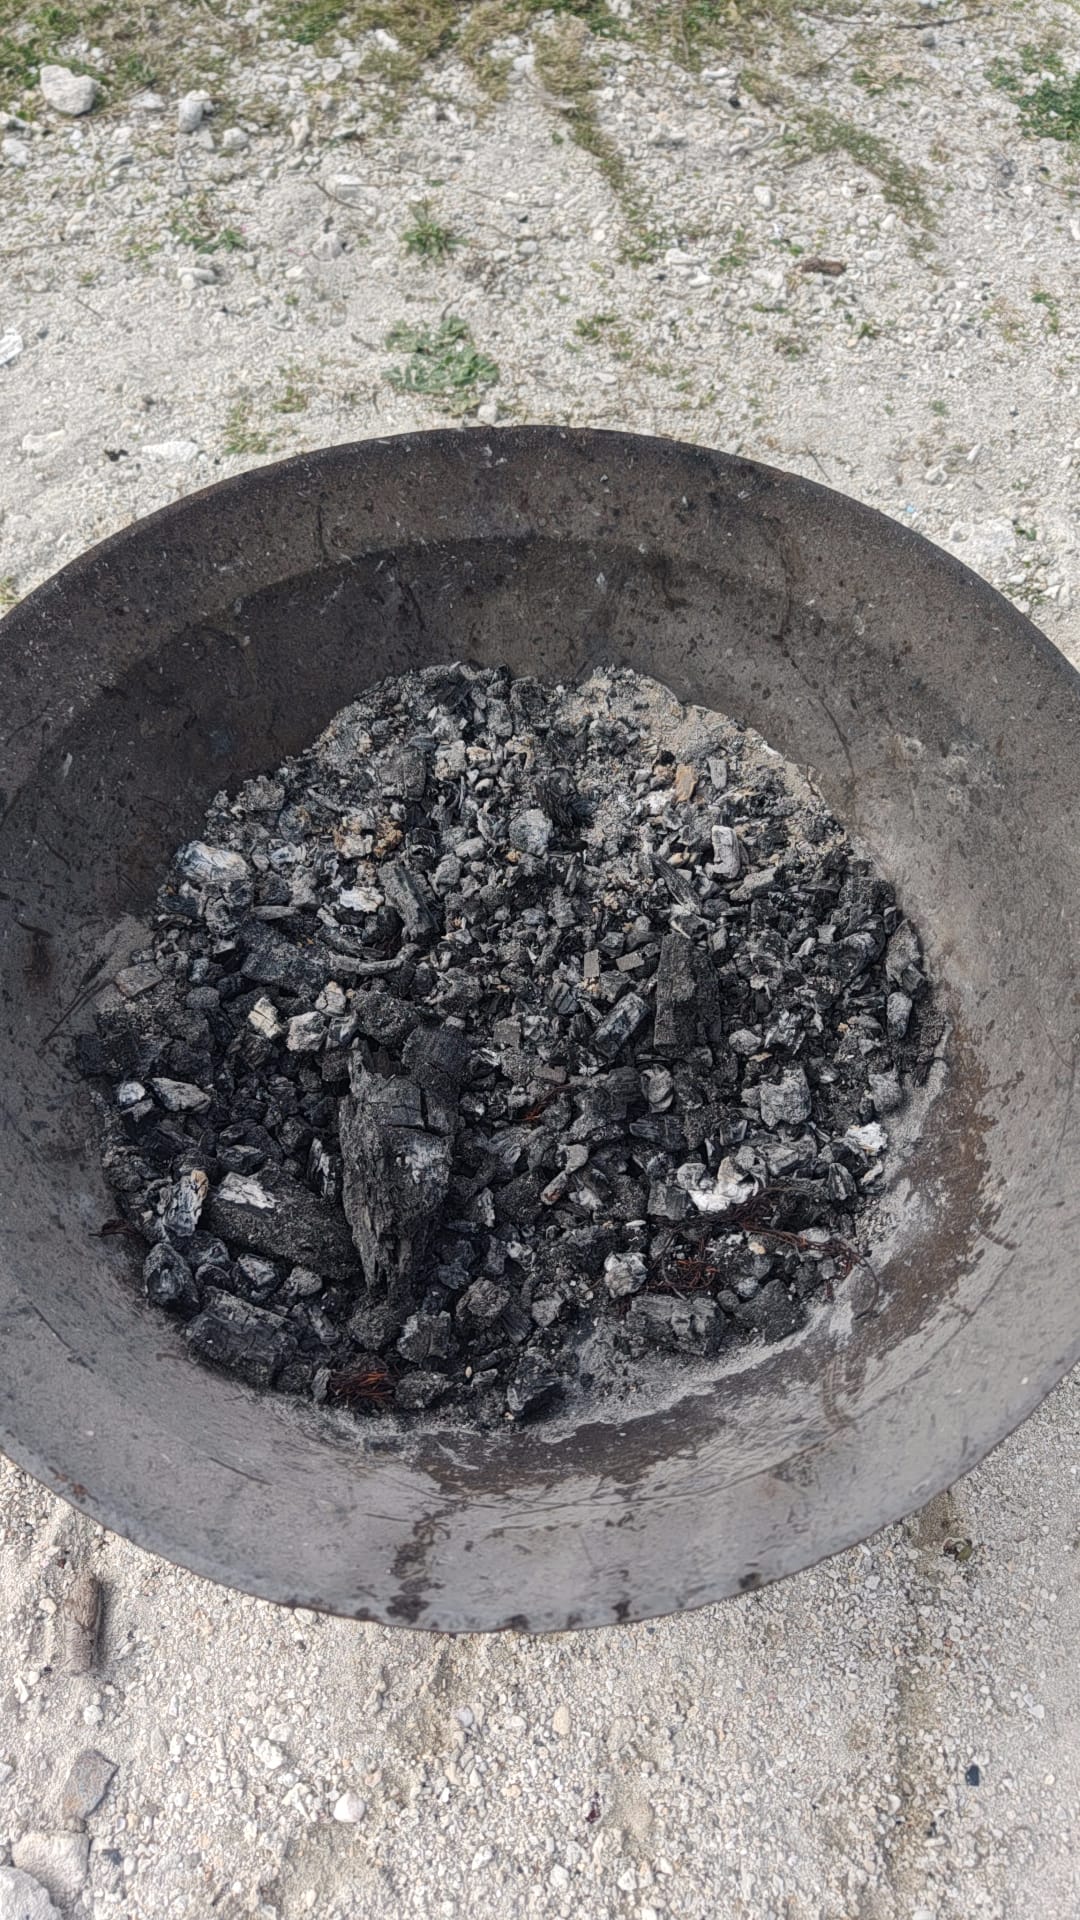
Working with the island caretaker, I was able to borrow an old iron basin to use as a fire pit, and I collected enough driftwood from the seashore to use as fuel. Pit firings like this go deceptively quickly, but the temperature swings are hard to control and results are unpredictable. Including starting the fire, preparing the bed of coals, preheating the pieces, firing, and cooldown, the whole process only took about 4.5 hours. Driftwood burns fast and hot, assuming its dry, so there were no problems getting up to temperature. Maintaining a consistent temperature, however, was somewhat harder.
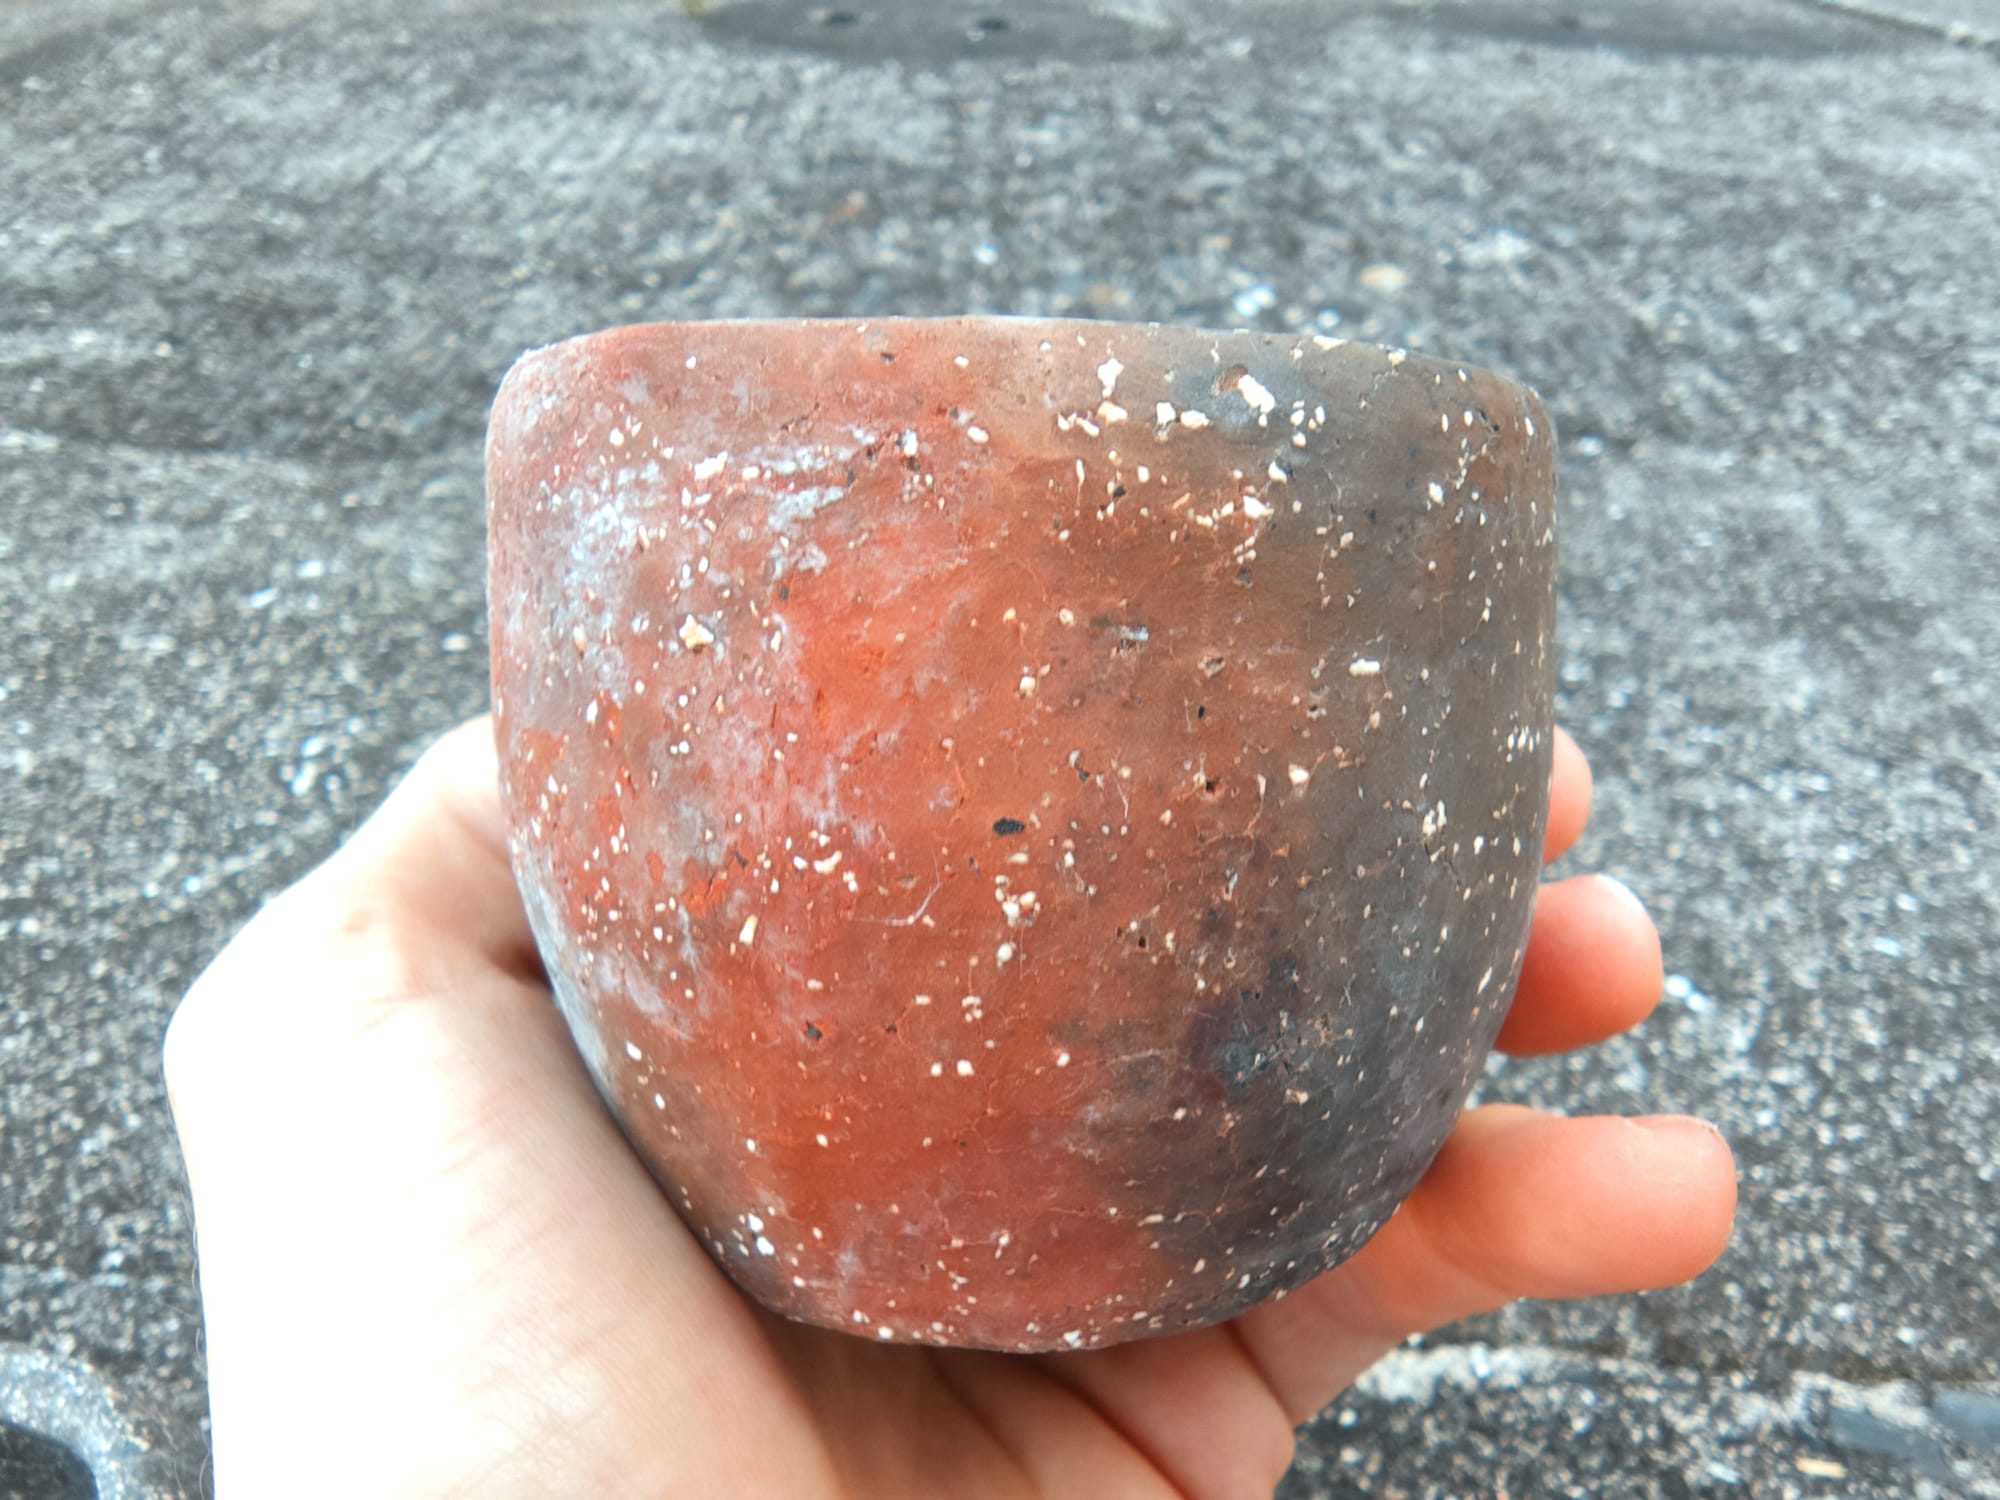
Results

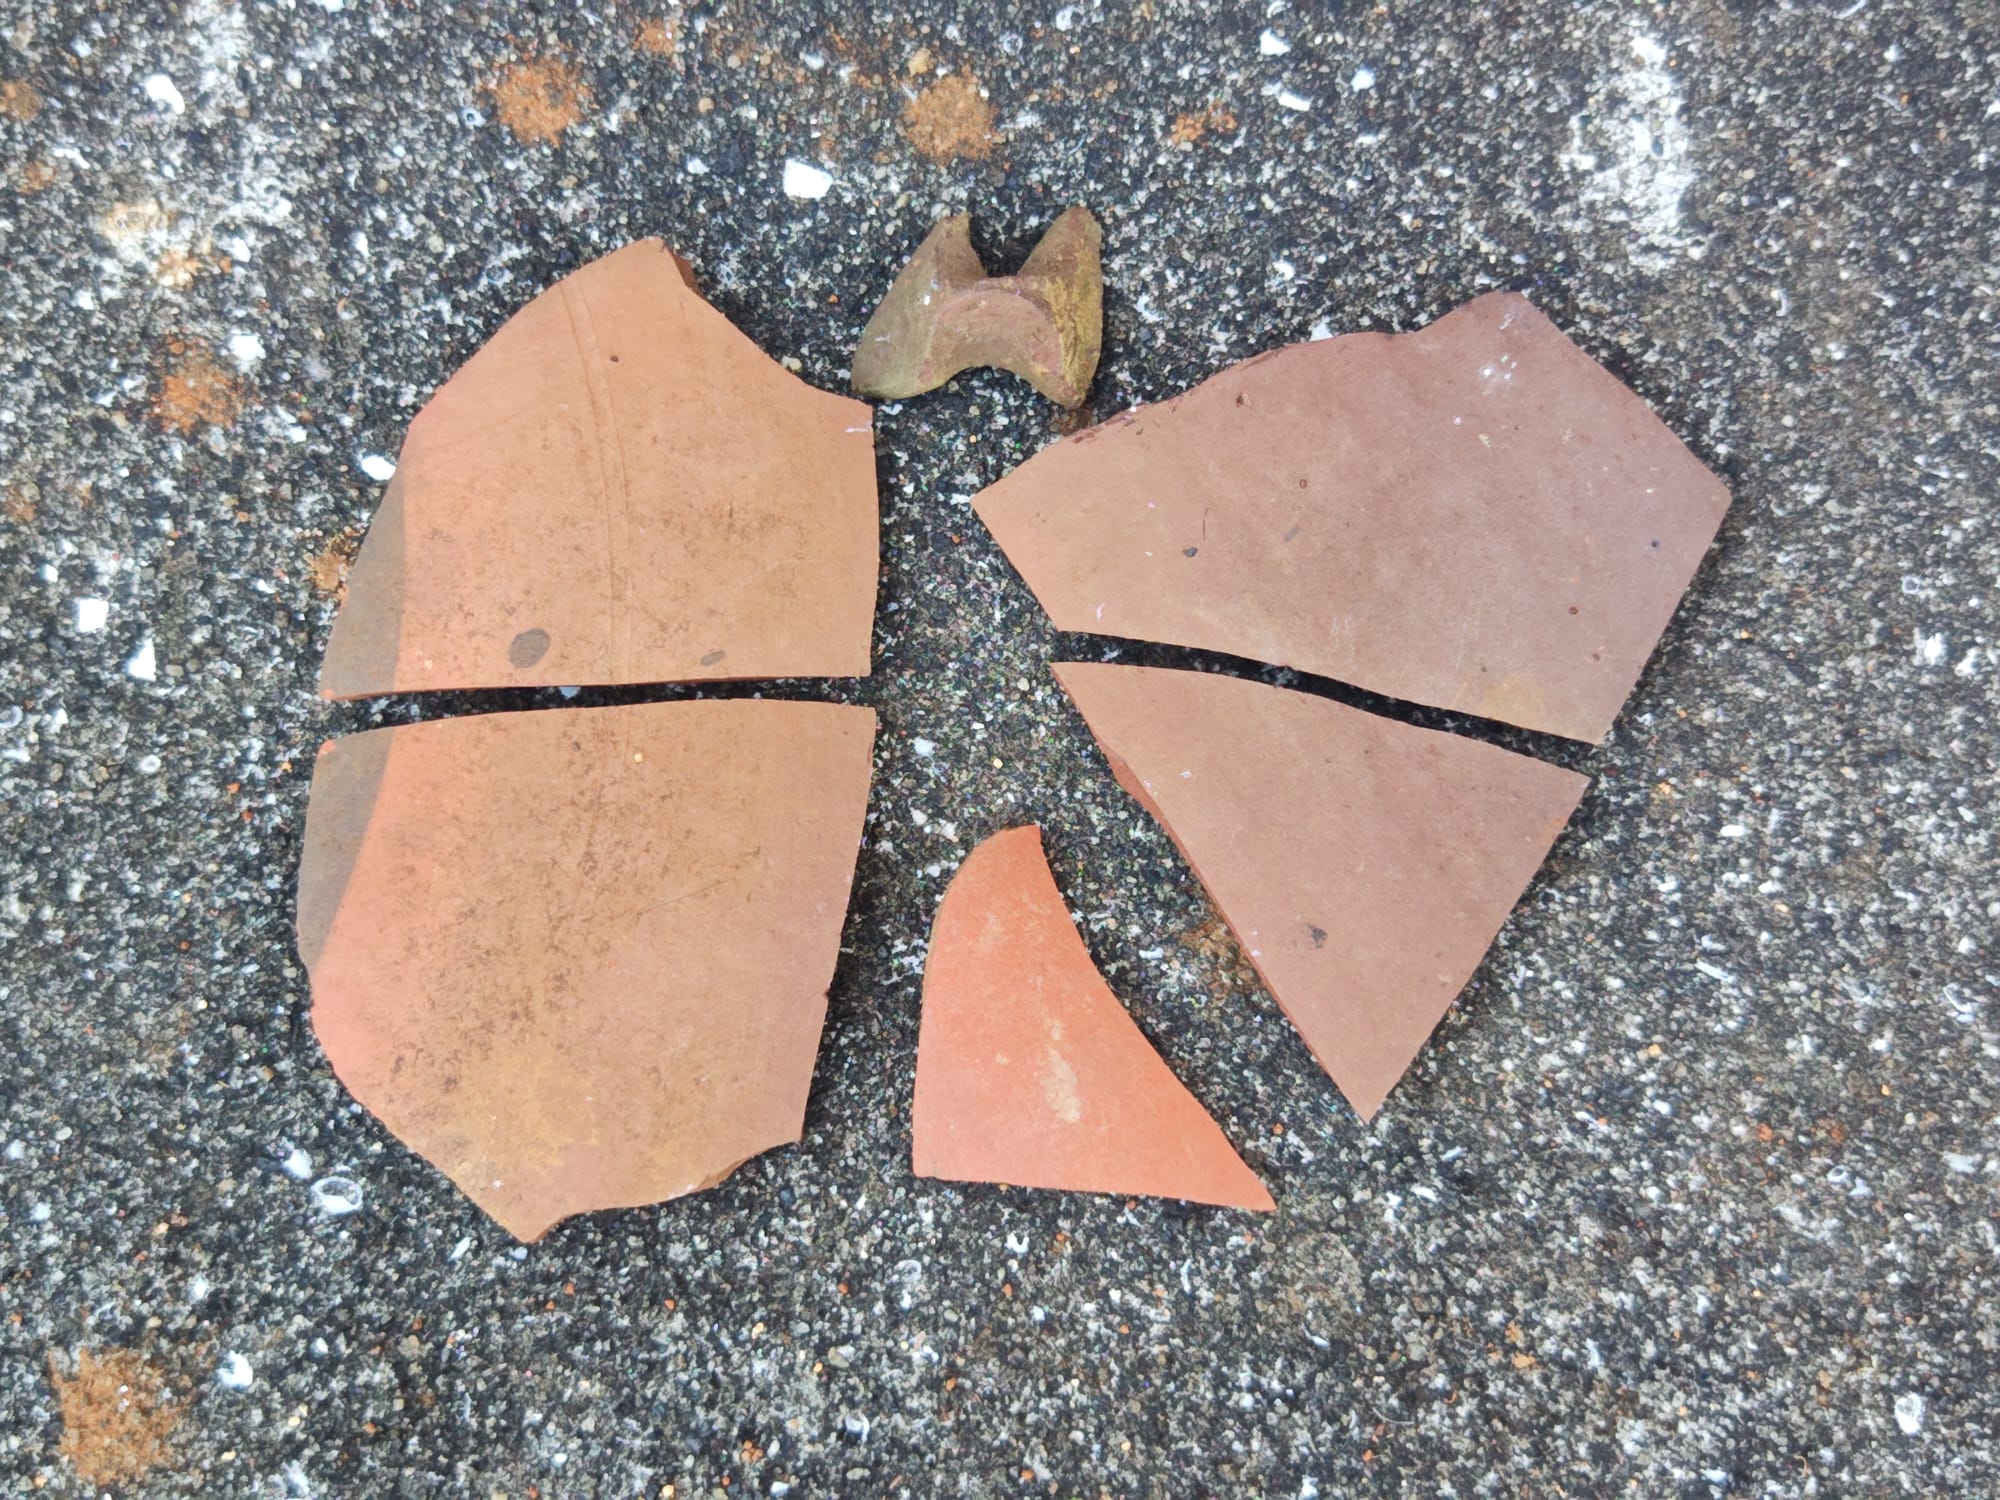
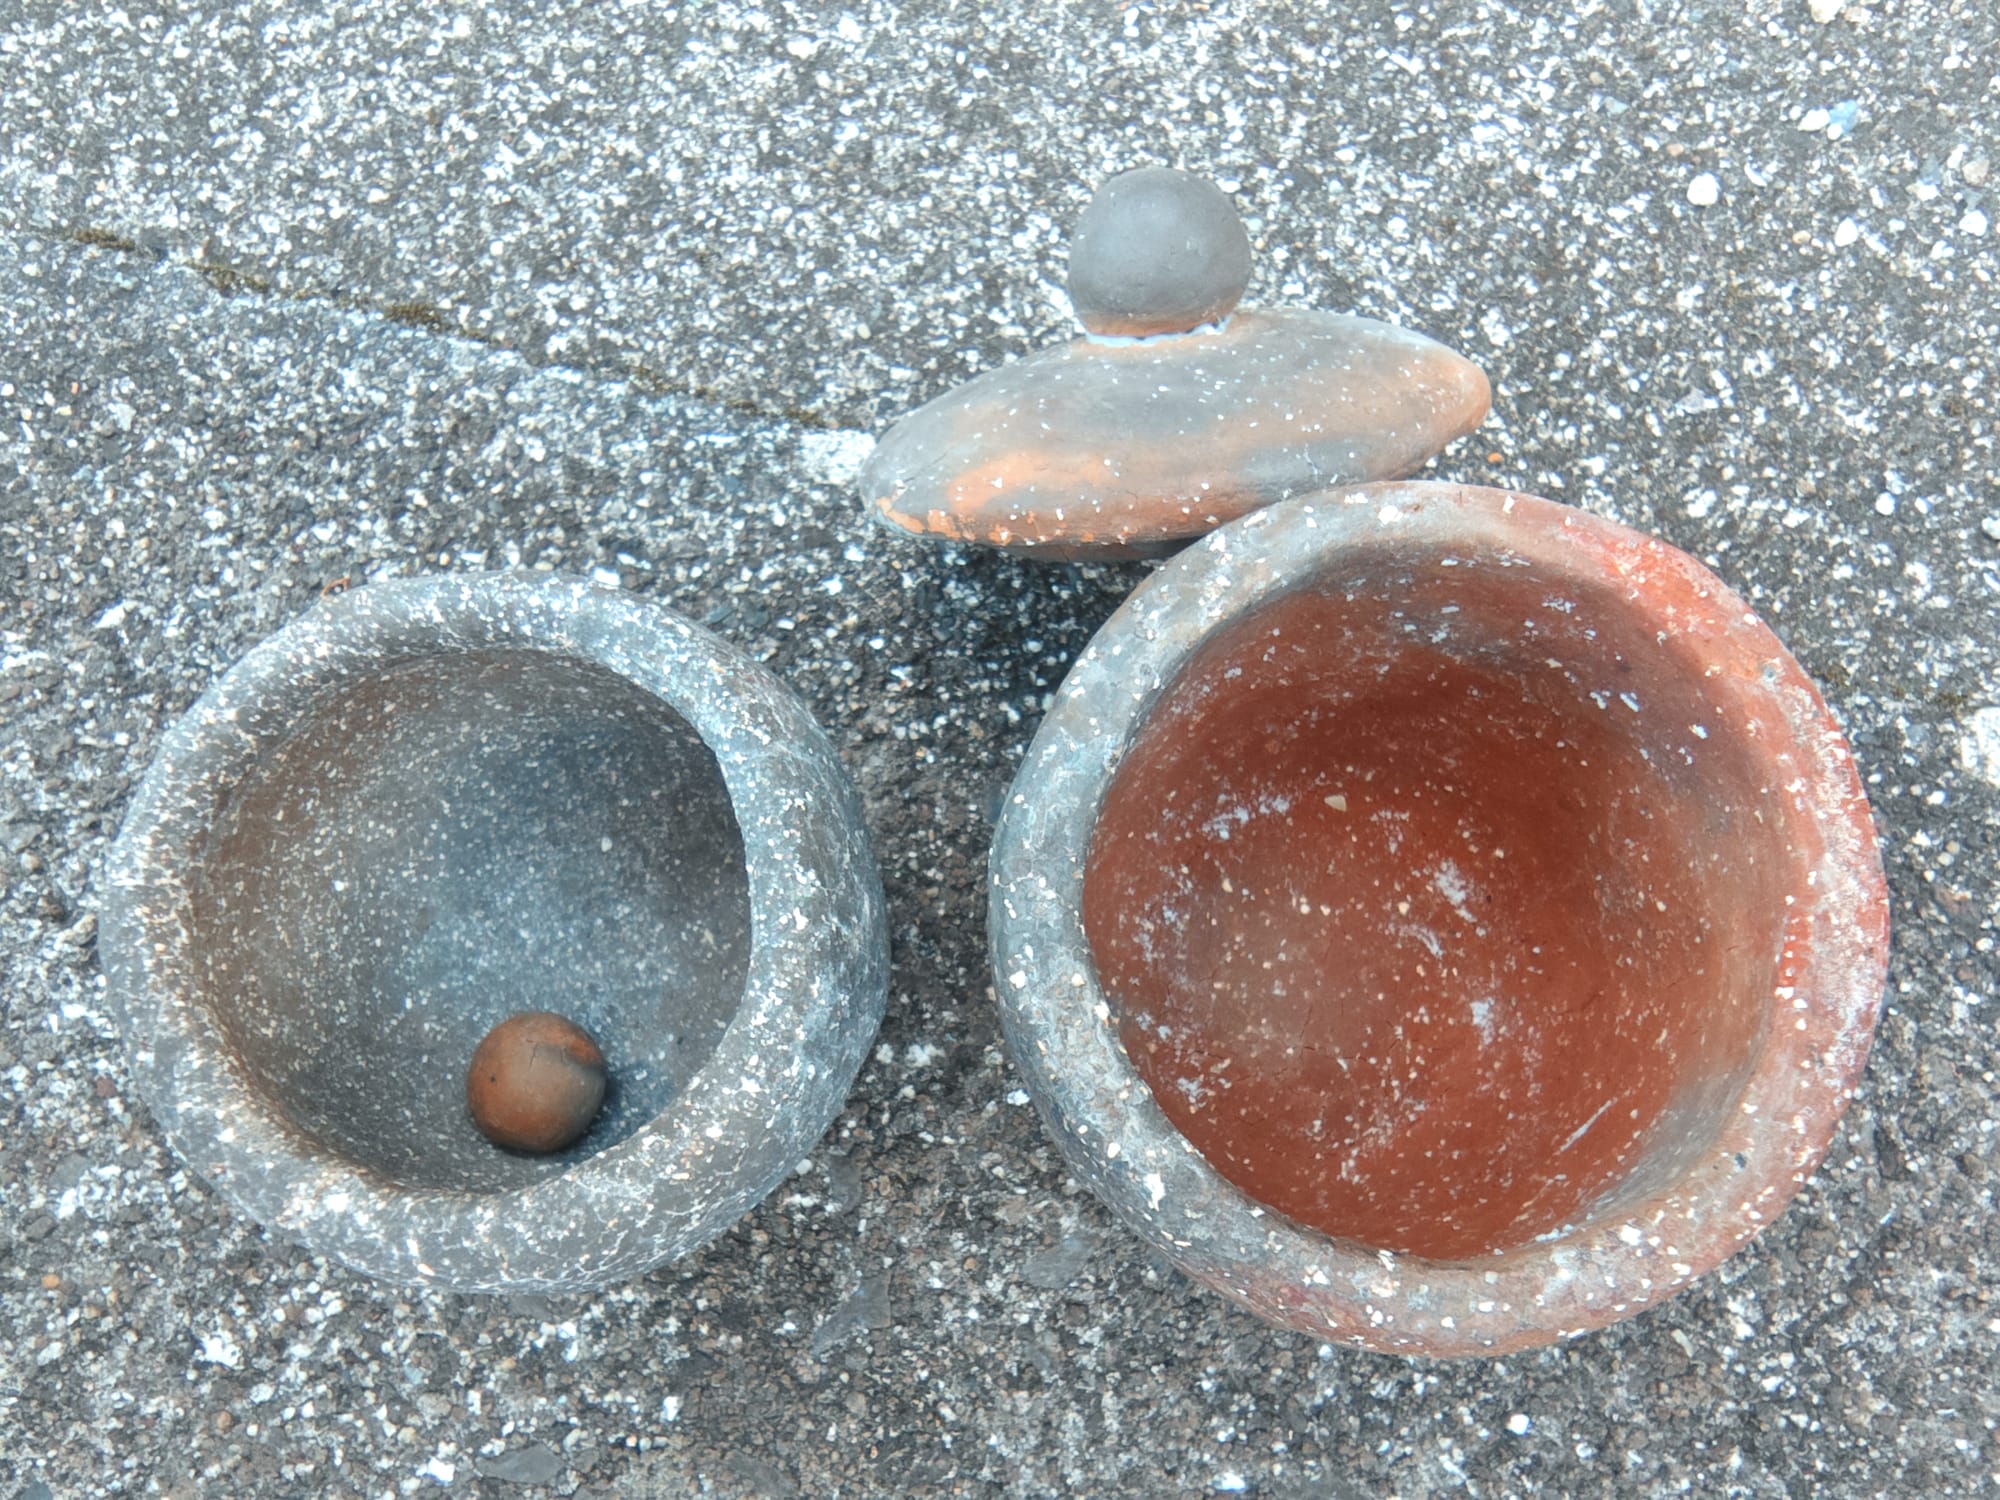
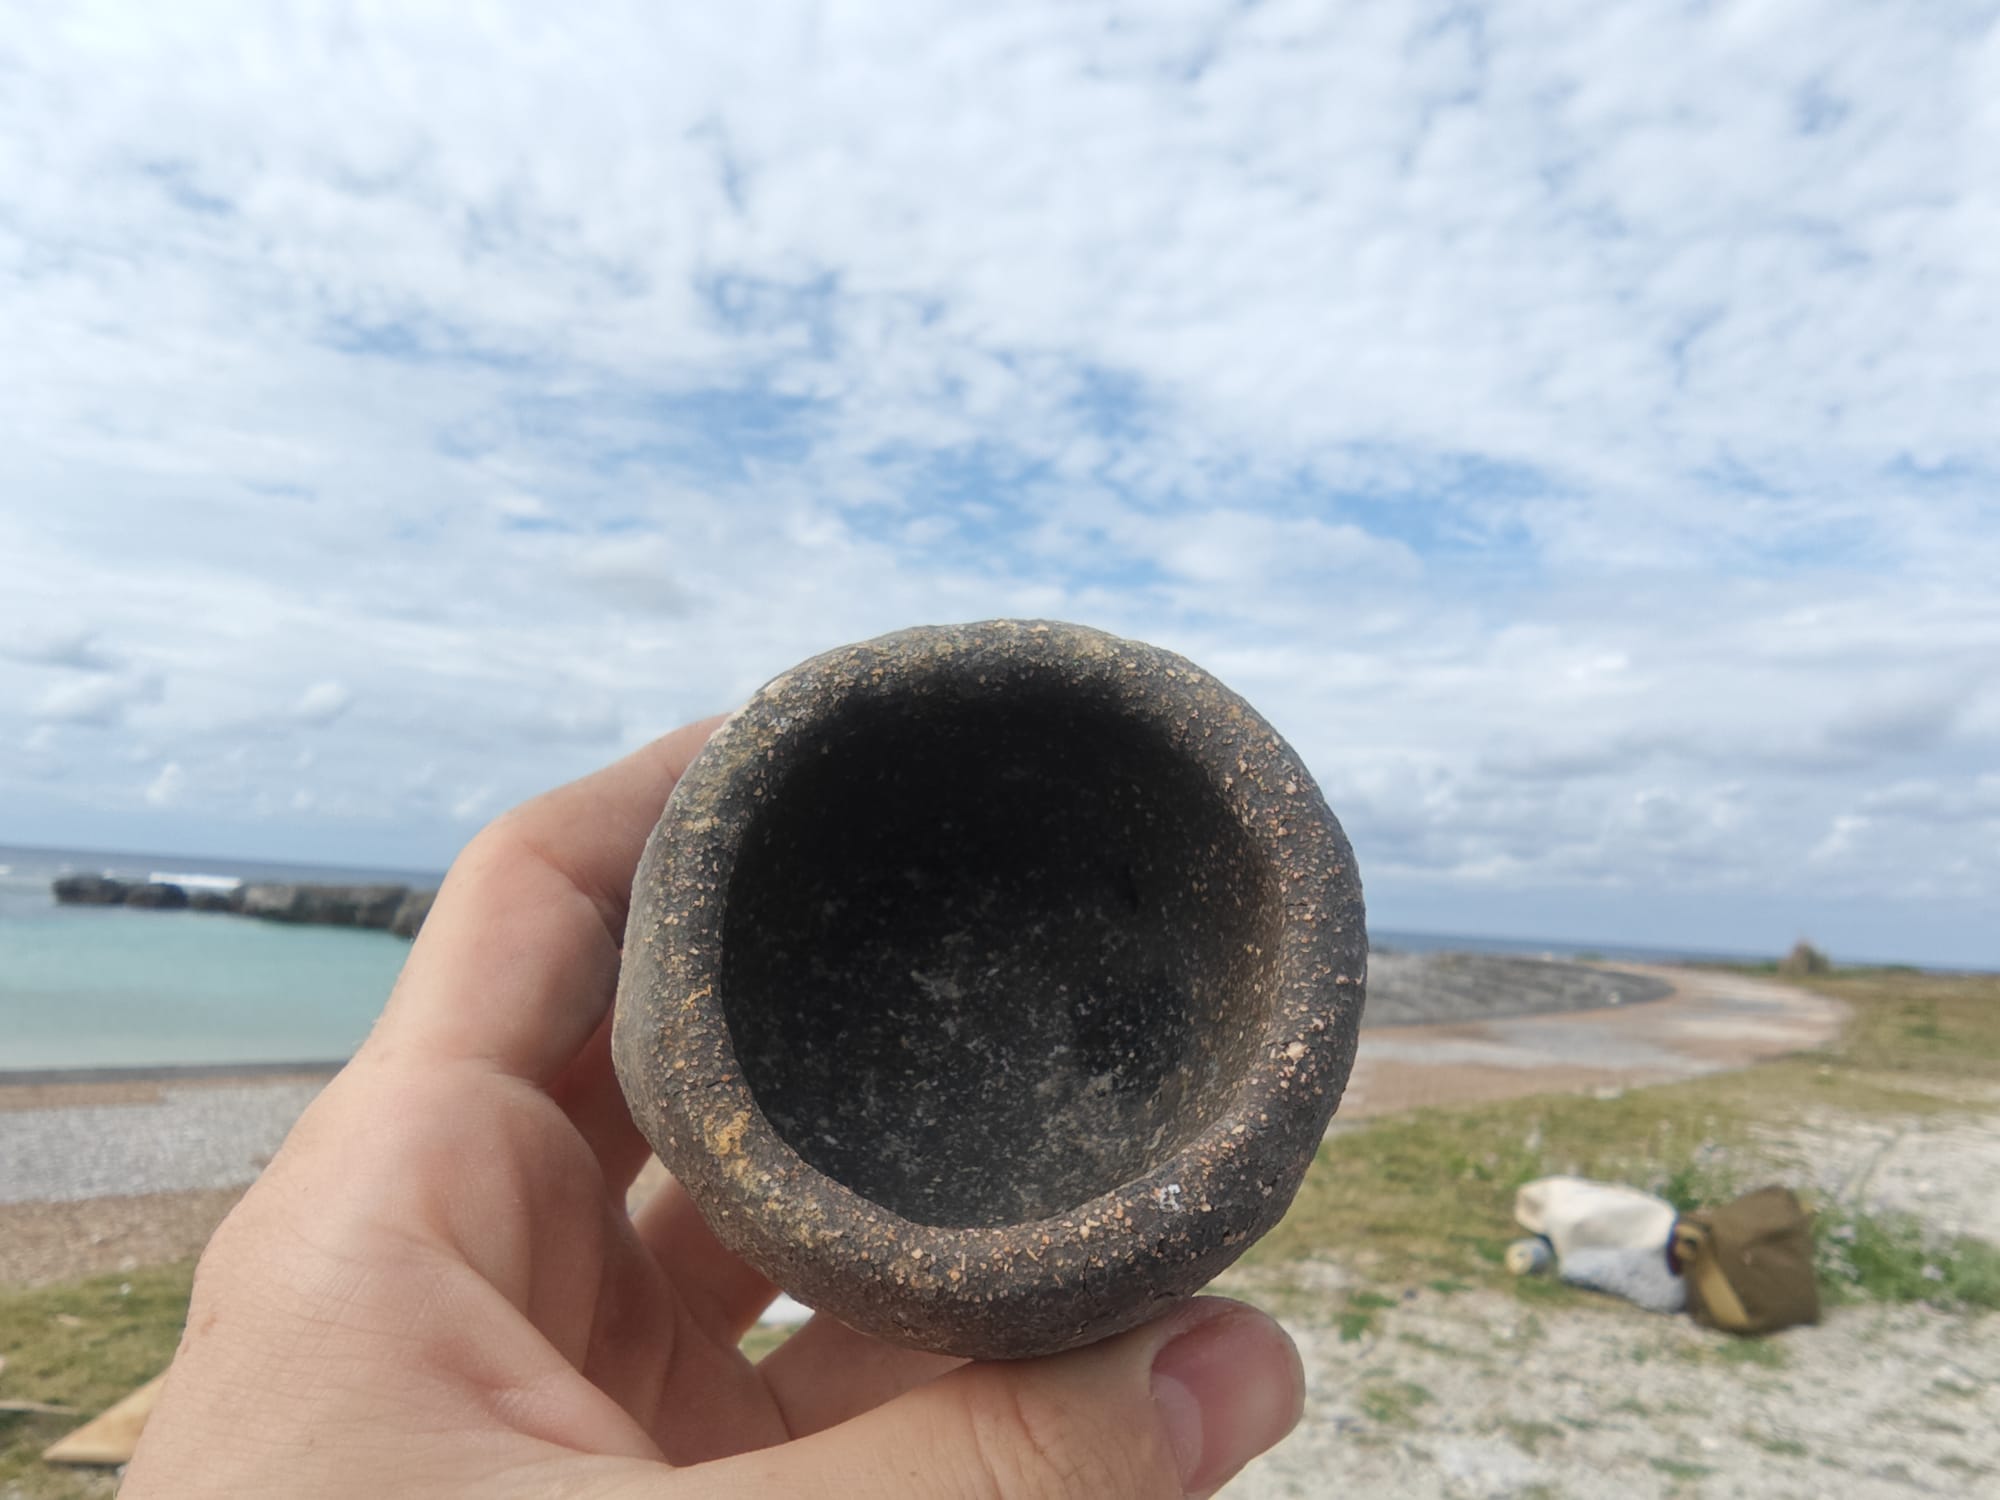
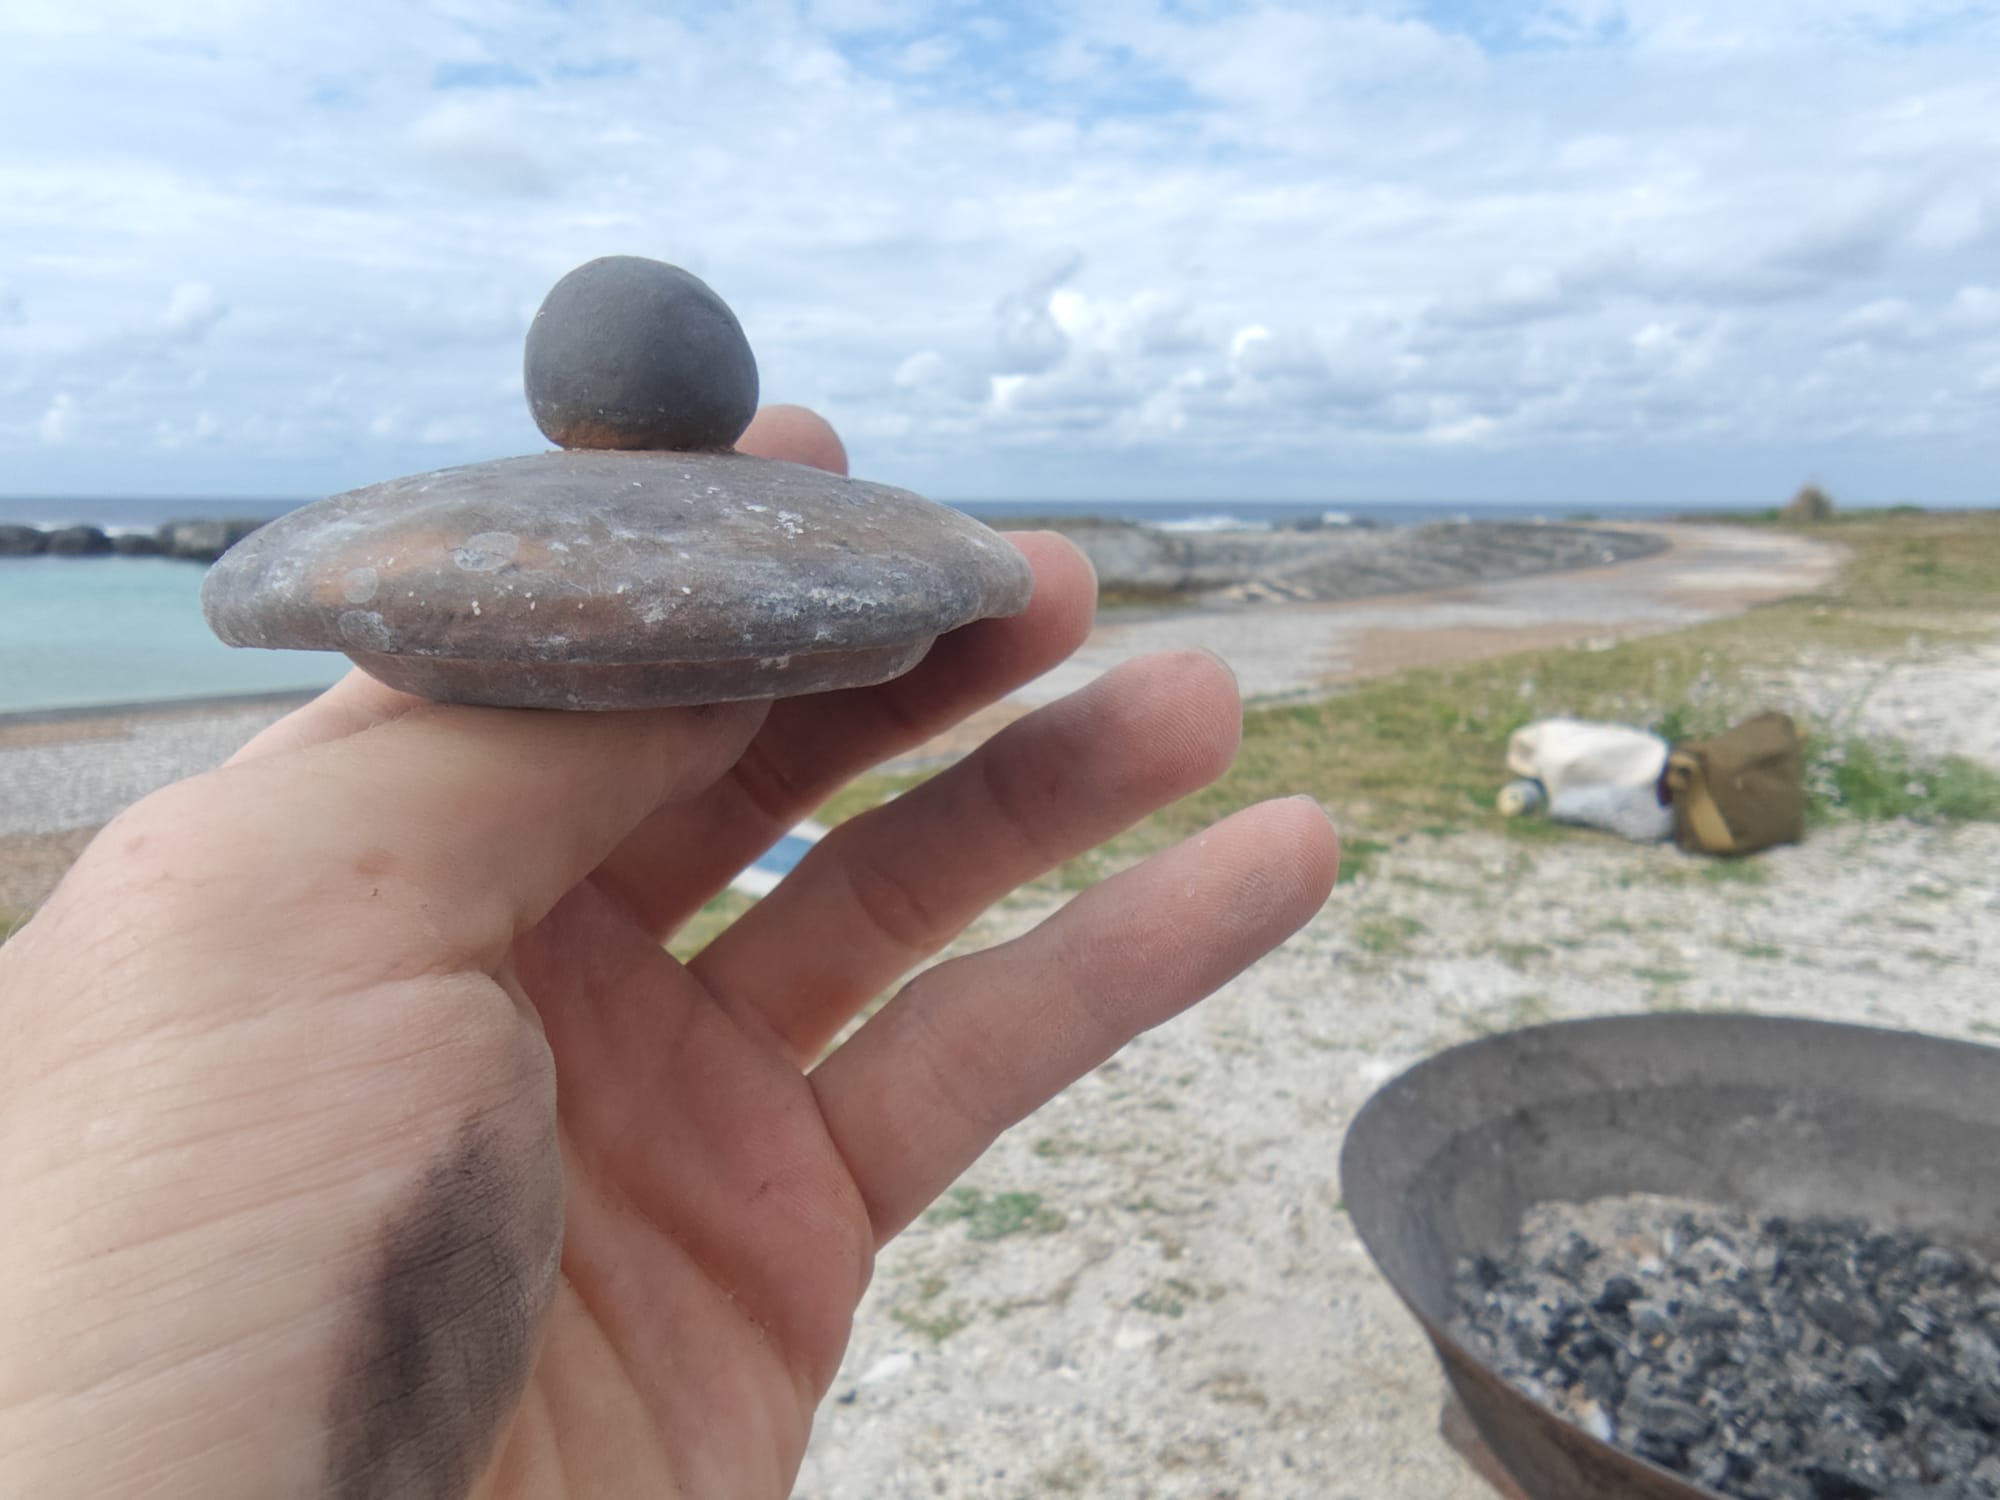
The piece I'm most proud of, so far. Unfortunately, I dropped the lid and had to glue it back together.
While the initial results are not perfect, I am thrilled to be left with anything at all, after all the effort that went into this project. None of the pieces I have fired thus far have exploded during firing, which has been my main success criterion. Going forward, I want to improve my firing setup, but to be able to make anything successfully with zero money invested was more than I had expected.
Click and drag to interact with a scan of this piece.
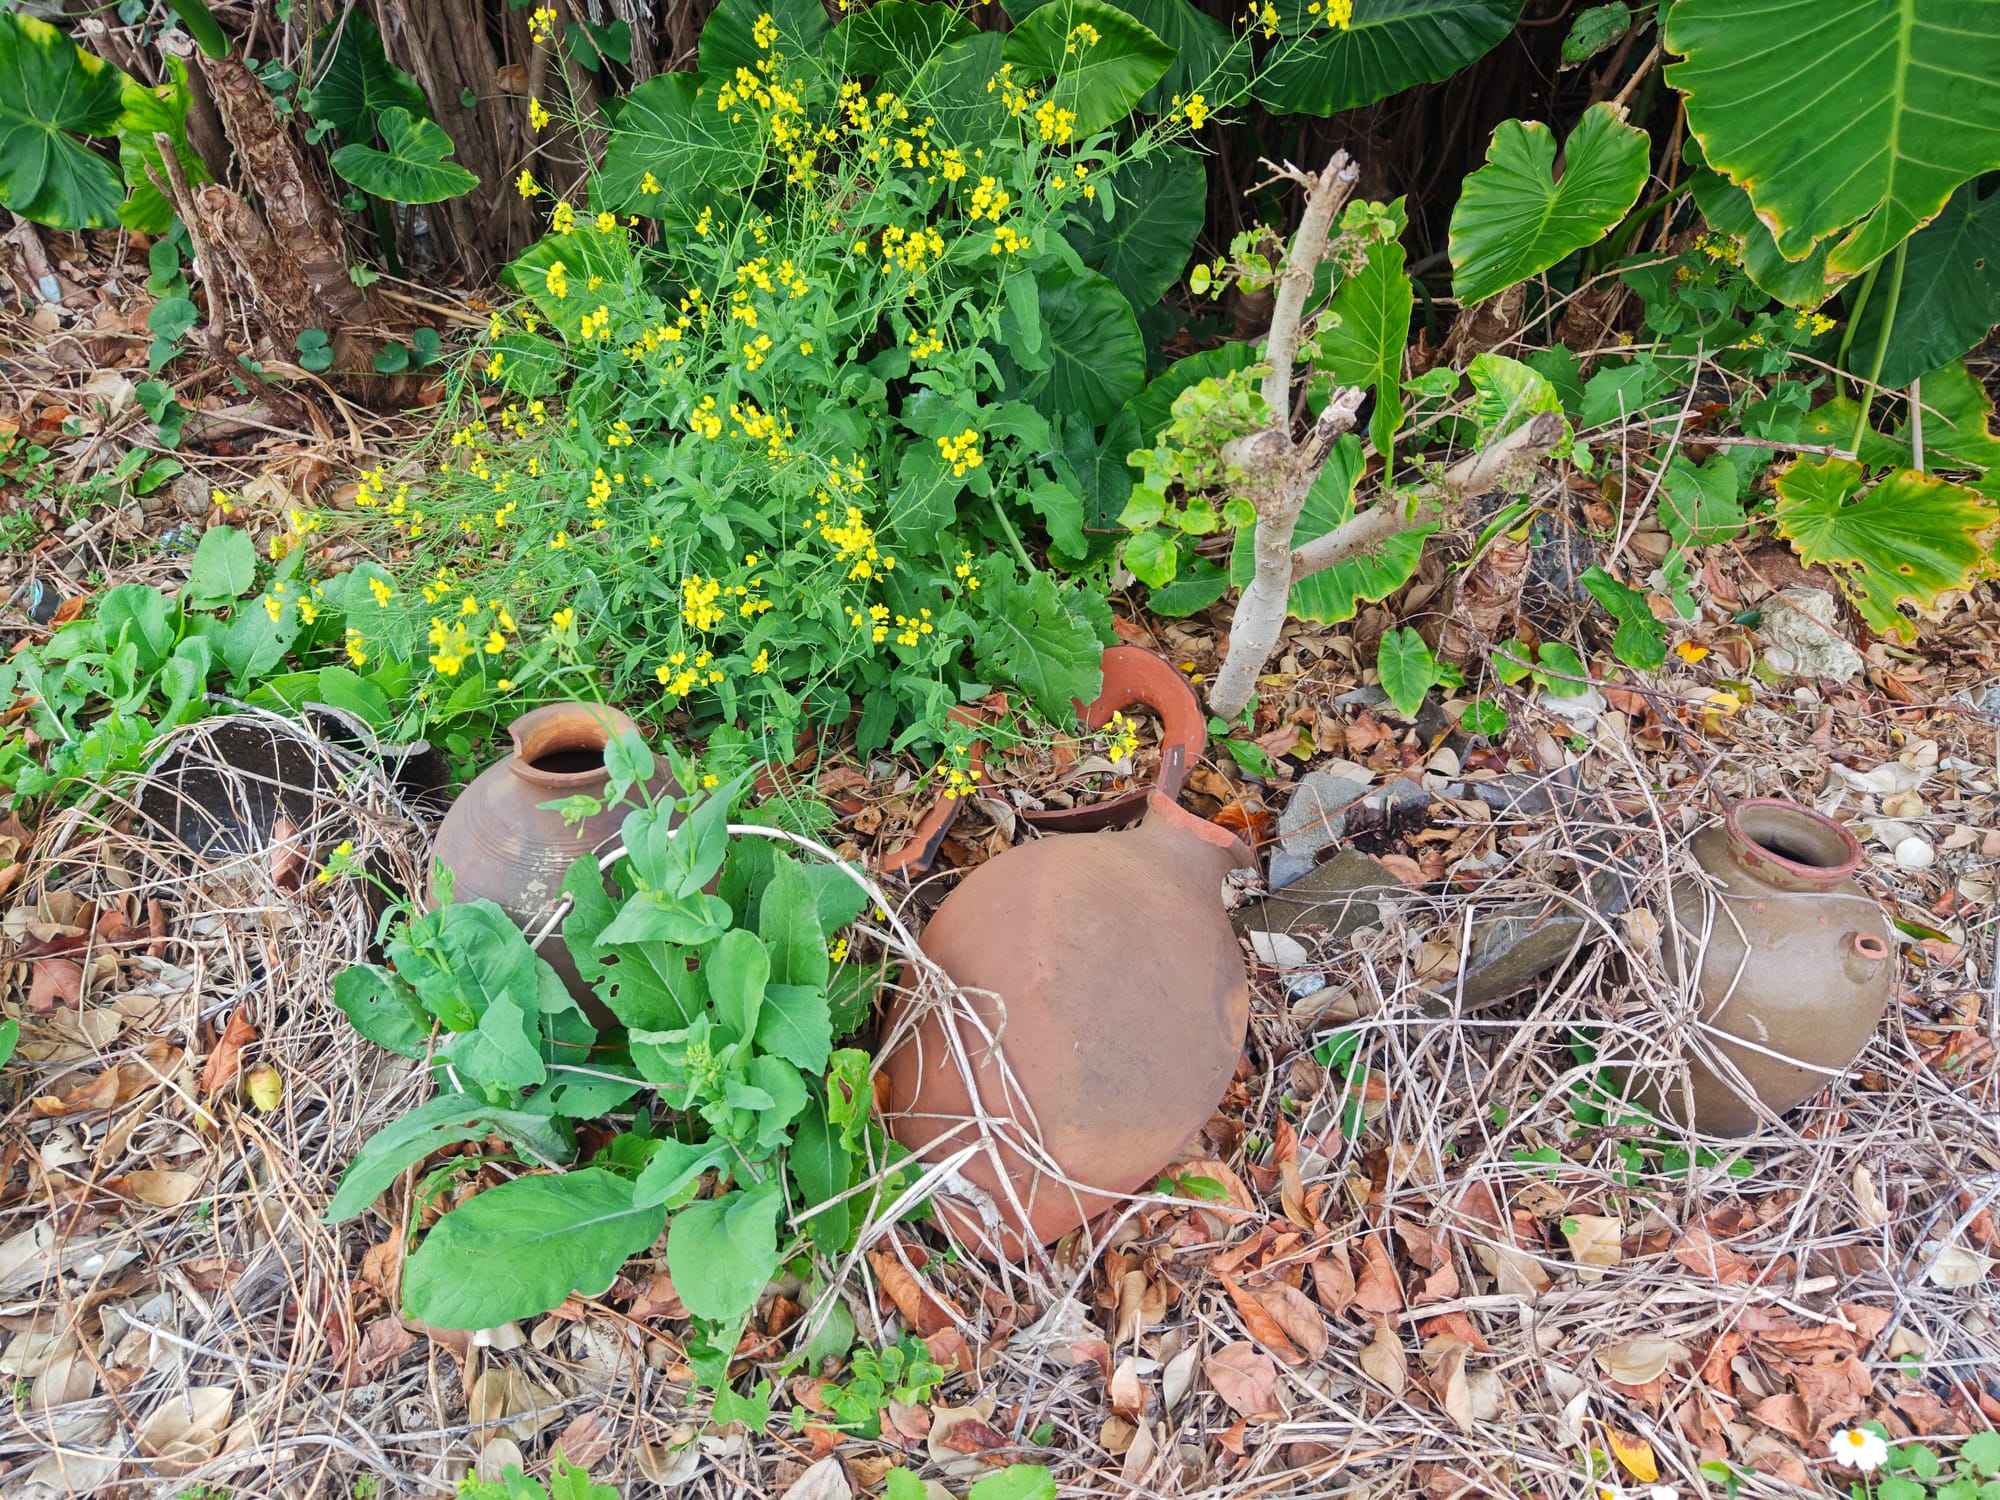
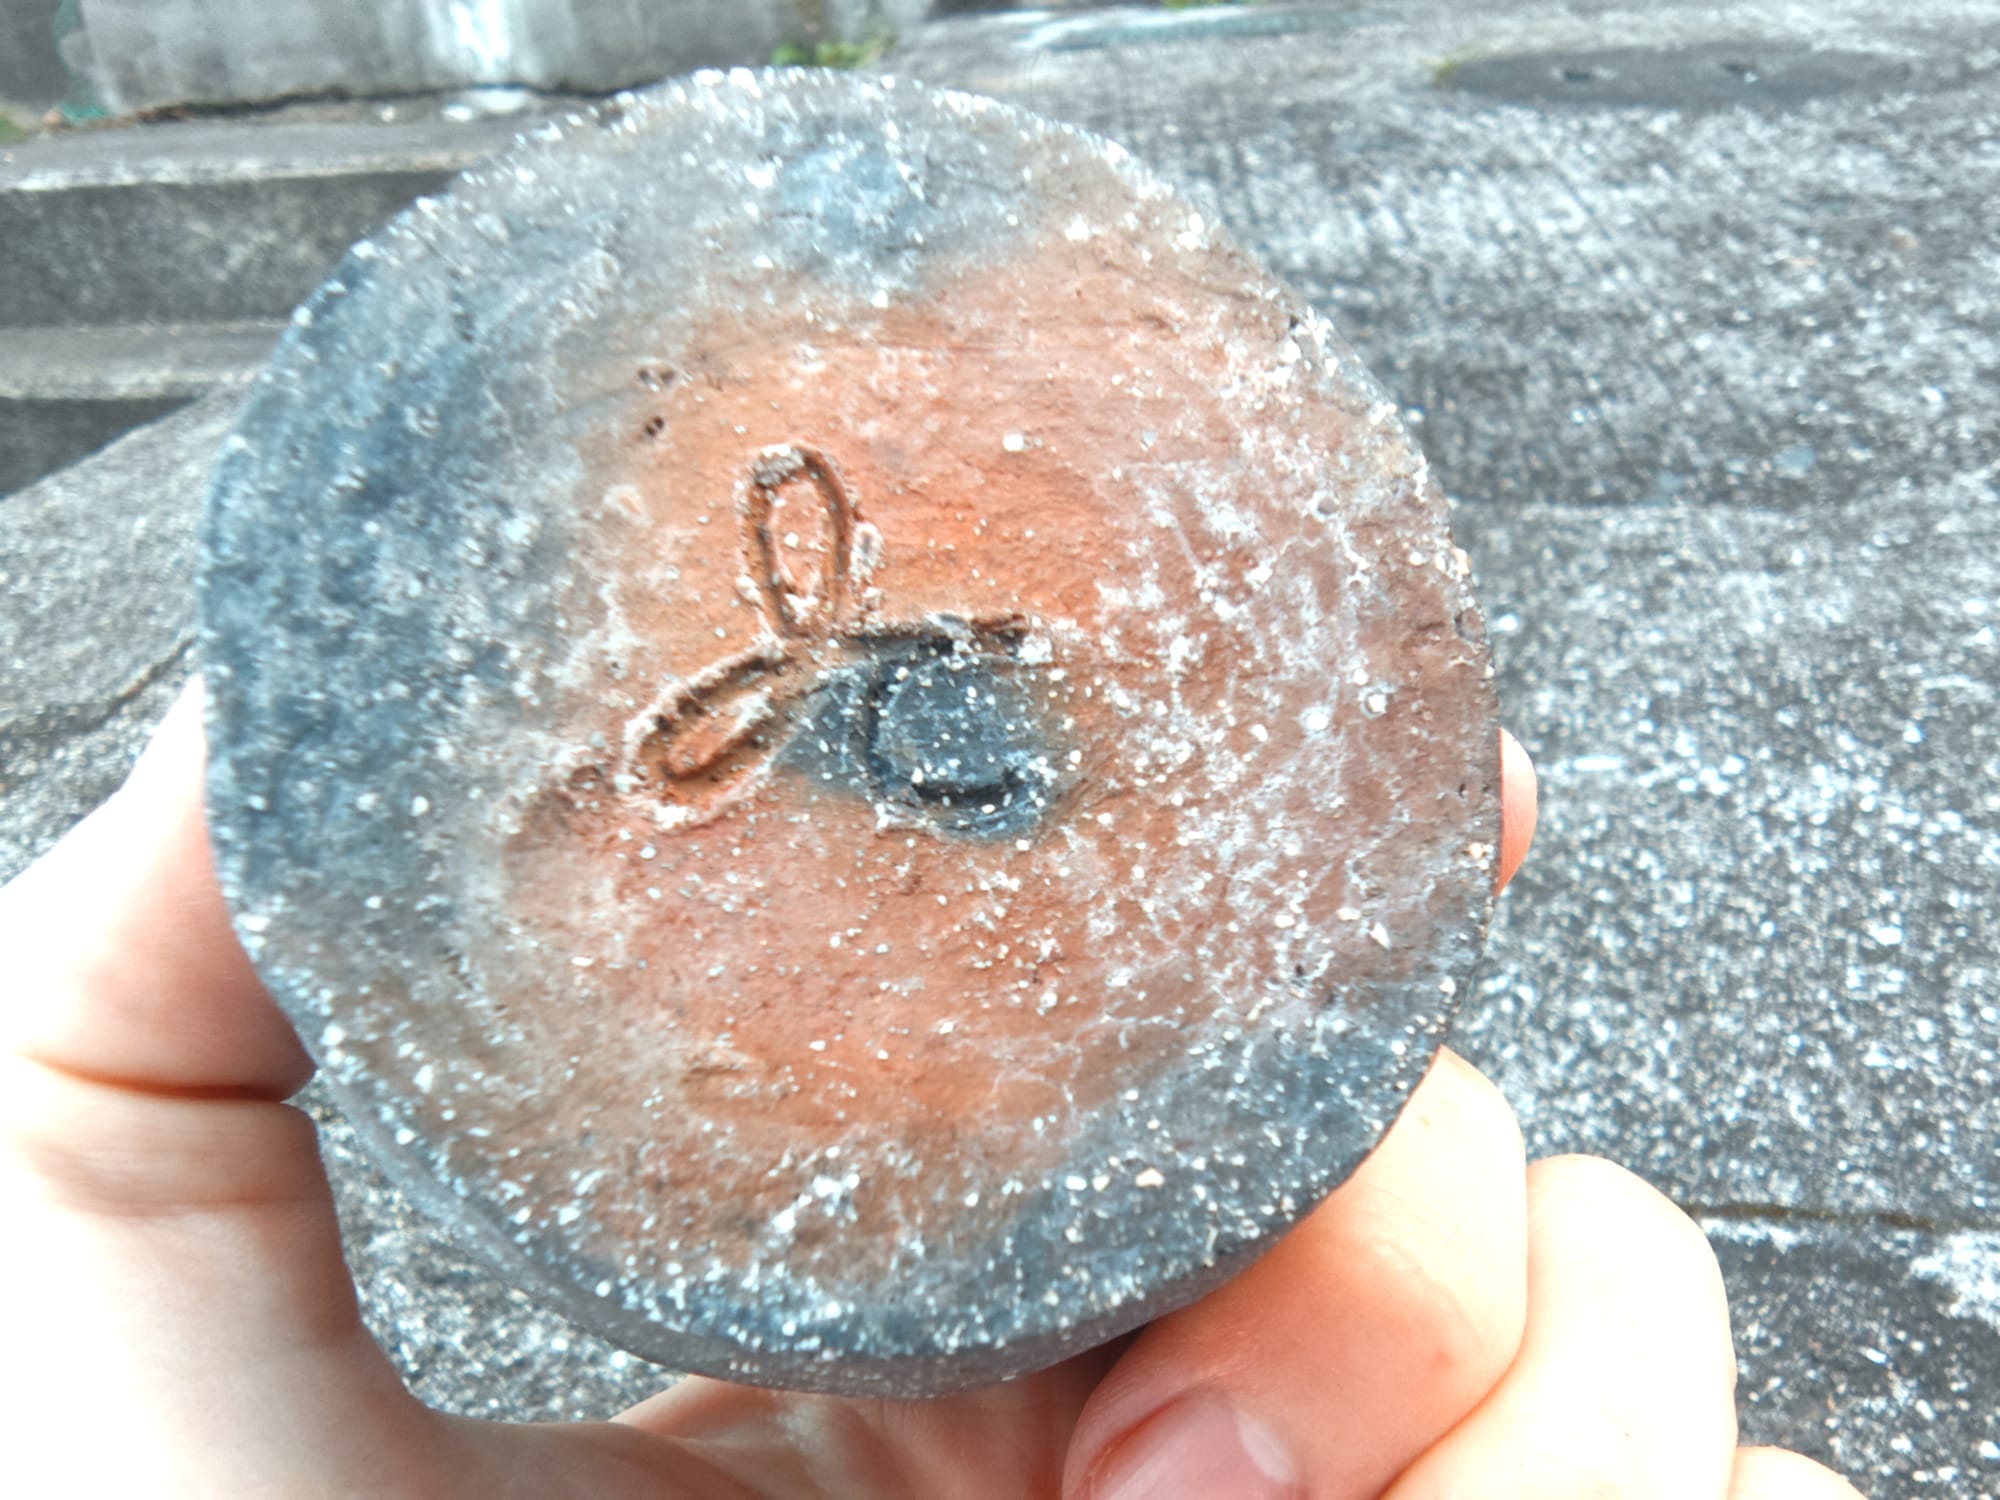
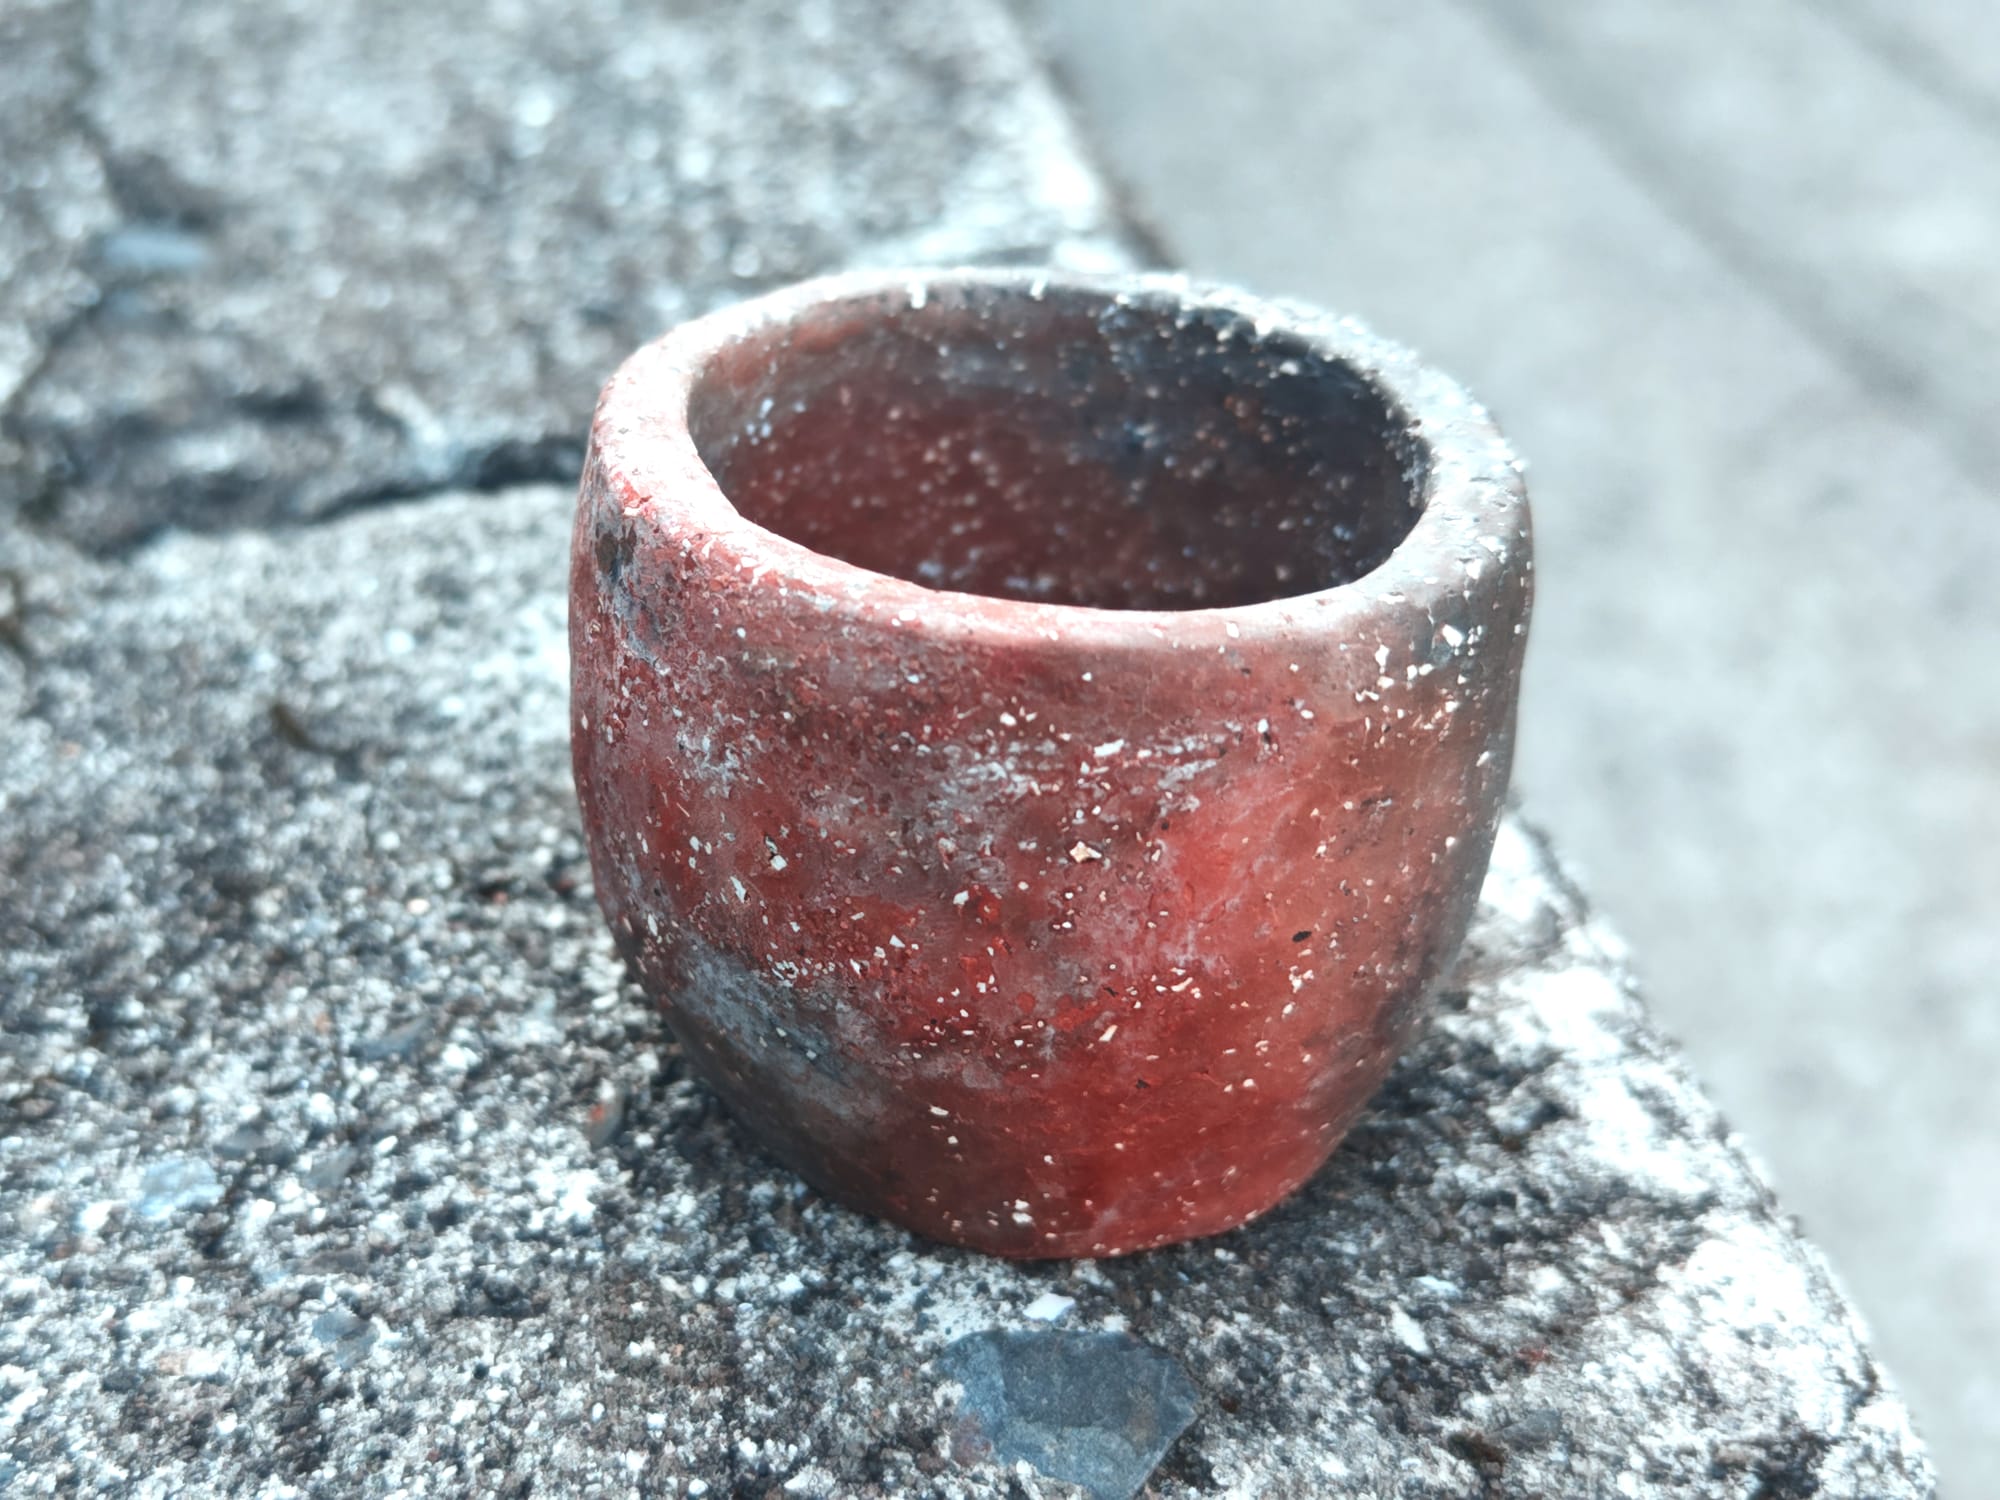
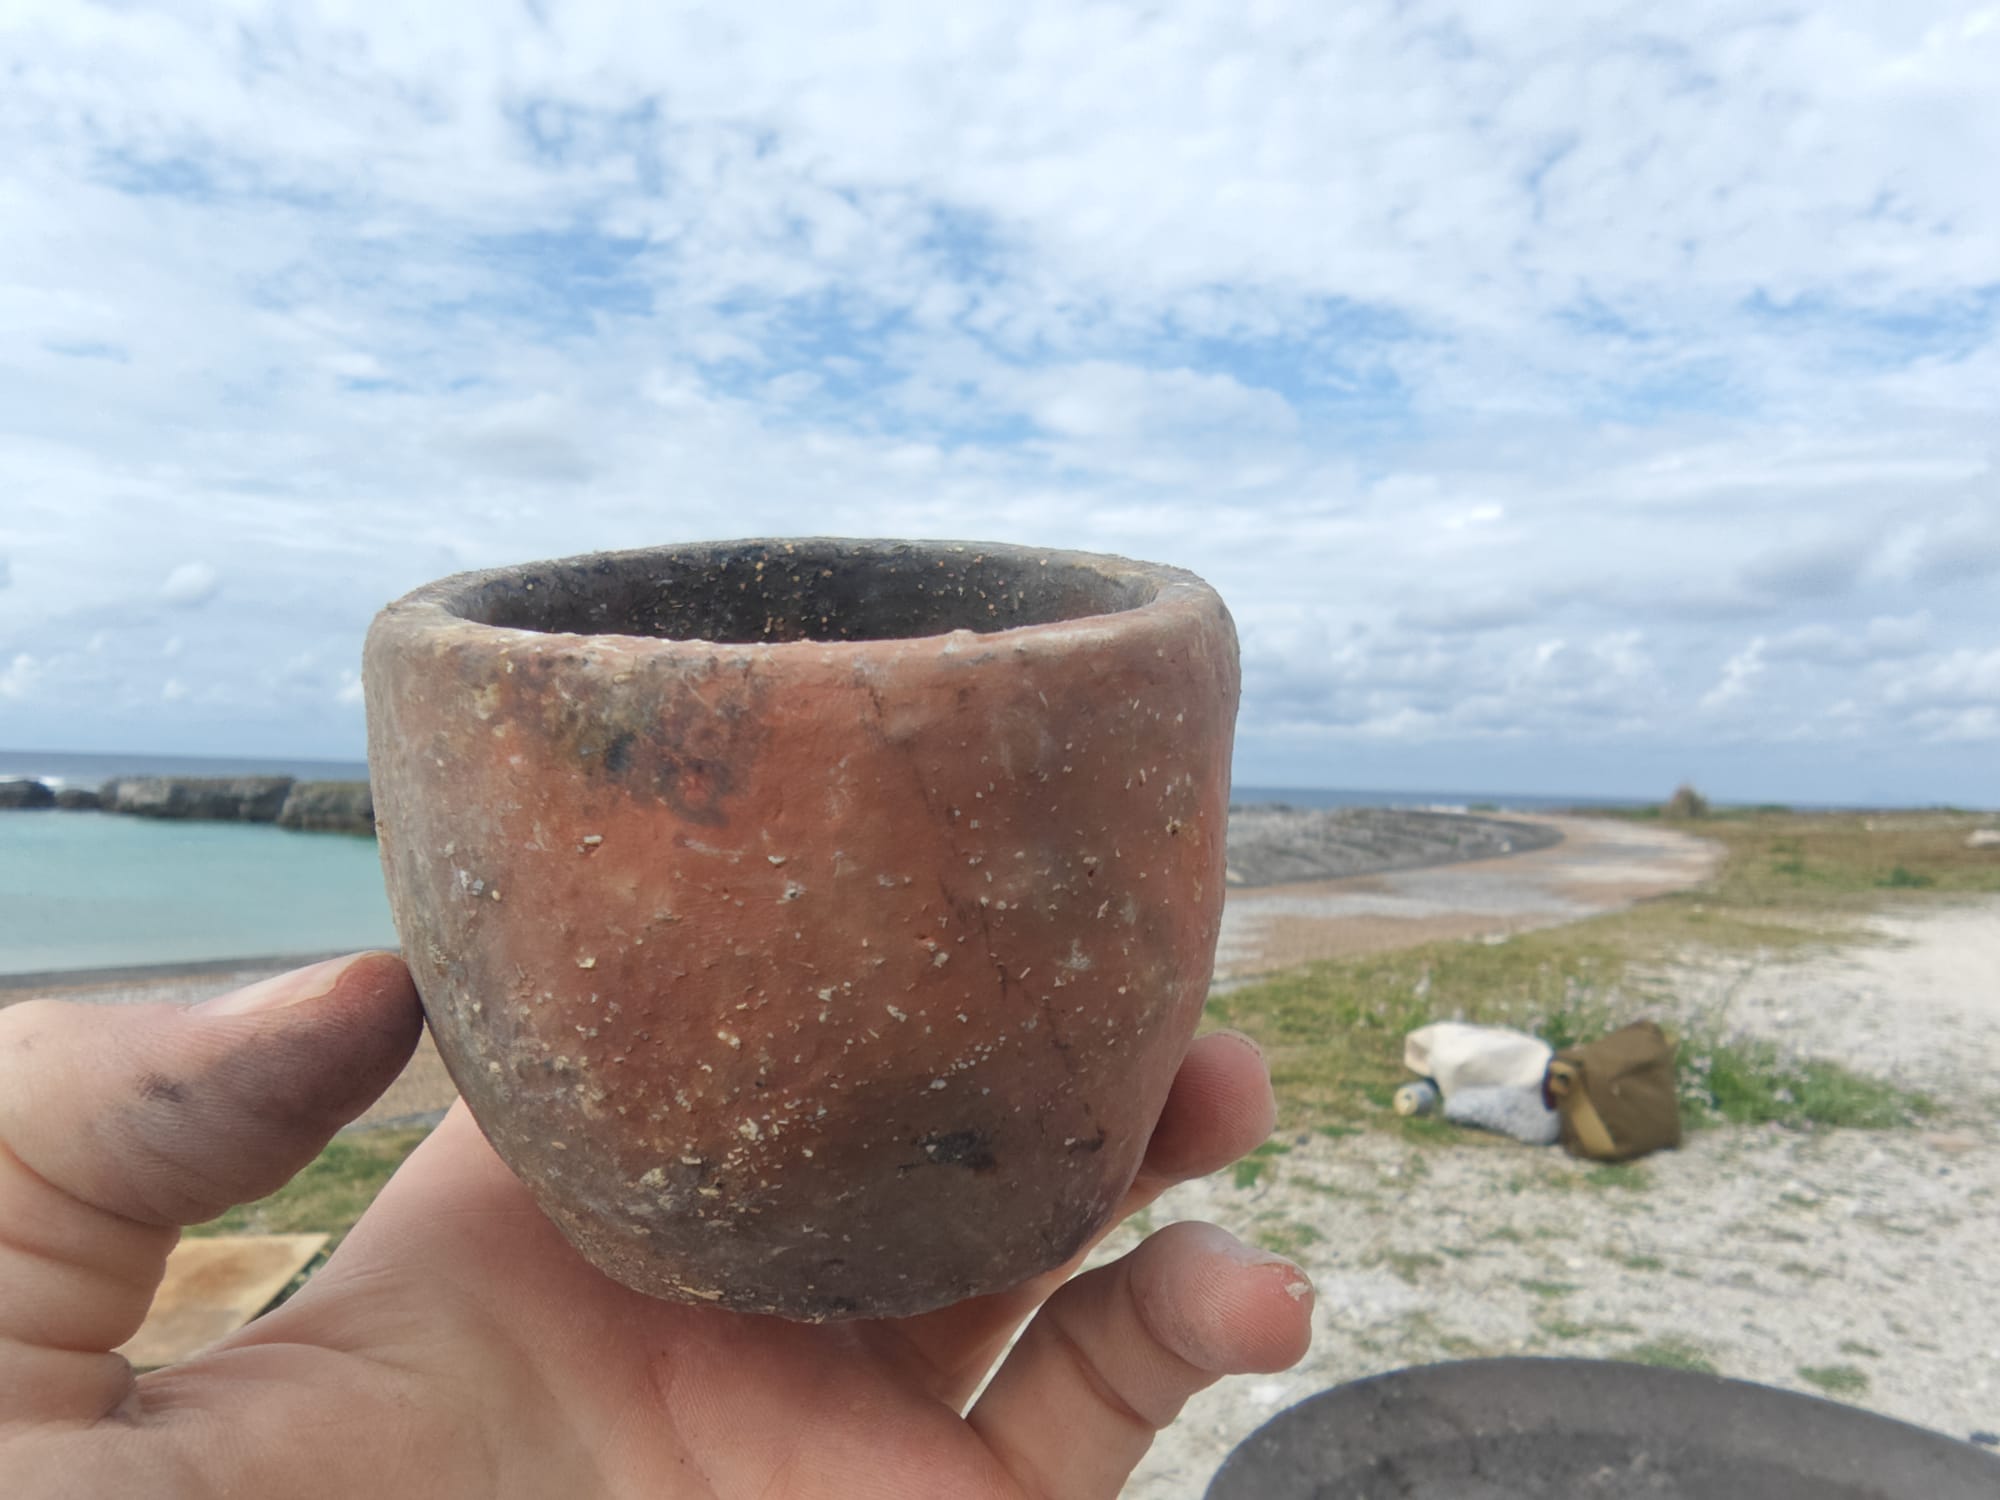
Colors
What surprised me most were the final colors present in the fired pieces. While the red clay pieces turned out primarily deep-grey to black, the brown clay fired to a more classic-looking terracotta-red color which I had expected from the red clay. The terracotta clay bodies did have partially grey surface finishes due to soot from direct contact with the embers during firing. The colors of the grey clay bodies penetrate all the way through each piece, evident in cross-sections of broken pieces, though.
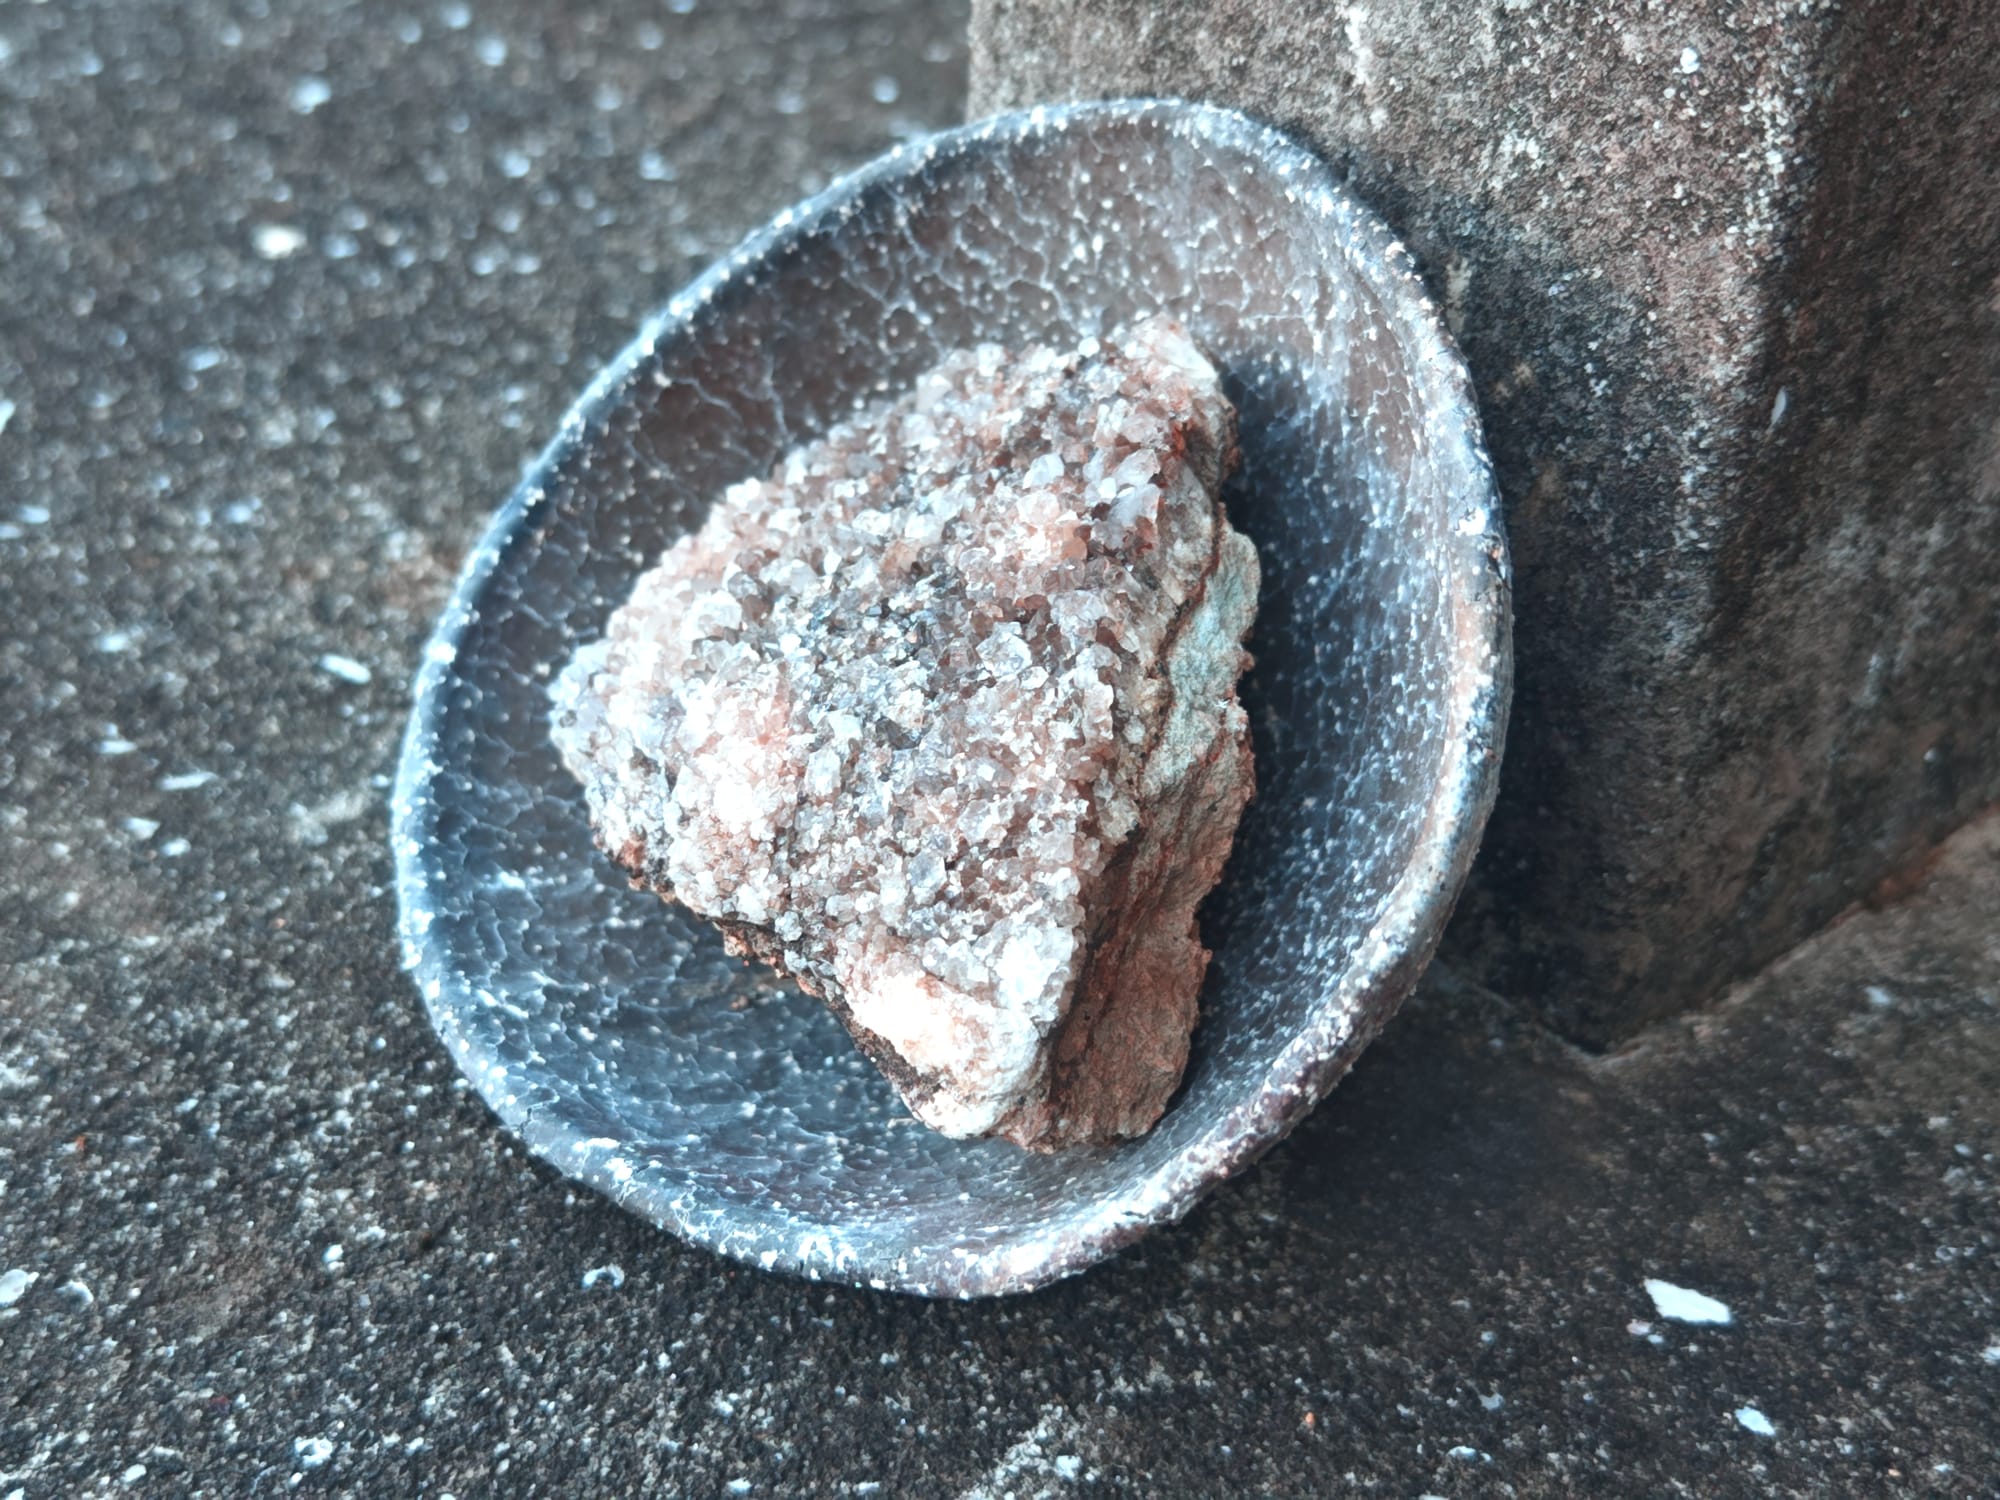
Gallery
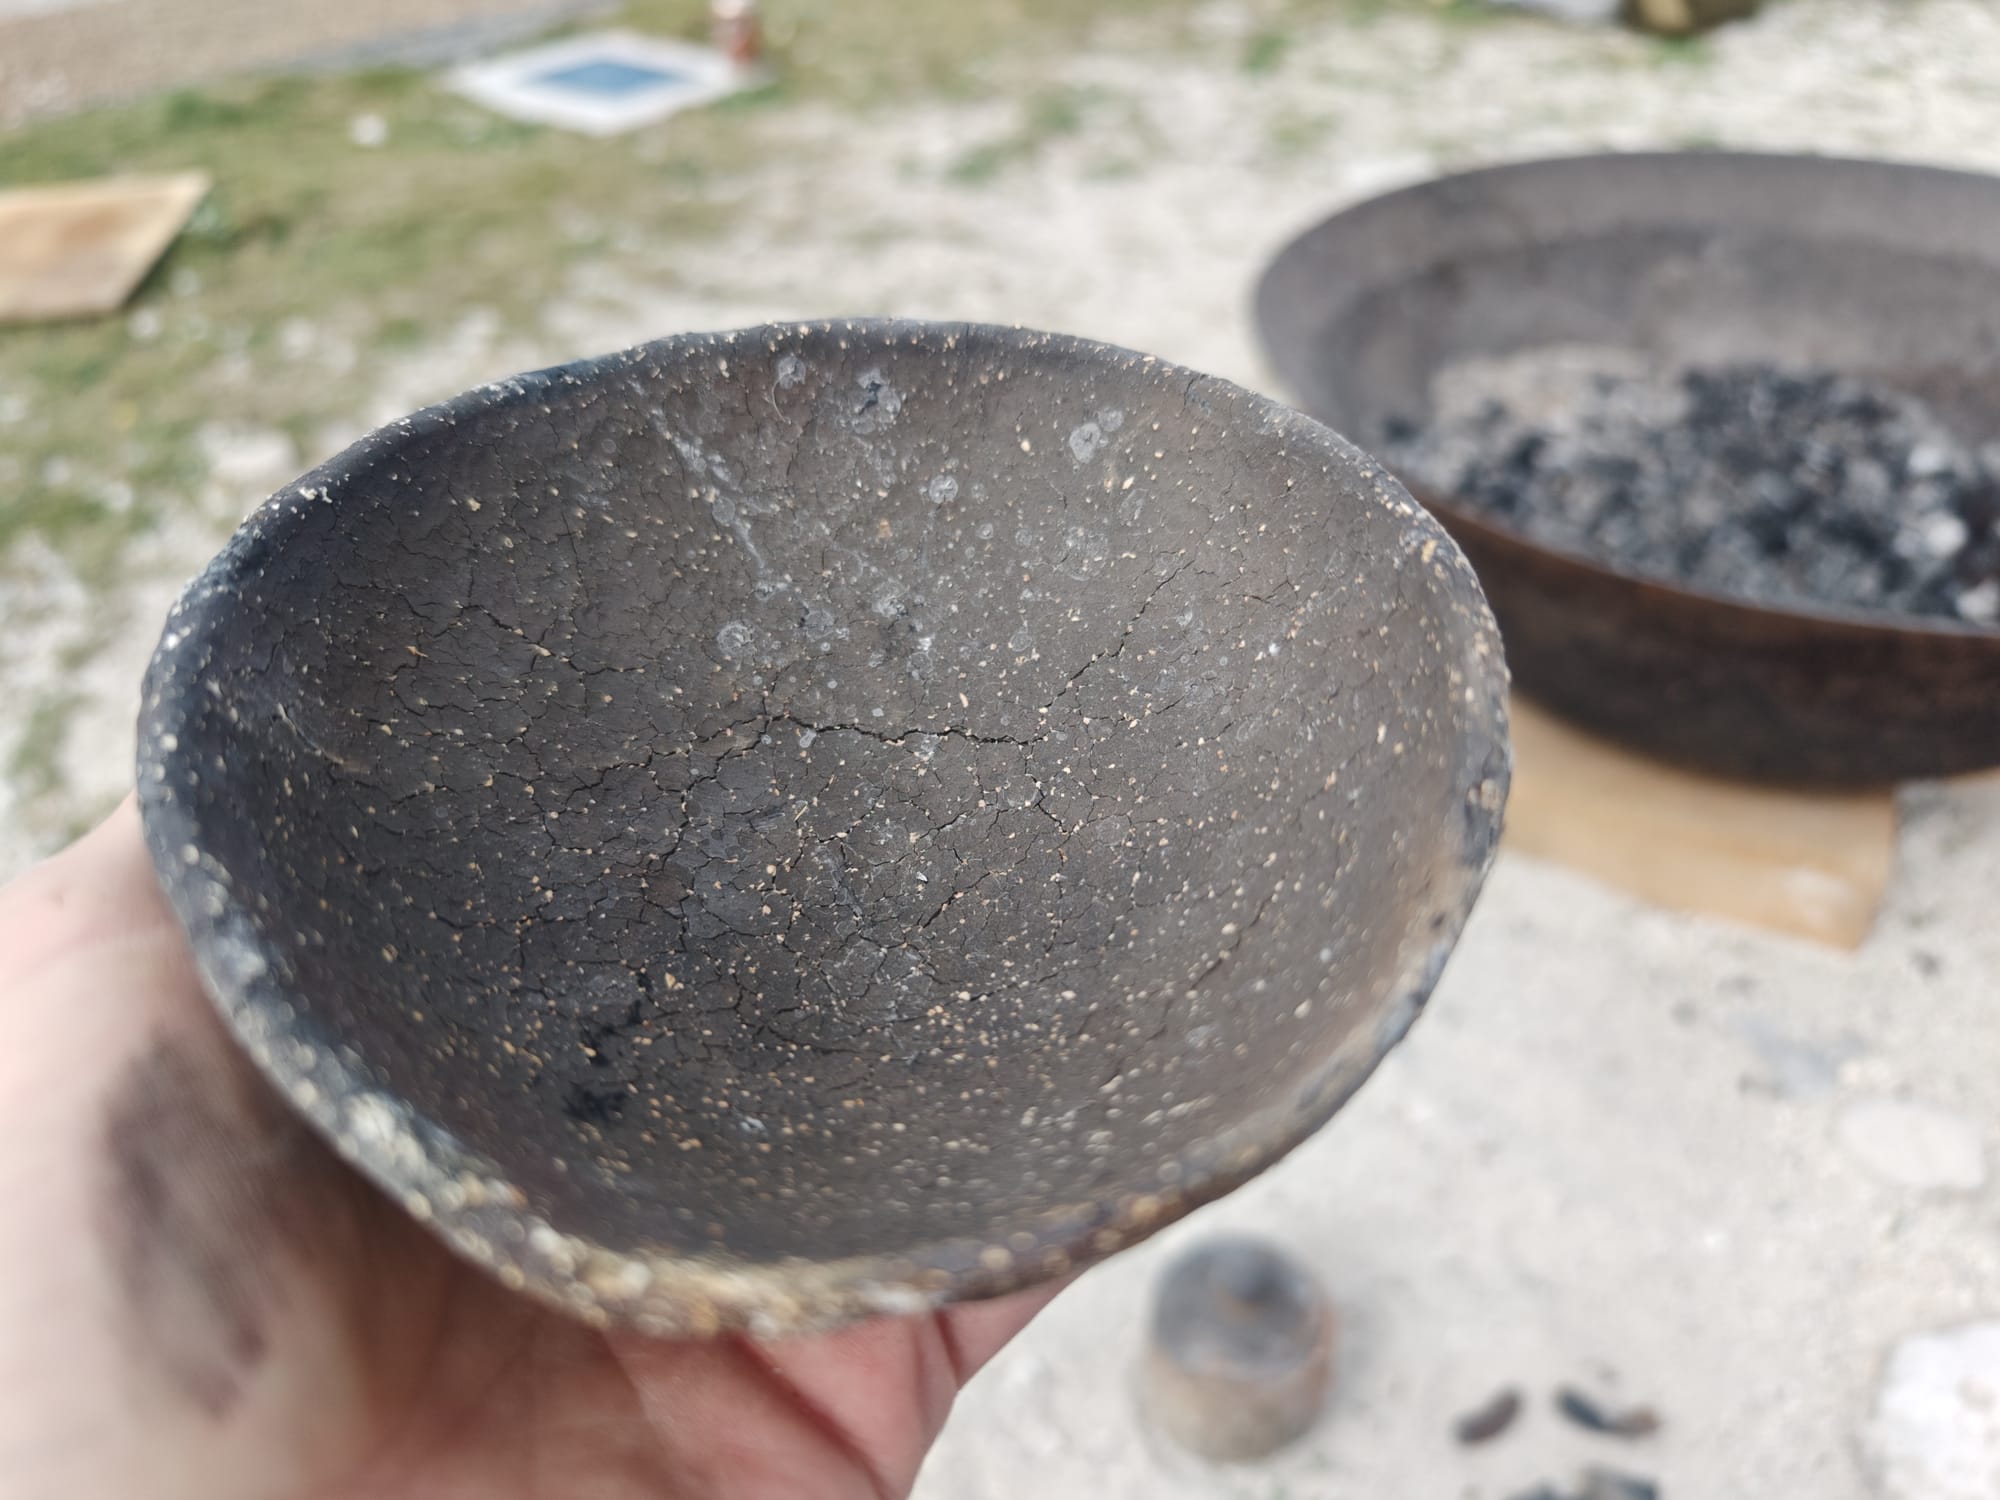
The pieces, while not winning any awards, have their own sort of charm. They are certainly "handmade-looking" and "unique" creations. The shapes all turned out alright except for the bowl, which warped quite a bit and was shot through with spiderwebs of cracks.

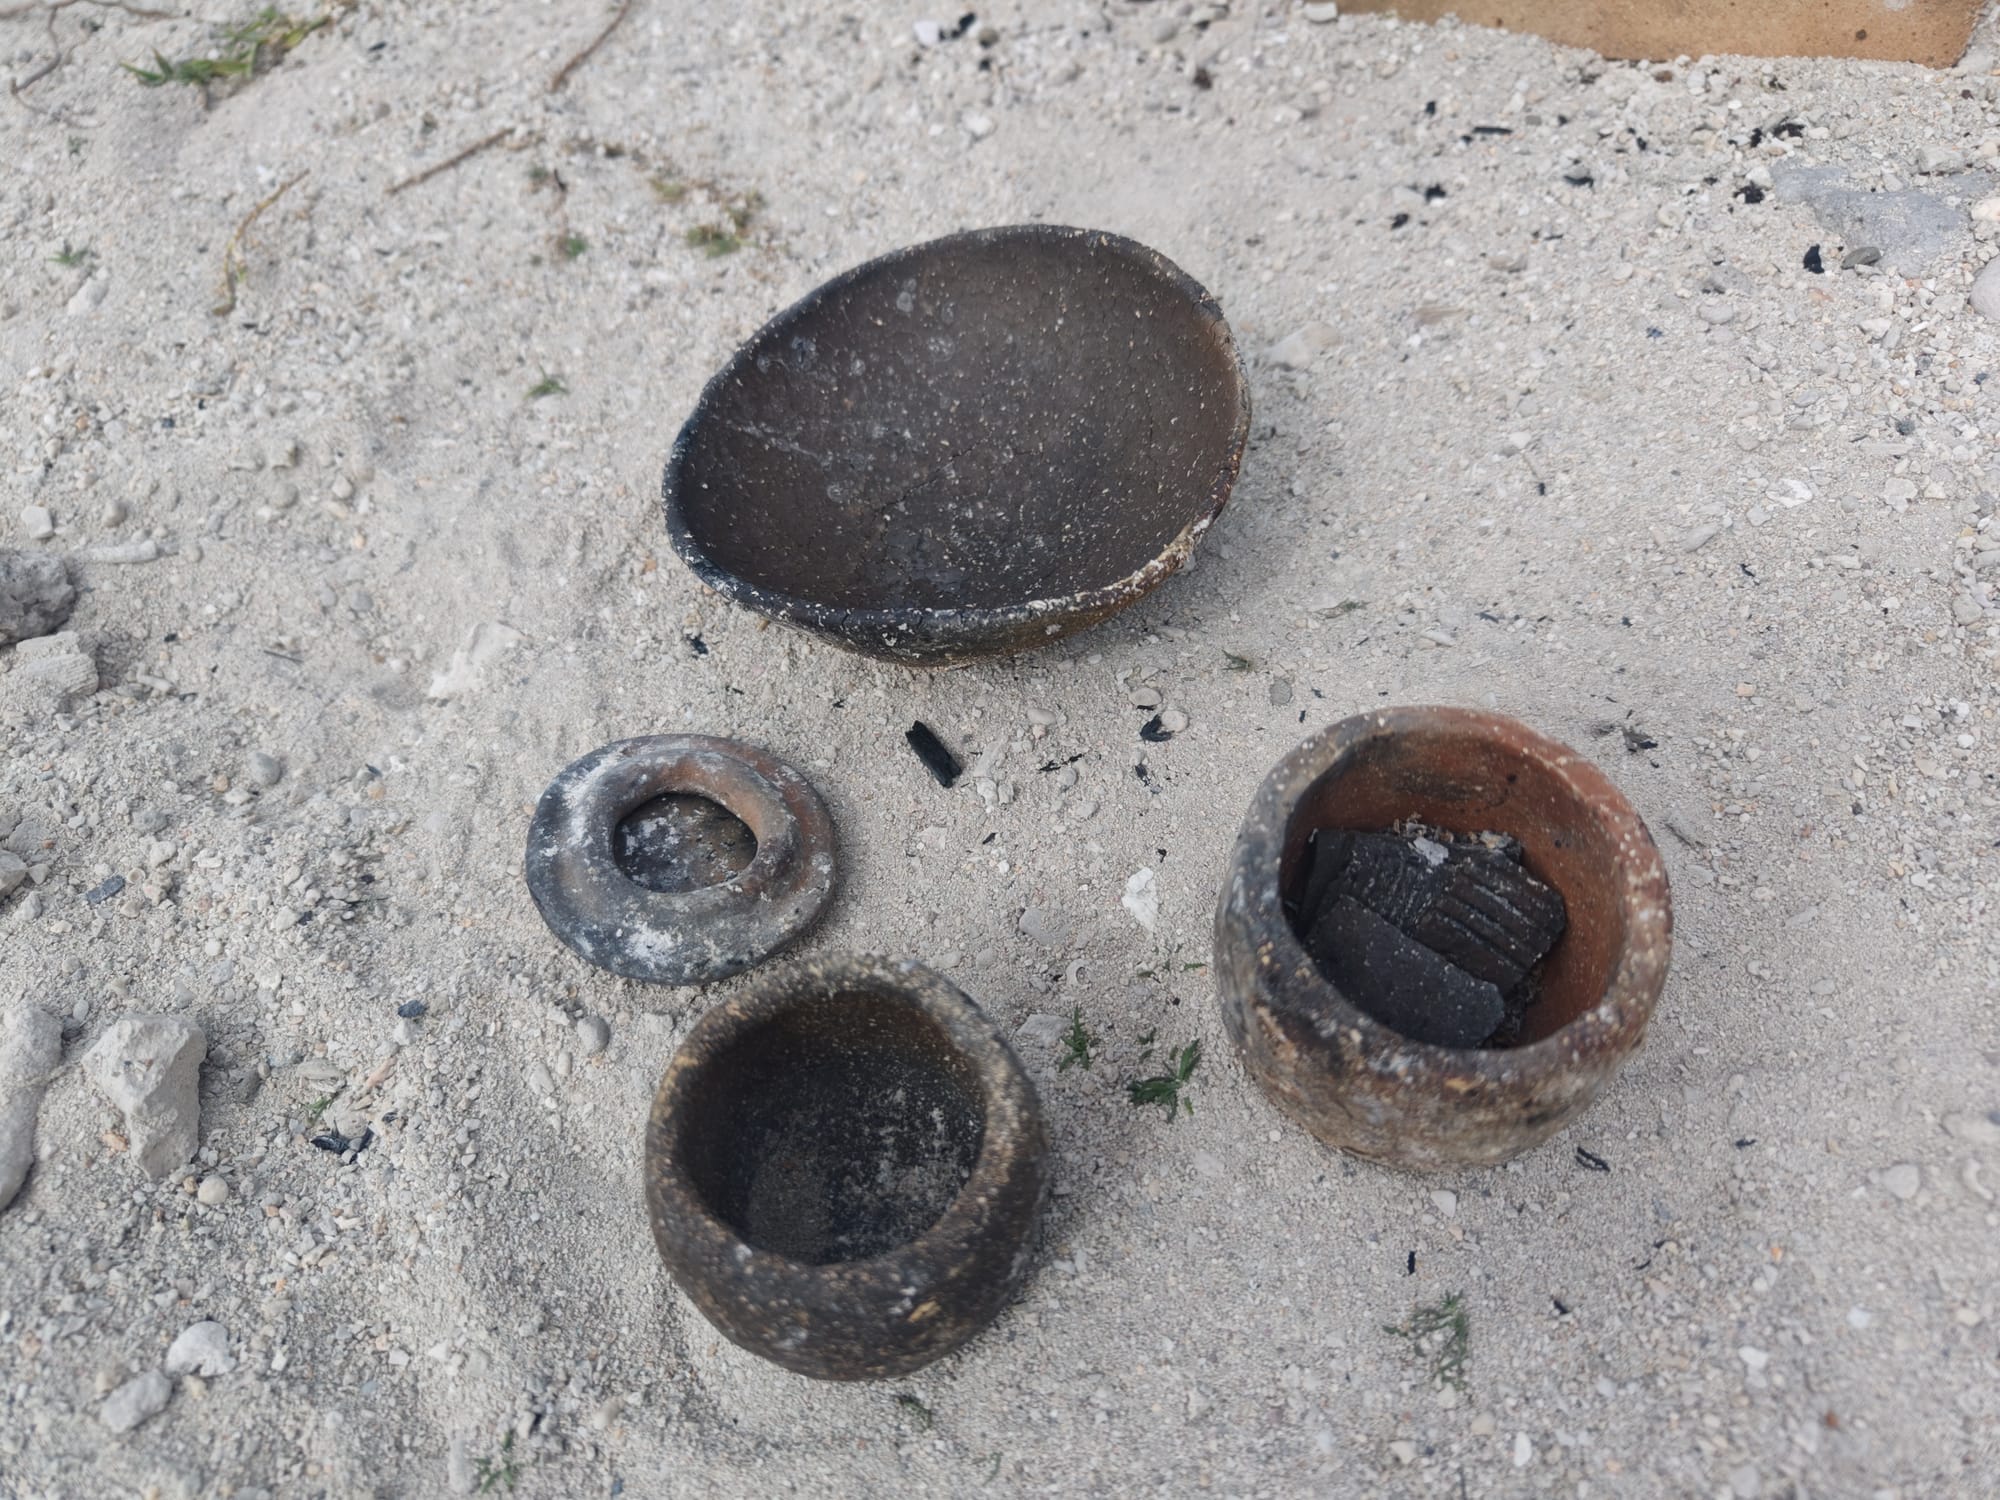

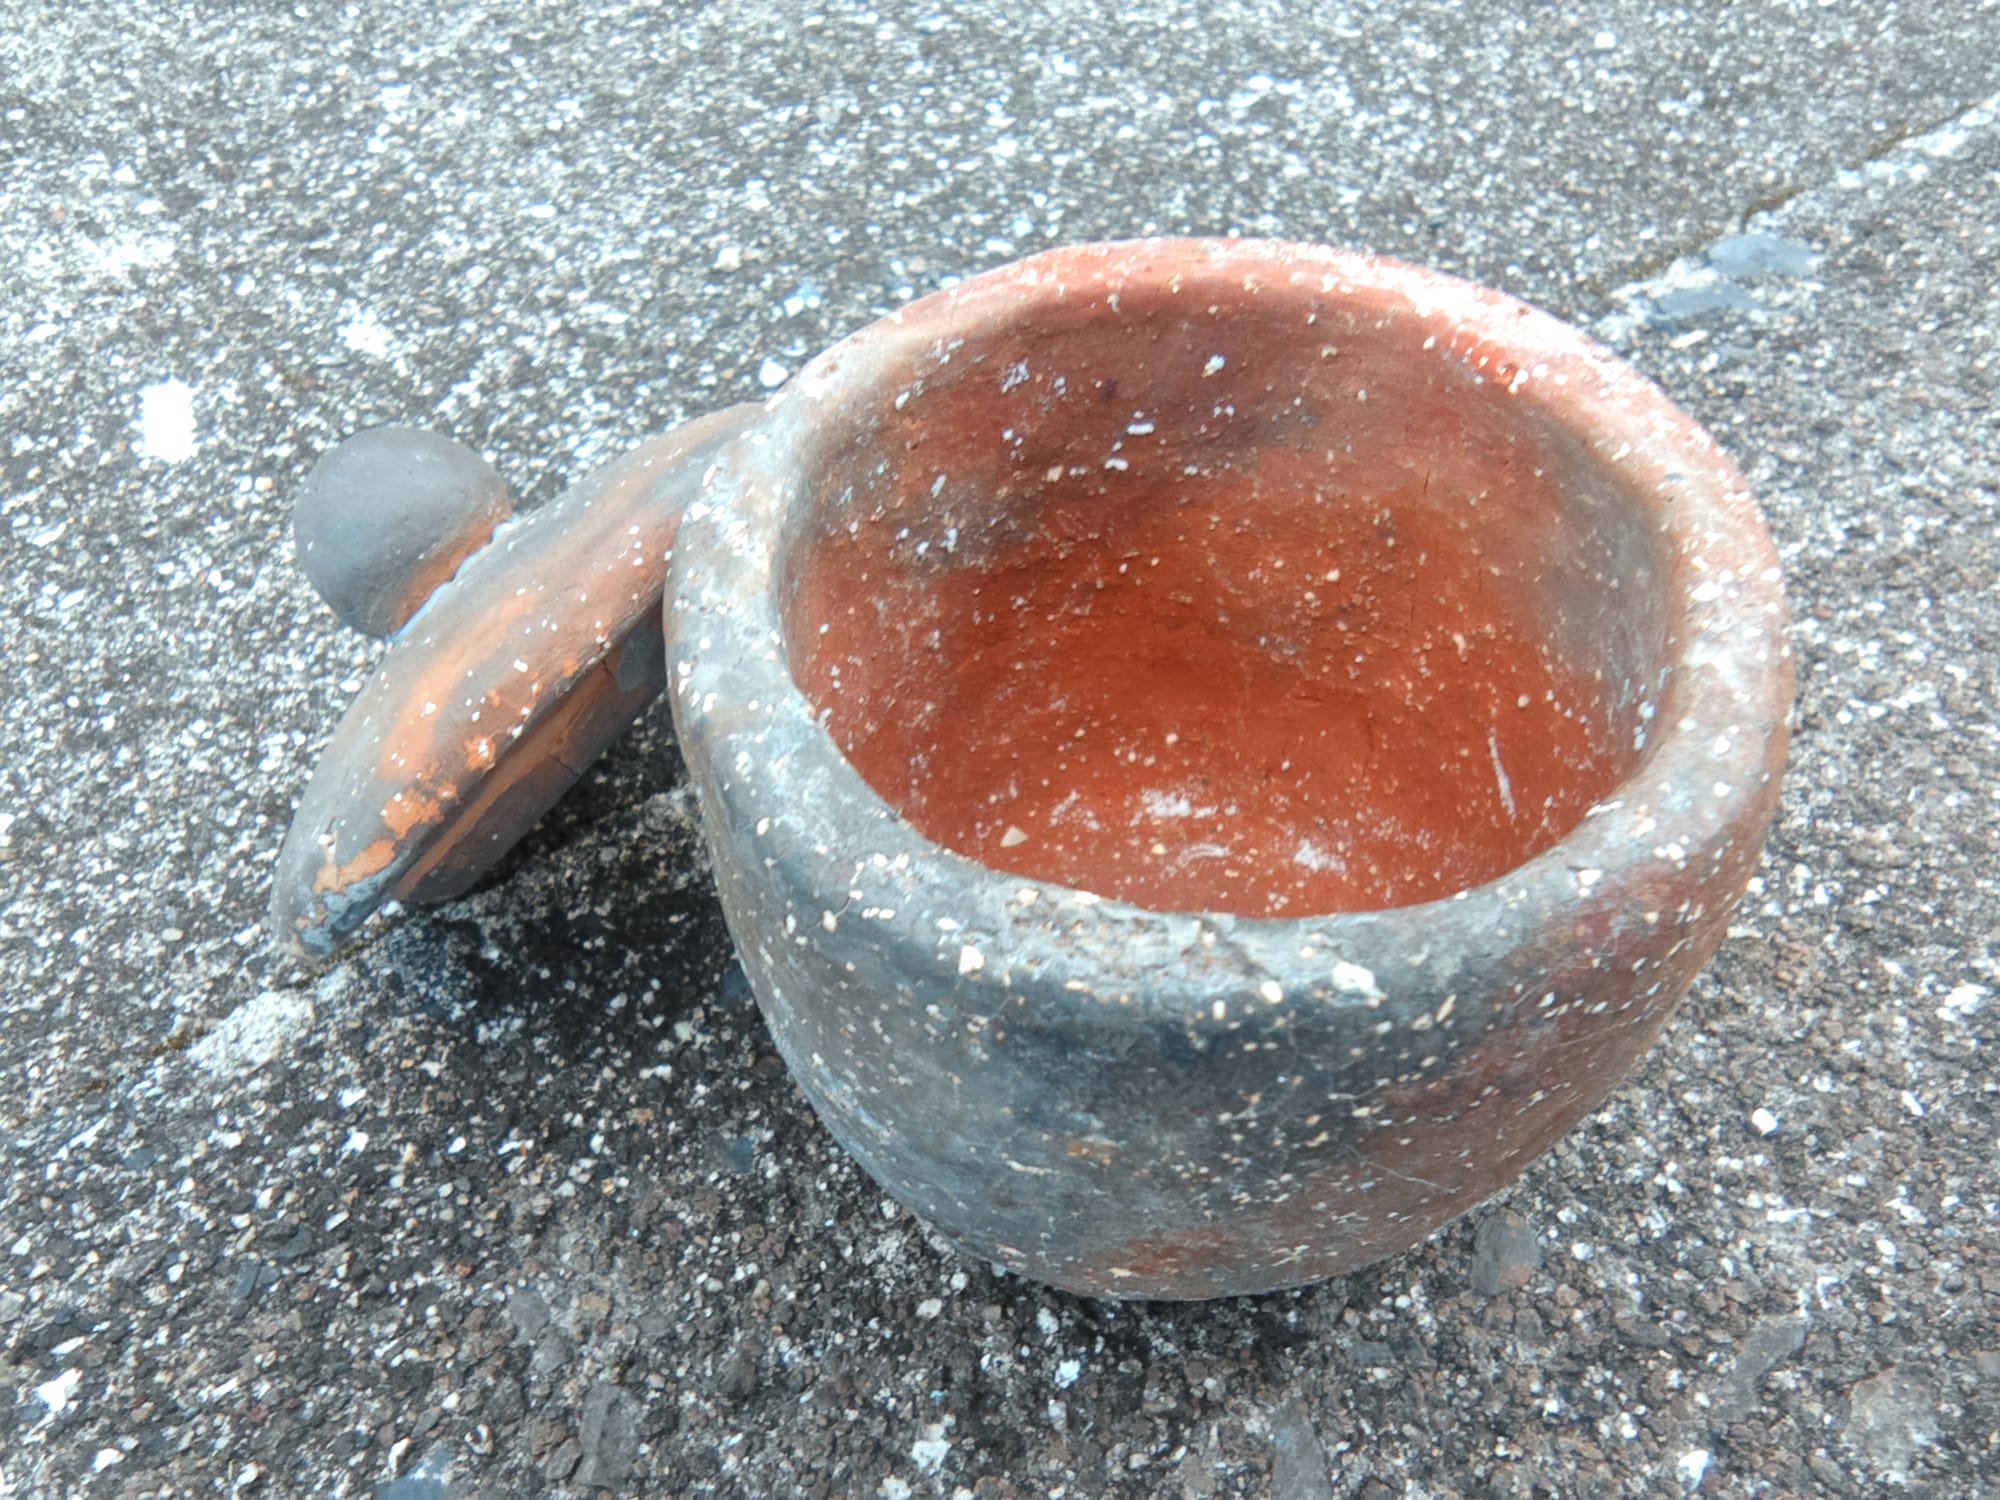
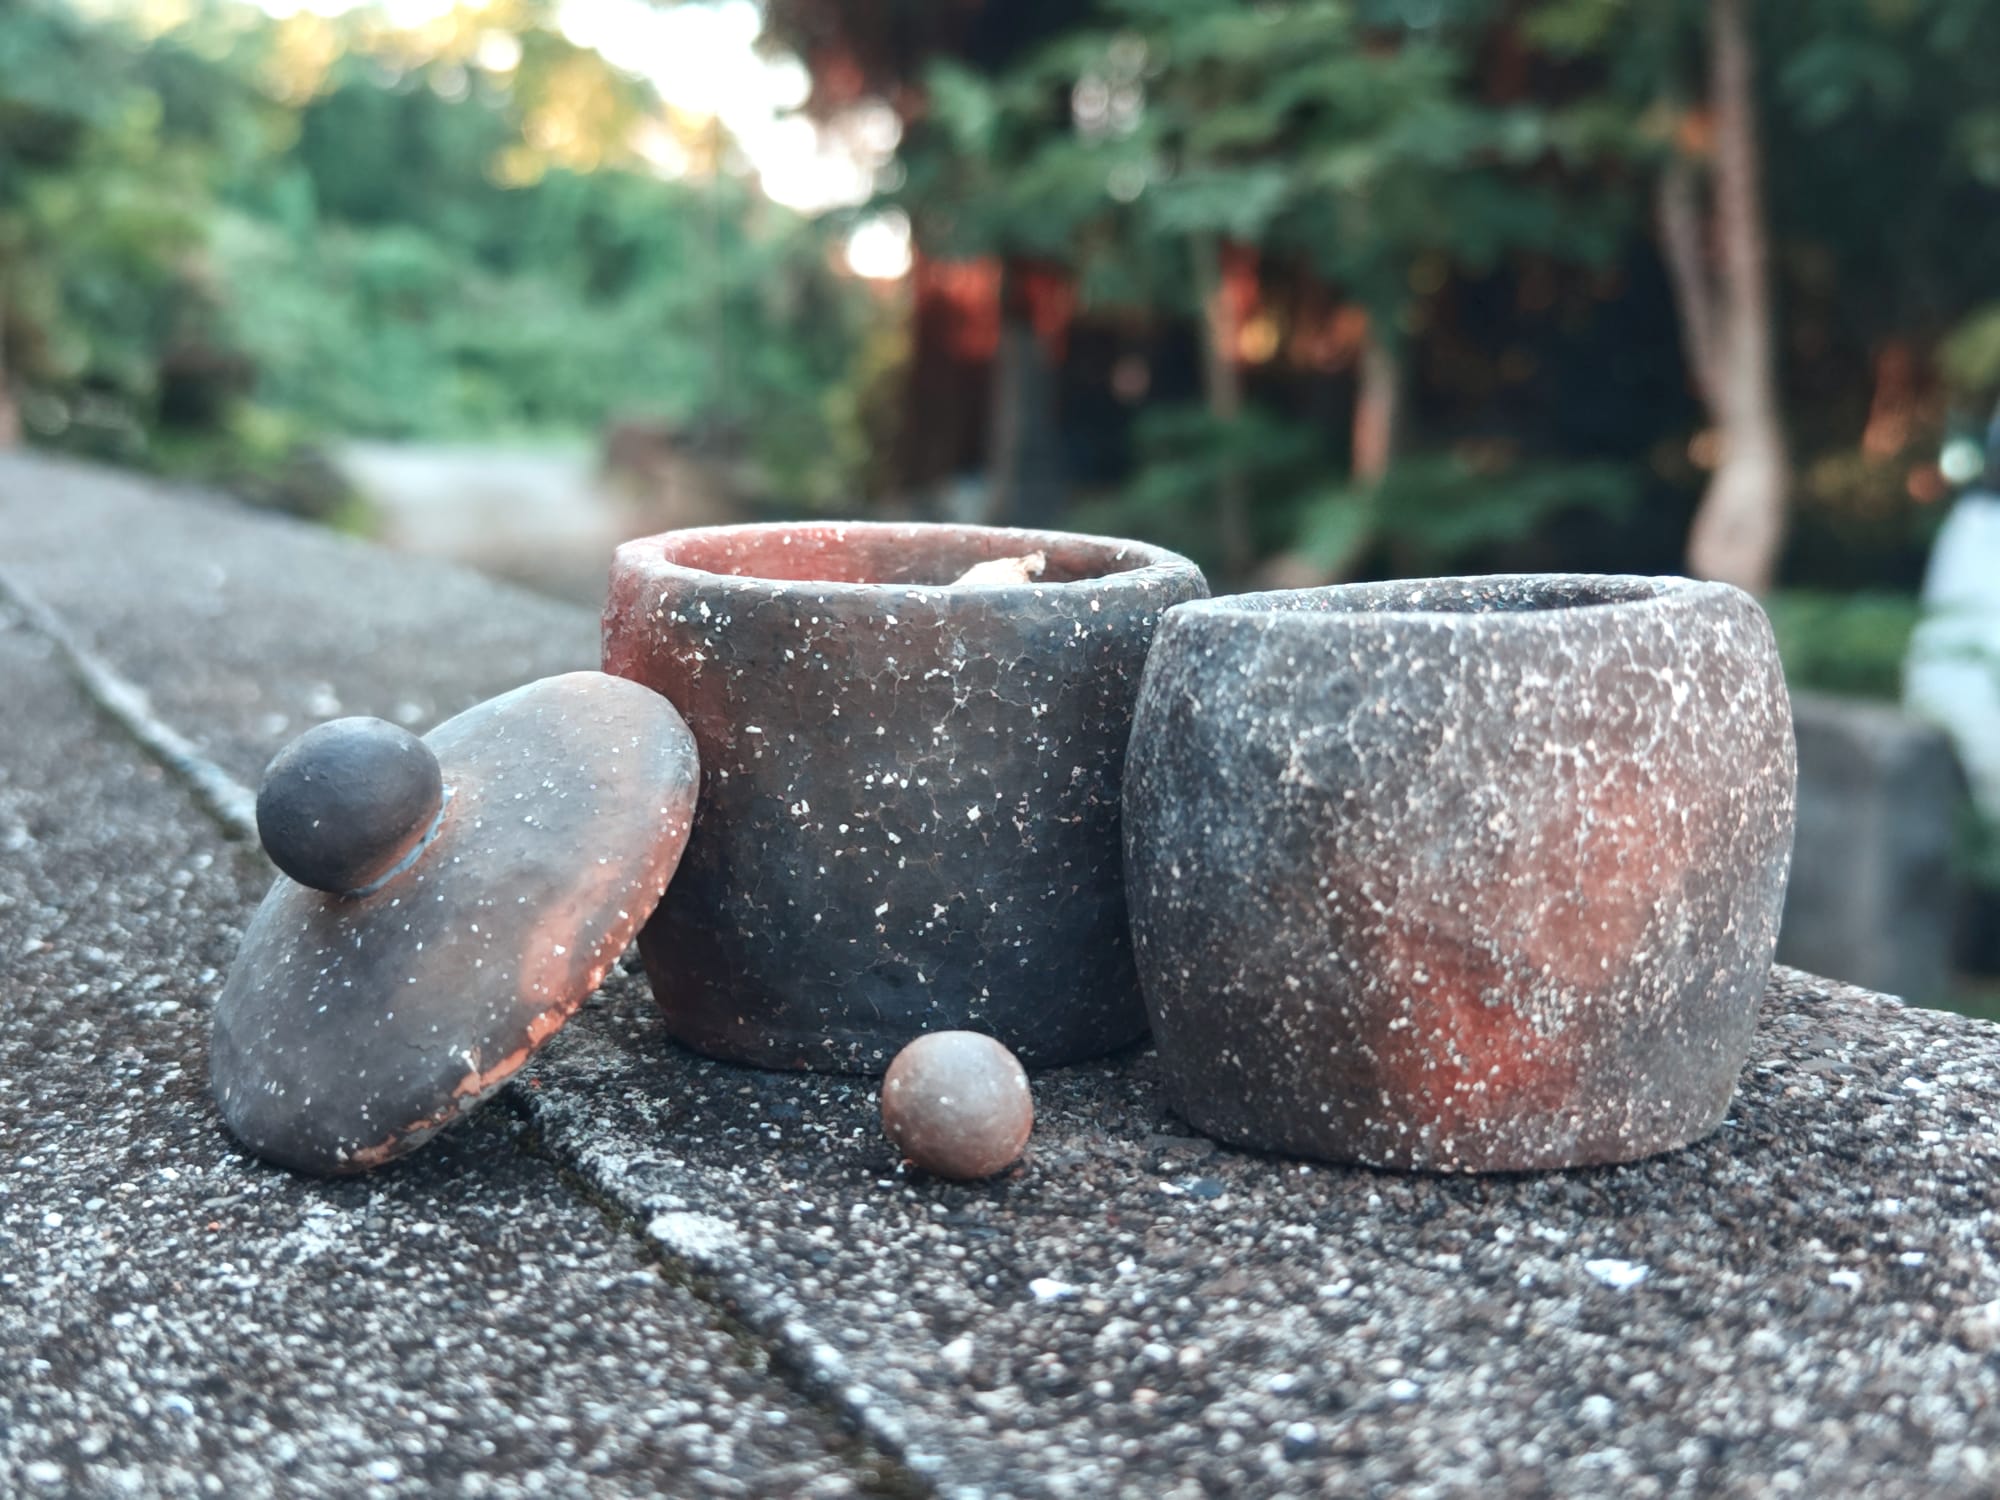
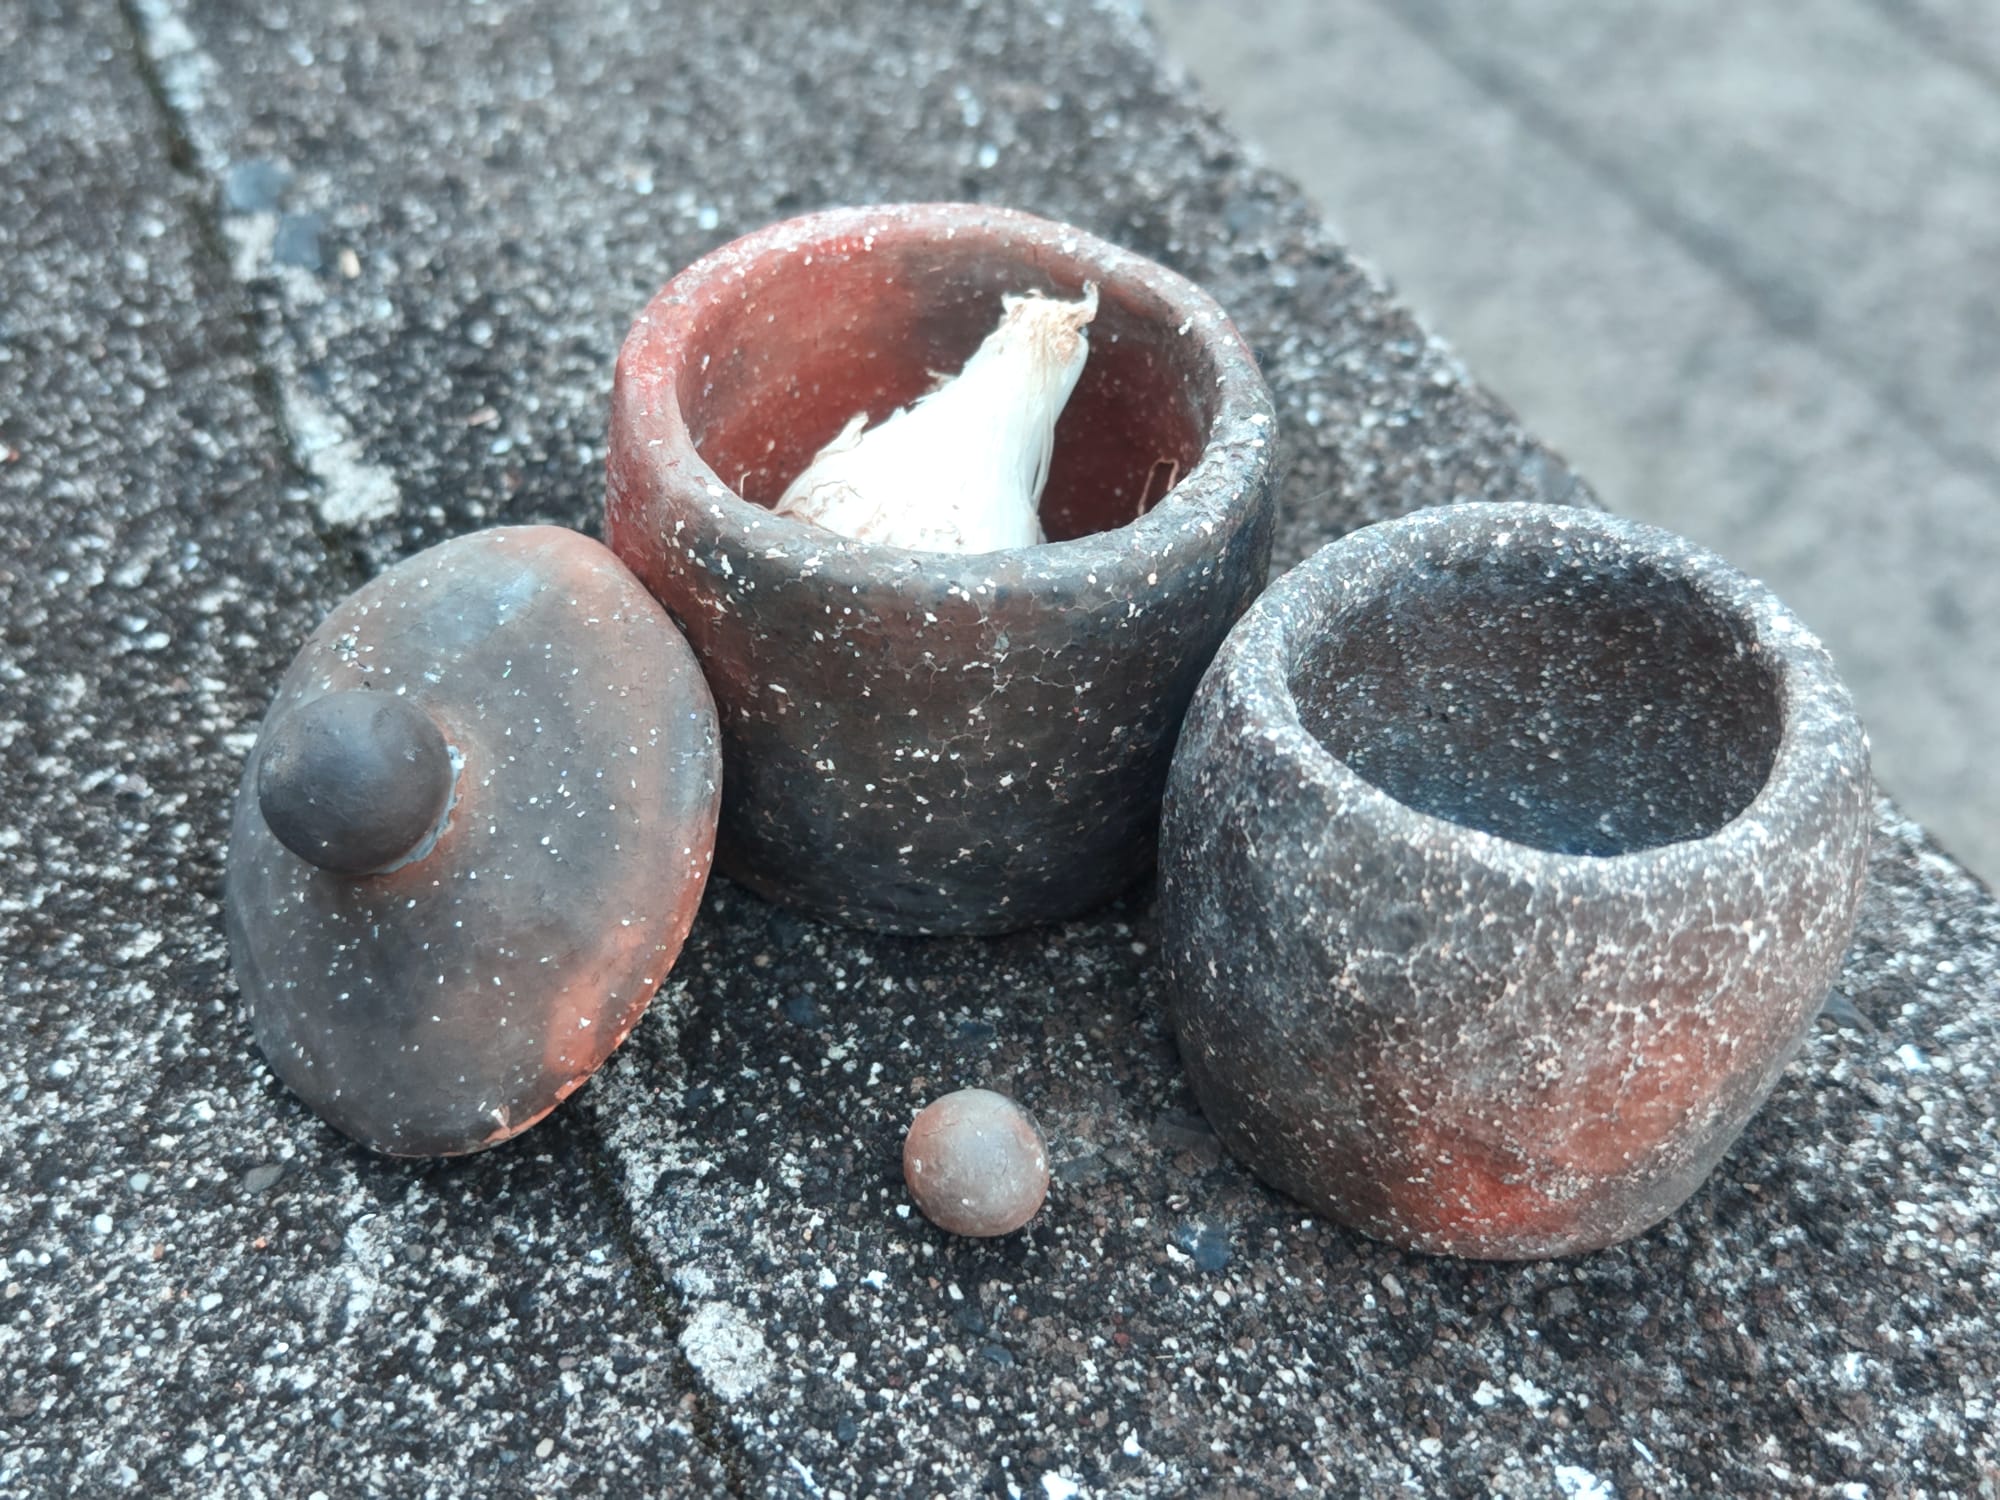
To even be able to have something functional on the first try is nothing short of a miracle. I now use the one lidded pot to hold garlic.
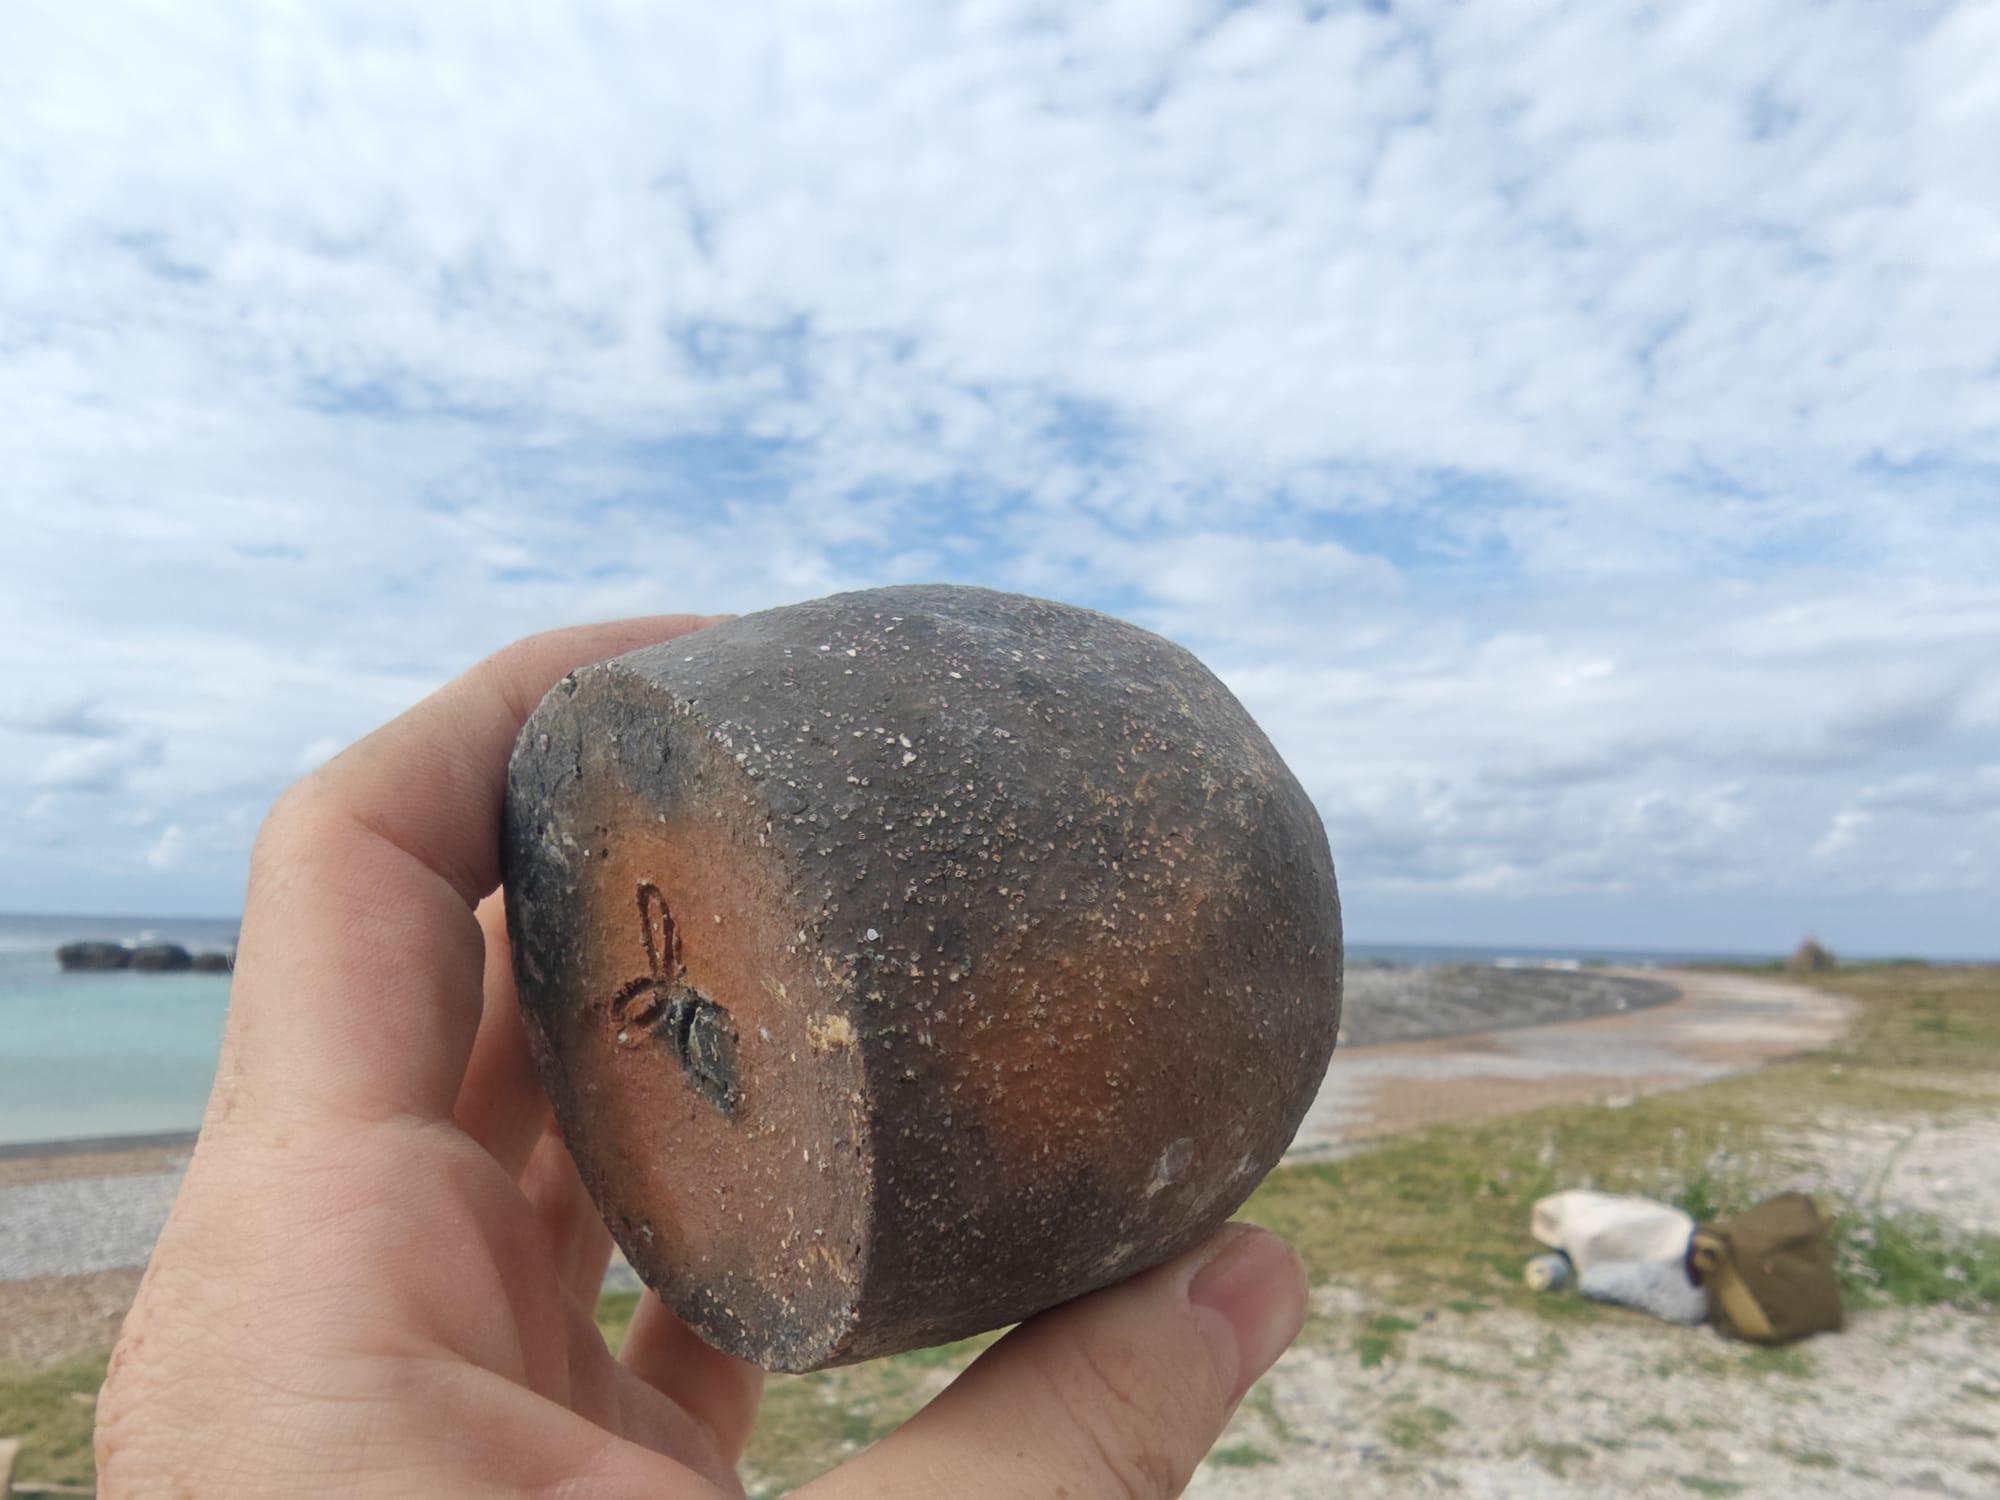
All Cracked Up (Lessons Learned)
As mentioned previously, the sand I used for temper was heavy in calcium carbonate which decomposes at high temperatures into carbon dioxide and calcium oxide (otherwise known as quicklime). Commonly used as an active binding agent in cement, plaster, concrete, etc., I had hypothesized that the evolution of quicklime within the clay body would, if anything, only strengthen the pieces over time. I had initially thought that the quicklime would eventually re-harden and act as a cementing agent within the pieces, improving strength. What I had not considered were the expansion characteristics.
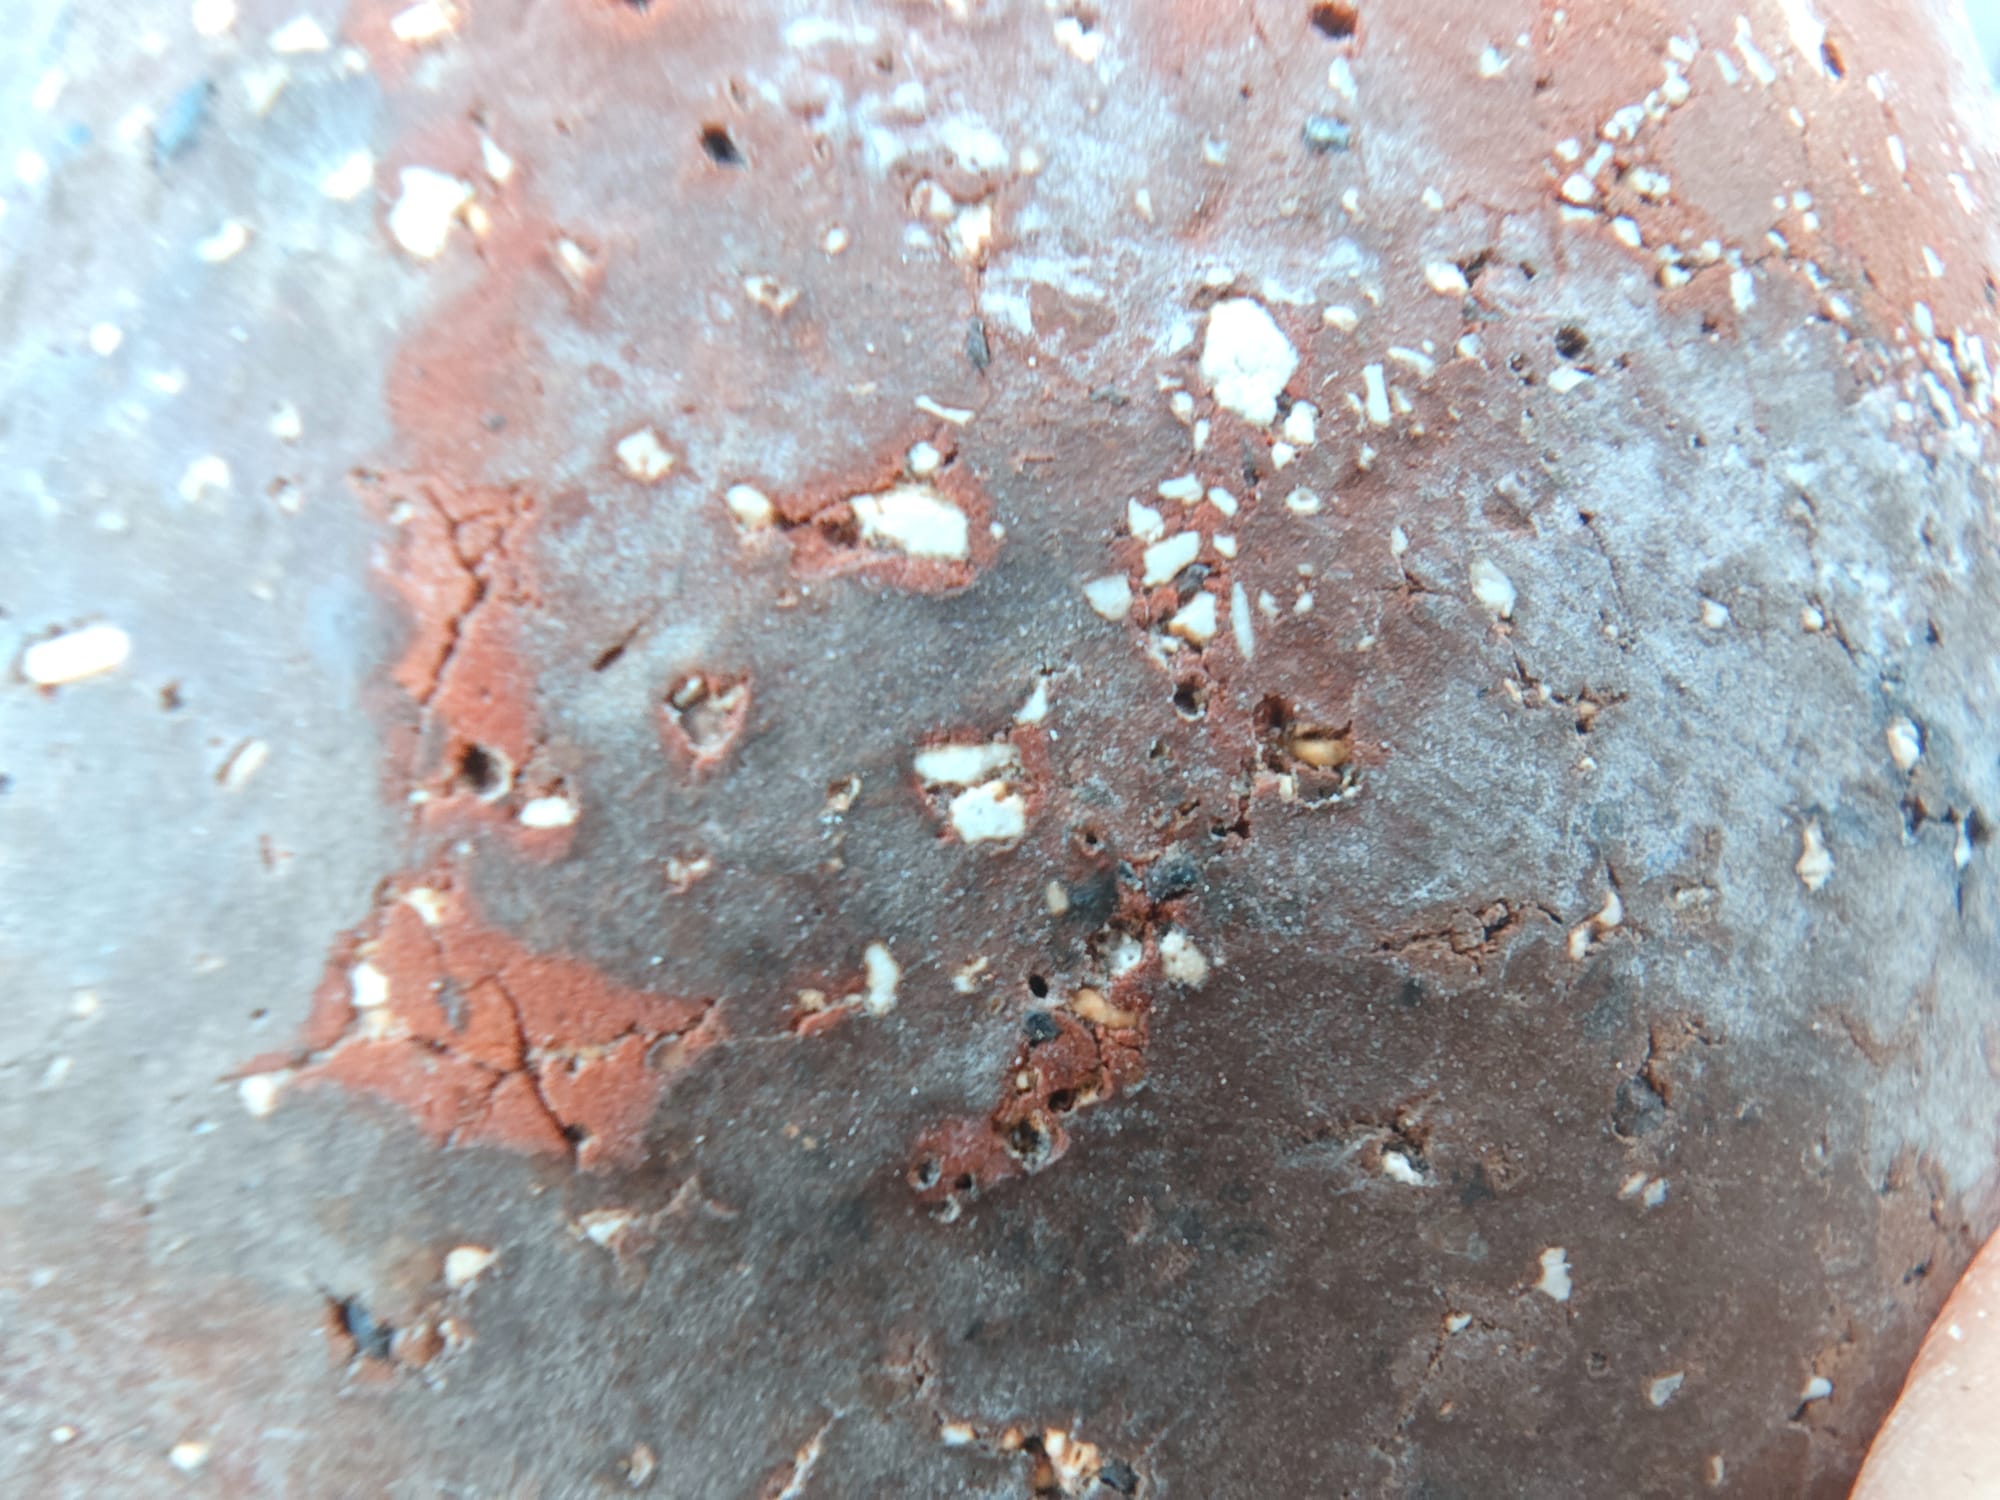


The pieces are weakened by fractures, but at least nothing shattered apart.
Apparently, either the decomposition reaction causes changes in volume, or the difference in thermal coefficient of expansion between the quick lime and the clay leads to pieces with quite a few fractures in them. The bowl came out particularly poorly as the thin walls were completely shot through with tiny cracks. Some pieces like the pot with lid were less effected.
Ironically, the temper seems to have induced cracking rather than arrested it. While some resources indicate that clay tempered with such sands can be fired successfully below the decomposition temperature, I did not have any real control over the temperature of the firing. I am lucky that the pieces got hot enough for long enough to vitrify, at all. Further experimentation with clay/temper ratios and temper grain size may be necessary and improve future firings. It may also be best not to use high-calcium sand at all. I next plan on trying pieces without temper, altogether.
Closing Remarks
Before beginning this project, I had no clue that clay could be found almost anywhere or that you don't even need a kiln to fire pots. It would seem that nearly anyone can do pottery, the real key being knowledge and experience. I feel as though common understanding of ceramics may be lost on most people, today, while such a knowledge may once have likely been much more superfluous at another time. It certainly is convenient that the average person needn't know how to make their own plates or flowerpots anymore, though I do feel it is somewhat of a shame. Thanks to the internet, it has likely never been easier to share technologies like this, and I would not have been able to complete this project so effectively without access to many online resources. I hope anyone reading this learned something. I certainly did.
Thanks to the many creators that document and publish their work and techniques for the world to see. You are preserving some of humanity's oldest knowledge in a modern society that widely forgets the old ways.
Thanks to all those readers that have made it this far, as well. I know this is a gargantuan post, months in the making, so I really appreciate you.
Yours,
Joseph
Resources


Scaniverse for Gaussian Splatting (3D scan)